
Crochet Coraline Doll Amigurumi Free Pattern
Pipe cleaners threaded through the legs and neck let the Coraline amigurumi doll stand a few inches tall without any stiffener. Her teal raincoat and hood work up as separate flat pieces that slip on and off, and the whole doll takes about five to seven hours.
Buttoned raincoat and pulled up hood make the Crochet Coraline Amigurumi Doll a natural autumn project once the rain sets in. Hook it through October and it lands right on time for Halloween shelves. The Crochet Coraline Amigurumi Doll suits makers who plan seasonal pieces early.
Crochet Coraline Amigurumi Doll
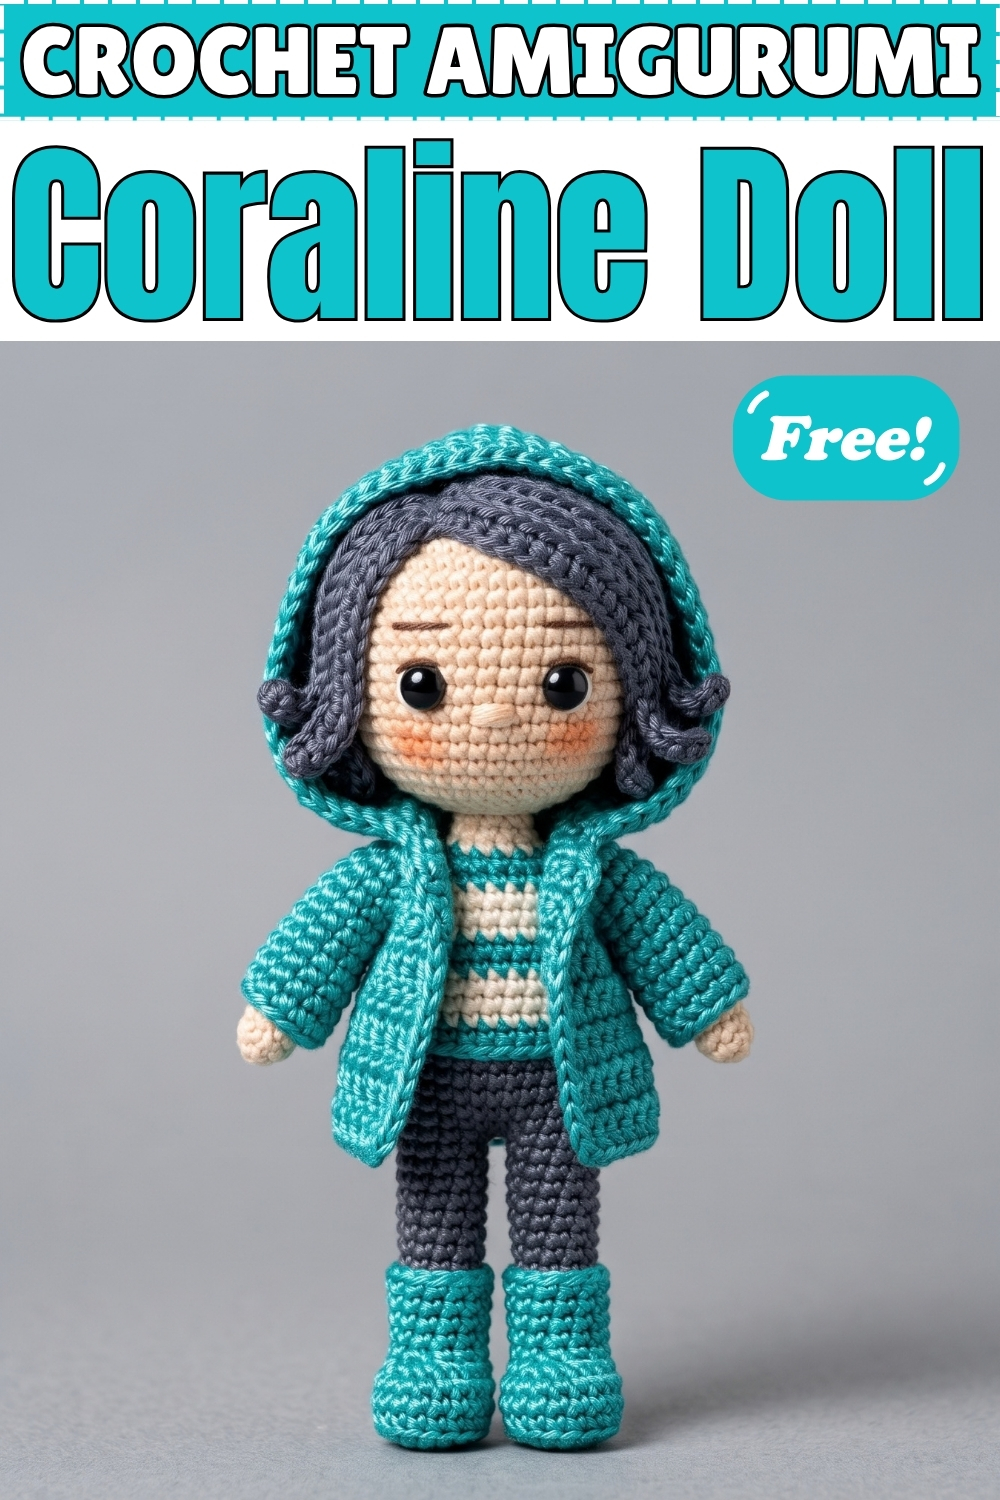
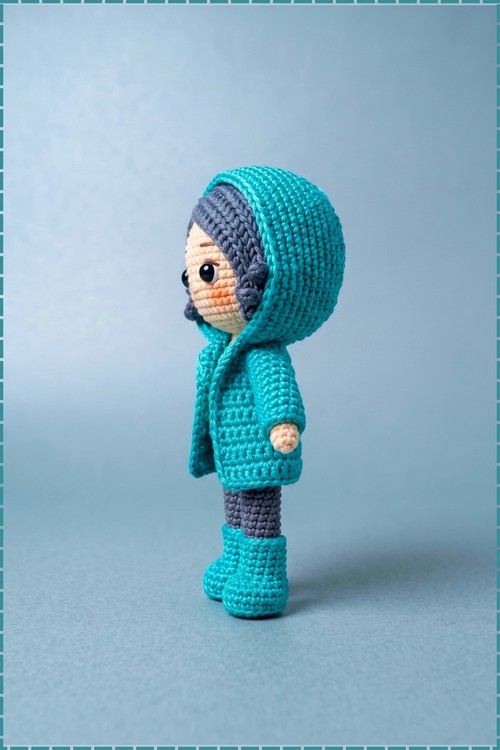
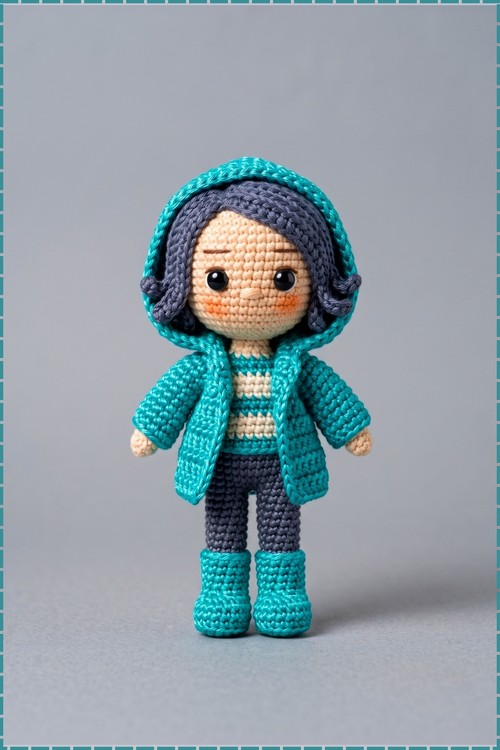
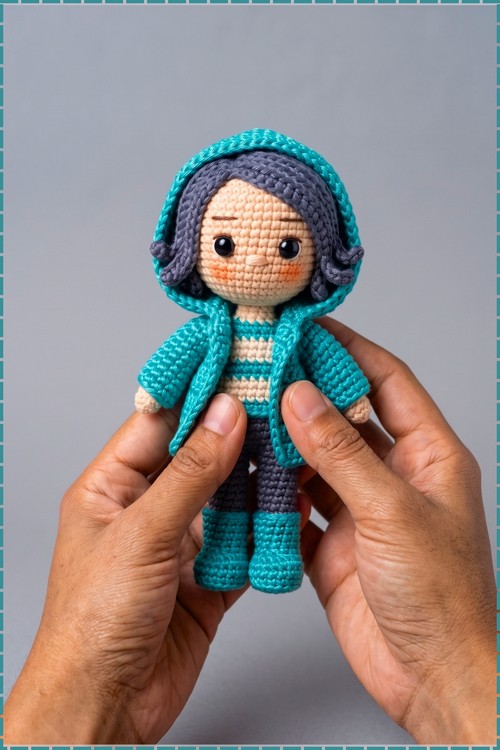
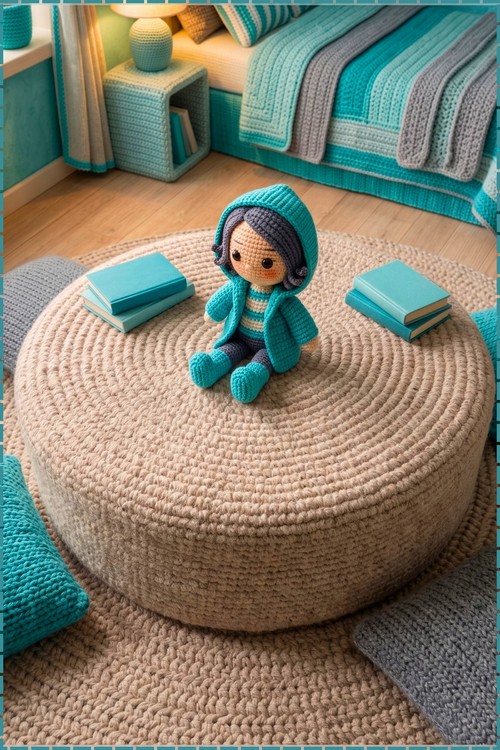
Legs grow first as two separate tubes, then a single joining round locks them into one continuous body that climbs straight through the shirt stripes up to the neck and into the head. Pipe cleaners running through the legs and neck keep everything upright without extra stiffener. The raincoat and hood are separate flat pieces that dress the finished doll, so the whole outfit is removable. My Coraline crochet amigurumi wears teal boots and a matching teal raincoat with hood, dark navy blue pants, a teal and cream striped shirt and dark blue hair with a side part.
Quick Facts
- Difficulty: intermediate, with the raglan raincoat being the most involved section.
- Time: from my own making, around five to seven hours for the complete doll including outfit, hair and face.
- Finished size: varies with yarn and tension. Mine stands a few inches tall and holds its pose because of the pipe cleaner armature.
- Pieces: legs and body worked as one, arms sewn on, hair sewn on, raincoat and hood worked flat as a separate garment.
Materials and Tools
- 100% cotton fingering or sport weight yarn in teal for the boots, raincoat and hood.
- Cotton yarn in dark navy blue for the pants.
- Cotton yarn in skin tone for the body, head and arm tips.
- Cotton yarn in dark blue for the hair.
- Cotton yarn in teal and cream for the striped shirt section. My shirt reads as teal and off white stripes.
- Crochet hook sized to your yarn, typically 2.0 mm or 2.5 mm.
- Two 6 mm or 7 mm black safety eyes.
- Thin black or brown embroidery thread for the eyebrows.
- Stuffing, pipe cleaners for the neck and leg support, tapestry needle, stitch markers.
- A small amount of orange or peachy blush powder for the cheeks. Optional but worth it.
Customization Ideas
- Change the raincoat colour entirely. The same construction works in any solid, and a classic yellow version matches the original character design.
- Use a lighter or darker skin tone for the head and arms.
- Embroider button eyes using black yarn in a spiral for a fan nod to the other world version of Coraline.
- Add a small crocheted cat in black to stand beside the doll, chaining and working a tiny flat shape until it reads as a sitting silhouette.
- Make the hair in black for a different character read, or add a small hair clip by stitching a tiny bow to the side of the parted base.
- Leave the raincoat off and display her in just the striped shirt and pants if you want a simpler version.
The Pattern
Legs and Boots (Make 2)
Begin with teal yarn for the boots.
- Base chain: Ch 5.
- Round 1: Starting in the 2nd chain from the hook, work 3 sc (single crochet). In the last chain, work 3 sc. Continue on the opposite side of the chain: 2 sc, then 2 sc in the last chain [10 sts].
- Round 2: Work [3 sc, 2 inc (increase, 2 sc in the same stitch), 3 sc, 2 inc] [14 sts].
- Round 3: BLO (back loops only) 14 sc [14 sts]. Working in back loops only here creates a visible ridge that marks the sole edge of the boot.
- Round 4: Work 14 sc in both loops [14 sts].
- Round 5: Work 3 sc, 3 dec (decrease, sc 2 together), 5 sc [11 sts].
- Round 6: Work 2 sc, 3 dec, 3 sc [8 sts]. Fold a pipe cleaner several times to the size of the boot and insert it now for stability before the leg rounds begin.
- Rounds 7 to 9: Work 8 sc [8 sts per round].
- Round 10: Change to dark navy blue yarn. BLO 8 sc [8 sts]. The back loop ridge marks the boot top clearly against the leg.
- Rounds 11 to 14: Work 8 sc [8 sts per round]. Fasten off the first leg. Do not cut the yarn on the second leg.
Body and Head
- Round 15 (Join Legs): From the second leg, sl st (slip stitch) into the inner middle of the first leg. Work 8 sc around the first leg, then 8 sc around the second leg [16 sts]. Count carefully here since the join stitch is easy to miss.
- Rounds 16 to 17: Work 16 sc [16 sts per round].
- Round 18: Change to dark teal yarn for the first shirt stripe. BLO 16 sc [16 sts].
- Round 19: Work 16 sc [16 sts].
- Round 20: Change to cream yarn. BLO 16 sc [16 sts].
- Round 21: Work 16 sc [16 sts].
- Round 22: Change to dark teal yarn. BLO 16 sc [16 sts].
- Round 23: Work 16 sc [16 sts].
- Round 24: Work [2 sc, 1 dec] repeat around [12 sts]. Stuff the body firmly before continuing.
- Round 25: Change to skin tone yarn. BLO work 6 dec [6 sts]. This narrow round is the neck.
- Round 26: Work 6 sc [6 sts]. Insert the folded pipe cleaner armature deep into the body and up through the neck before the head rounds close over it.
- Round 27: Work 6 inc [12 sts]. The head begins here.
- Round 28: Work [1 sc, 1 inc] 6 times [18 sts].
- Round 29: Work [2 sc, 1 inc] 6 times [24 sts].
- Round 30: Work [3 sc, 1 inc] 6 times [30 sts].
- Round 31: Work [4 sc, 1 inc] 6 times [36 sts].
- Rounds 32 to 40: Work 36 sc for 9 rounds [36 sts per round]. Insert the safety eyes between Rounds 6 and 7 of the head section, which is approximately Rounds 33 to 34 of the whole piece, leaving 5 stitches between them. Do this before the head narrows.
- Round 41: Work [4 sc, 1 dec] 6 times [30 sts].
- Round 42: Work [3 sc, 1 dec] 6 times [24 sts].
- Round 43: Work [2 sc, 1 dec] 6 times [18 sts]. Stuff the head firmly now.
- Round 44: Work [1 sc, 1 dec] 6 times [12 sts].
- Round 45: Work 6 dec [6 sts]. Fasten off, leave a tail, weave through the front loops of the last 6 stitches, pull tight to close the hole and hide the yarn inside.
Arms (Make 2)
- Round 1: Make a MR (magic ring) and work 6 sc in skin tone yarn [6 sts].
- Rounds 2 to 3: Work 6 sc [6 sts per round].
- Round 4: Change to dark teal yarn. BLO 6 sc [6 sts].
- Round 5: Work 6 sc [6 sts].
- Rounds 6 to 7: Change to cream yarn. Work 6 sc [6 sts per round].
- Round 8: Change to dark teal yarn. Work 6 sc [6 sts].
- Round 9: Change to cream yarn. Work 6 sc [6 sts]. Fasten off leaving a long tail. Sew each arm to the sides of the body at the first teal shirt stripe, approximately at Round 22.
Hair (Dark Blue Yarn)
The hair is made in two chain bases: a short side and a long side, to create the asymmetric side part visible in my photo. Short side base:
- Ch 11.
- Work 11 hair strands down this chain. For each strand: ch 13, starting in the 2nd chain from the hook work 12 sc, then sl st into the next base chain. Repeat until you have 11 strands. Fasten off leaving a long tail for sewing.
Long side base:
- Ch 16.
- Work 9 or 10 hair strands down this chain. For each strand: ch 16, starting in the 2nd chain from the hook work 15 sc, then sl st into the next base chain. Repeat to create 9 strands. Fasten off leaving a long tail.
Attachment: Pin both bases along the scalp to match Coraline's side part, with the longer strands sweeping to one side. Sew the bases to the scalp, then arrange and tack individual strands to frame the face and sit flat around the sides and back of the head.
Yellow Raincoat
Work in rows in teal yarn. The pattern calls this a yellow raincoat, but my version is teal throughout.
- Row 1: Ch 13. Starting in the 2nd chain from the hook: 2 sc, ch 2, 2 sc, ch 2, 4 sc, ch 2, 2 sc, ch 2, 2 sc. The ch 2 spaces mark the raglan corners for sleeve shaping.
- Row 2: Turn, ch 1. Work sc in each stitch across. When you reach a ch 2 space, work (1 sc, ch 2, 1 sc) into the space.
- Row 3: Turn, ch 1. Repeat Row 2.
- Row 4 (Armholes): Turn, ch 1. Work 5 sc. Ch 3, skip all the stitches of the first sleeve section and sc directly into the next ch 2 space. Work 9 sc across the back. Ch 3, skip the next sleeve section and sc into the next ch 2 space. Work 6 sc to the end.
- Rows 5 to 12: Turn, ch 1. Work sc in each stitch across including the chains under the arms. You should have approximately 26 stitches per row. Continue until you have 12 rows total or until the jacket reaches the desired length. Fasten off.
Sleeves:
- Join teal yarn at the underarm chain 3 space. Pick up 11 sc evenly around the armhole. Work 8 rounds of 11 sc. Fasten off and weave in the ends. Repeat for the second arm.
Teal Hood
Work from the neckline of the finished raincoat.
- Row 1: Attach teal yarn to the neckline foundation chain. Work 1 inc in every stitch across [24 sts].
- Rows 2 to 17: Turn, ch 1. Work 24 sc across for 16 rows total, until the hood is tall enough to cover the head.
- Closing: Fold the top of the hood in half with right sides together and sl st or sew the top edge completely closed. Turn it right side out. In my photo the hood sits up around the back of the head and frames the face, showing the teal border against the dark blue hair.
Face and Finishing Details
- Nose: Thread skin tone yarn on a tapestry needle and pass it horizontally 3 times between the eyes, across one stitch width, to raise a small soft bump for the nose.
- Eyebrows: Thread thin black or brown embroidery thread and stitch small diagonal eyebrows just above the eyes. Mine are short and sit close to the eyes.
- Cheeks: Lightly dab a small amount of peachy orange blush or eyeshadow under each eye with a dry brush. My version has a visible warm flush on both cheeks.
- Dress the doll in the raincoat once the face is complete.
Tips
- Insert the pipe cleaner before the body closes over it, not after. Once Round 25 narrows to 6 stitches the armature cannot pass through, and a floppy neck is the most common finishing problem on this doll.
- Count every round during the shirt stripes. The colour changes at BLO rounds and the single crochet rounds each count as one, and skipping a BLO marker makes the stripe lines look uneven.
- Tack the hair strands down at the face frame before sewing the bases permanently. The strands move a lot during attachment and pinning them first saves unpicking.
Yarn Substitution
Cotton at fingering or sport weight is the right choice here because the pipe cleaner armature needs a fabric with no stretch to hold the pose. Acrylic at the same weight will work, but the doll leans more under the weight of the hair and coat. Avoid anything heavy or fluffy since the stripe detail and the face features both read poorly when the yarn is thick or textured.
Frequently Asked Questions
Why does my doll lean forward after finishing? The neck pipe cleaner needs to reach deep into the body as well as up into the head. A short or loosely inserted armature only supports the neck, and the weight of the large head tips it forward. Push the pipe cleaner all the way to the base of the body before closing. How do I get the BLO rounds to line up with the stripe changes? Each stripe begins on a BLO round, which leaves a visible ridge at the colour change. Keep the colour change on the last pull through of the stitch before the new round rather than at the start of the new round, and the ridge will sit cleanly at the stripe edge rather than a stitch early. My raincoat sits too tightly around the body. What went wrong? The raglan increases in Rows 1 to 3 need to be worked loosely so the yoke has room to spread over the shoulders. Working those rows too tight is the main cause of a coat that bunches at the armhole. Can I make the hair in a different colour? Yes. The pattern gives the hair method and strand counts; the colour is entirely your choice. Black, brown, or auburn all work with the same chain lengths and placement.