
Crochet Dolphin Amigurumi Free Pattern
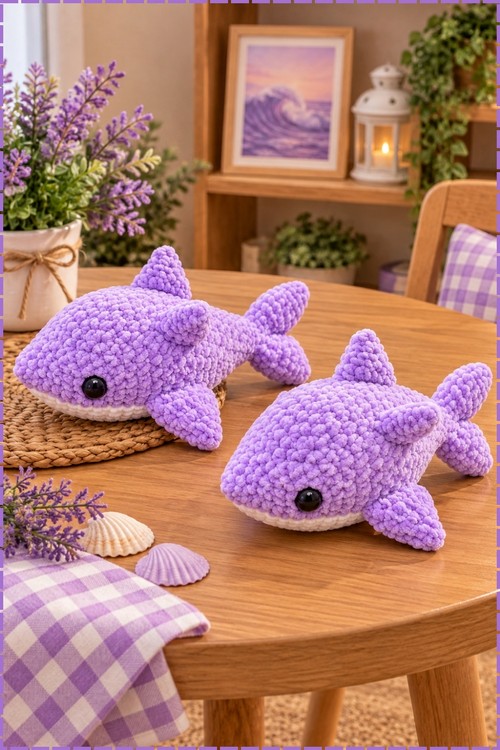
Two small tail flukes start this crochet dolphin amigurumi, and one joining round turns them straight into the body with no seam to sew. Bulky purple yarn on a 7 mm hook works up the free pattern fast, while a cream belly shift gives it an ocean look.
Purple chenille and a cream belly make this crochet dolphin soft enough for a nursery shelf. Good for ocean loving kids, new baby gifts, and anyone building a sea animal set. The crochet dolphin holds its shape in small hands, so toddlers can carry it around without damage.
Crochet Dolphin
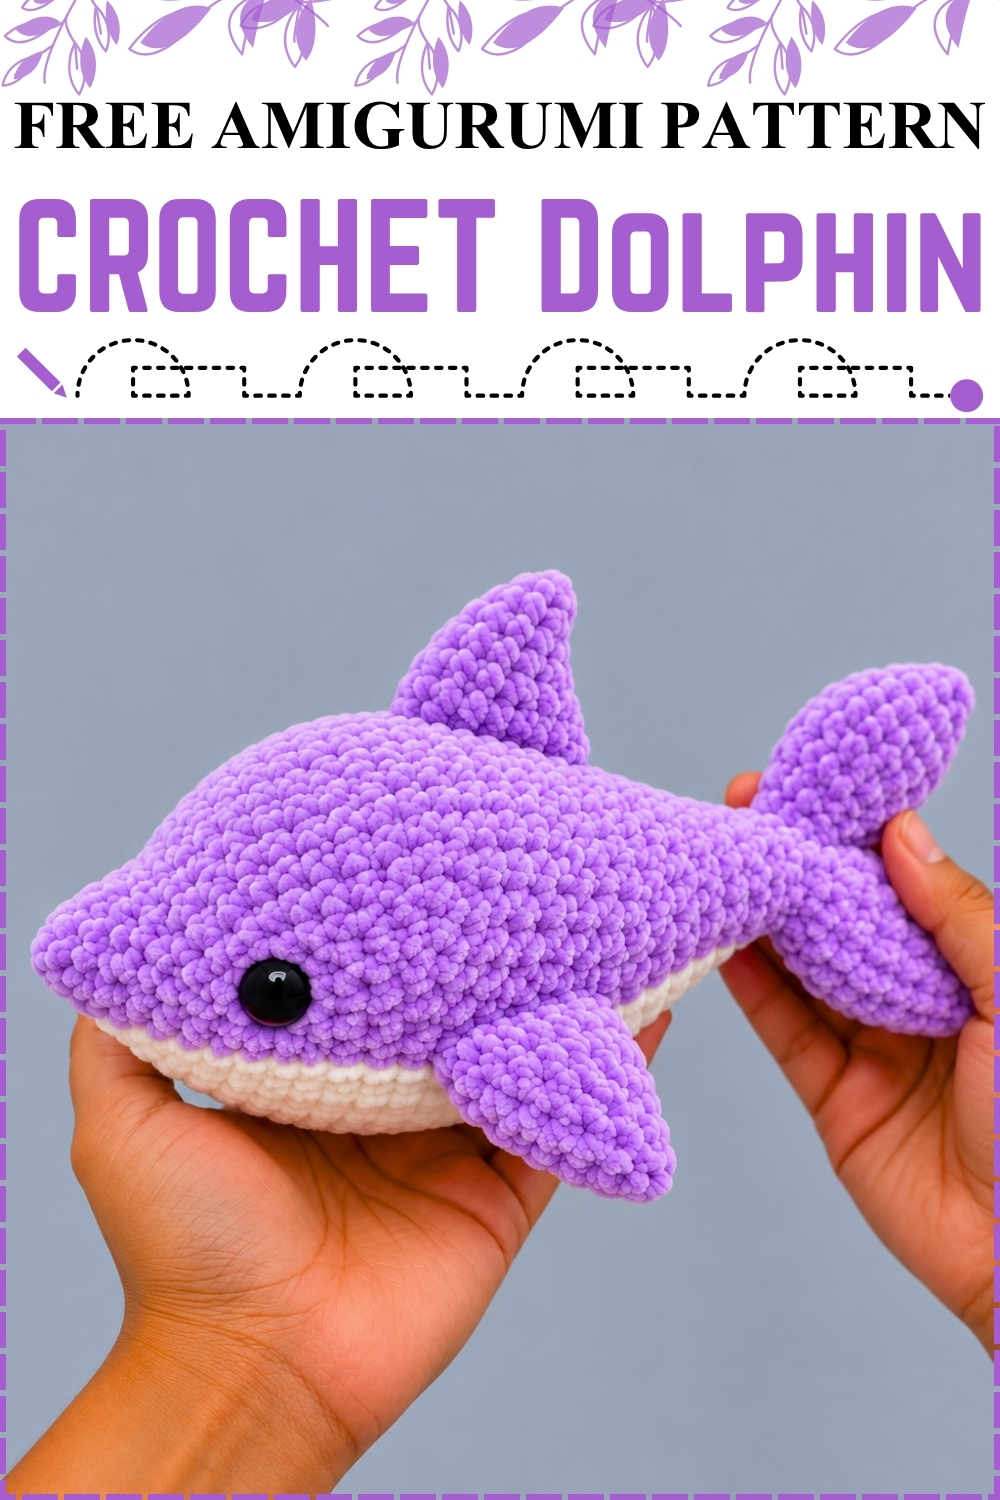
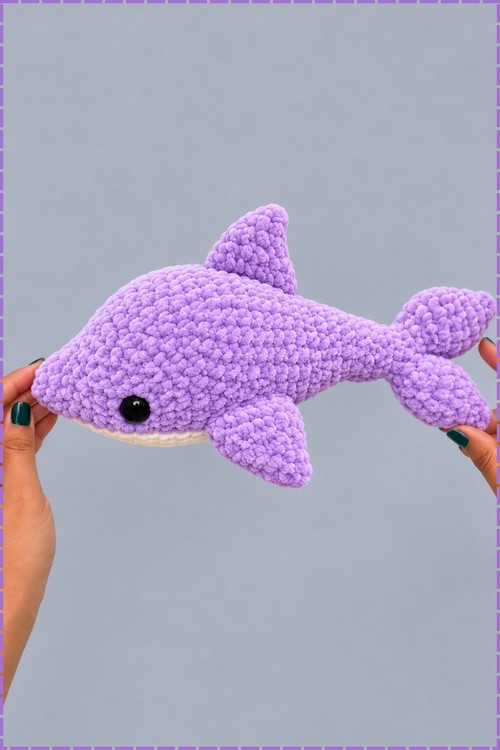
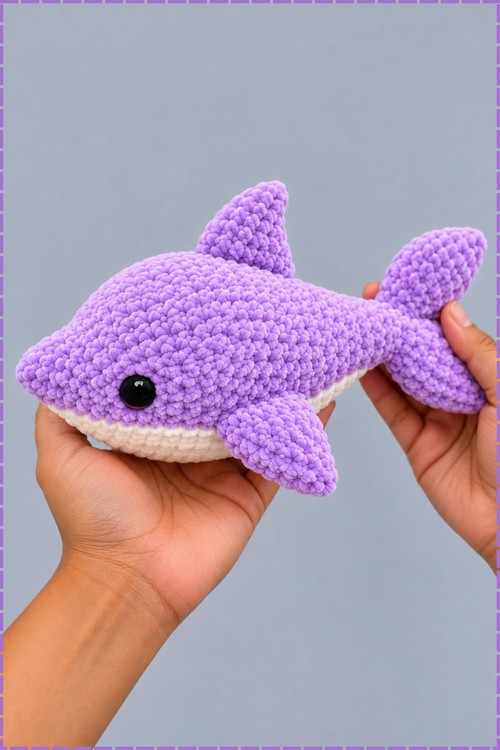
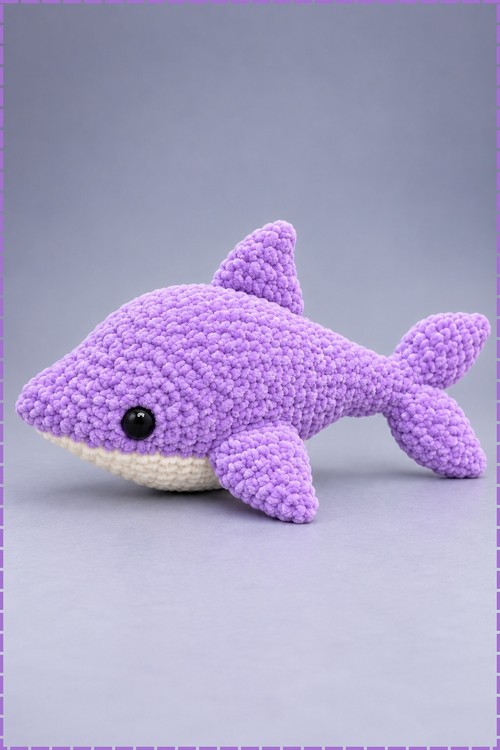
Tail flukes come first on this build, joined together in one round that simultaneously starts the body taper, so the whole underside of the crochet dolphin grows continuously without any seam at the tail end. My finished dolphin is worked in a bright purple throughout the body, dorsal fin and pectoral fins, with a cream or off-white belly section visible along the underside from snout to tail. Eyes are large glossy black safety eyes. All five parts, two flukes, body and snout, two pectoral fins and one dorsal fin, are made in the same purple, and the belly colour shift happens within the body rounds rather than as a separate sewn panel.
Materials and Tools
- Bulky or super bulky yarn in bright purple for the body, flukes, pectoral fins and dorsal fin
- Bulky or super bulky yarn in cream or off-white for the belly section
- 7 mm crochet hook, or size appropriate for your yarn
- 25 mm black safety eyes
- Polyester fiberfill stuffing
- Yarn needle
- Scissors
- Stitch markers
The source pattern specifies Bernat Blanket Mystical in Teal Stream. My version uses purple throughout the body and fins, with a cream belly. The colour change point for the belly sits within the body rounds and is not specified in the base pattern, so work it where the cream section becomes visible from the front, matching the photo.
Difficulty and Time
Intermediate. The joining round for the flukes is the most technical part of this build. Every other section is standard amigurumi single crochet with increases and invisible decreases. From my experience a dolphin at this scale takes several hours in one or two sittings, with most of that time in the long body section between Rounds 11 and 38.
Technique Notes and Tips
- Work in continuous rounds and keep a stitch marker in the first stitch. The body is long and the round count matters for correct fin placement.
- Invisible decrease means inserting the hook through the front loops only of the next two stitches and pulling through both at once, which keeps the decrease smooth on the outside of the fabric. A standard decrease creates a small ridge that is very visible at this yarn weight.
- Stuff the body firmly and continuously from Round 30 onward. Trying to stuff after the snout is closed means forcing fiberfill through a narrow opening.
- Pin both pectoral fins and the dorsal fin before sewing any of them. Placement relative to the eyes is the thing most worth checking twice.
- The cream belly section on my doll is a colour change within the body rounds. Work the change at the appropriate round and carry the unused colour loosely along the inside until it is needed again, or fasten off and rejoin.
- The gap between the two flukes after joining needs to be sewn closed using the tail left from Fluke 1. Do this immediately after Round 10 while the gap is easy to reach.
The Pattern
Tail Fluke 1
- Use the 7 mm hook and purple yarn
- Round 1: 5 single crochet (sc) in a magic ring [5]
- Round 2: 2 sc, 1 increase (inc, meaning 2 sc in the same stitch), 2 sc [6]
- Round 3: 1 sc, 1 inc, repeat 3 times [9]
- Round 4: 2 sc, 1 inc, repeat 3 times [12]
- Round 5: 3 sc, 1 inc, repeat 3 times [15]
- Rounds 6 to 8: 1 sc in each stitch around for 3 rounds [15]
- Fasten off and leave a long yarn tail for sewing the gap between the flukes later
Tail Fluke 2
- Rounds 1 to 8: repeat exactly as Fluke 1 but do not cut the yarn, continue directly into the joining round
Joining the Flukes and Body Construction
- Round 9 (joining round): on Fluke 2 work 3 invisible decreases (inv-dec, insert hook through front loops of next 2 stitches, pull through both loops, yarn over and pull through), then 1 sc, join to Fluke 1 with 1 sc, then work 7 inv-dec on Fluke 1, return to Fluke 2 and work 4 inv-dec [16]
- Round 10: 2 sc, 1 inv-dec, repeat 4 times [12]
- Sew the small gap between the two flukes closed using the yarn tail left from Fluke 1
- Round 11: 12 sc around, and adjust your position to the side of the piece before starting the next round [12]
- Round 12: 3 inv-dec, 6 inc [15]
- Rounds 13 to 15: 15 sc around for 3 rounds [15]
- Round 16: 3 inv-dec, 1 sc, 6 inc, 2 sc [18]
- Rounds 17 to 19: 18 sc around for 3 rounds [18]
- Round 20: 1 sc, 2 inc, 6 sc, 4 inc, 5 sc [24]
- Rounds 21 to 23: 24 sc around for 3 rounds [24]
- Round 24: 3 sc, 2 inc, 9 sc, 4 inc, 6 sc [30]
- Rounds 25 to 28: 30 sc around for 4 rounds [30]
- Round 29: 4 sc, 3 inc, 12 sc, 3 inc, 8 sc [36]
- Rounds 30 to 34: 36 sc around for 5 rounds [36]
- Begin stuffing the body firmly now and continue adding stuffing as you close the snout
- Round 35: 6 sc, 3 inc, 14 sc, 3 inv-dec, 7 sc [36]
- Rounds 36 to 38: 36 sc around for 3 rounds [36]
- Place the 25 mm safety eyes between Rounds 36 and 37, spaced about 16 to 17 stitches apart and centred on the sides of the head, and on my dolphin these sit as large glossy black rounds on the purple sides with the cream belly running below them
- Round 39: 1 inv-dec, 7 sc, 3 inc, 8 sc, 8 inv-dec [30]
- Round 40: 30 sc around [30]
- Round 41: 2 inv-dec, 18 sc, 4 inv-dec [24]
- Round 42: 2 inv-dec, 12 sc, 4 inv-dec [18]
- Continue adding stuffing to the body and head area
Snout
- Round 43: 3 inv-dec, 6 sc, 3 inv-dec [12]
- Round 44: 4 sc, 1 inv-dec, repeat twice [10]
- Round 45: 3 sc, 1 inv-dec, repeat twice [8]
- Add a small amount of stuffing to the snout if needed before it closes
- Round 46: 2 sc, 1 inv-dec, repeat twice [6]
- Fasten off leaving a tail, weave the yarn through the front loops of the last 6 stitches, pull tight to close the hole, and hide the tail inside the body
Pectoral Fins (Make 2)
- Use the 7 mm hook and purple yarn
- Round 1: 4 sc in a magic ring [4]
- Round 2: 1 sc, 1 inc, repeat twice [6]
- Round 3: 2 sc, 1 inc, repeat twice [8]
- Round 4: 3 sc, 1 inc, repeat twice [10]
- Round 5: 4 sc, 1 inc, repeat twice [12]
- Round 6: 5 sc, 1 inc, repeat twice [14]
- Rounds 7 and 8: 14 sc around for 2 rounds [14]
- Do not stuff, flatten the fin, and single crochet across both sides with 7 sc to close the opening
- Fasten off leaving a long tail for sewing
Dorsal Fin (Make 1)
- Use the 7 mm hook and purple yarn
- Round 1: 4 sc in a magic ring [4]
- Round 2: 1 sc, 2 inc, 1 sc [6]
- Round 3: 2 sc, 2 inc, 2 sc [8]
- Round 4: 3 sc, 2 inc, 3 sc [10]
- Round 5: 4 sc, 2 inc, 4 sc [12]
- Round 6: 5 sc, 2 inc, 5 sc [14]
- Round 7: 14 sc around [14]
- Fasten off leaving a long tail for sewing
Assembly
- Pin both pectoral fins to the sides of the body between Rounds 23 and 30, aligned with the centre of the eyes, and check both sides from the front before sewing either one
- Sew each pectoral fin by alternating stitches between the body and the flat closed edge of the fin, tie a secure knot inside the body, and hide the yarn tails
- Pin the dorsal fin to the top centre of the body between Rounds 23 and 29 with its curved edge pointing back toward the tail flukes
- Sew all around the base of the dorsal fin to secure it, then weave and hide the remaining yarn tail inside the body
Yarn Substitution
Any chunky or bulky weight yarn produces the dense, plush texture visible in the photo. Chenille or velvet yarn gives the same surface at this hook size and is especially soft for a toy. Standard acrylic bulky works perfectly well. Avoid anything too splitty at 7 mm since the invisible decrease requires picking up front loops cleanly.
Customisation Ideas
- Add a second colour across the belly rounds in cream or white for the two-tone look of my version.
- Work the fins and flukes in a lighter shade of the same colour for a subtle gradient.
- Reduce the safety eye size to 18 mm for a slightly less wide-eyed expression.
- Add a small smile with a few stitches of black yarn between Rounds 42 and 43 on the snout underside.
- Change the colour entirely to grey for a more realistic bottlenose dolphin.
FAQ
Where exactly does the cream belly start and end? The base pattern does not specify belly colour placement, since it is written in one colour throughout. On my dolphin the cream runs along the underside of the body from roughly where the body begins to widen (around Round 20) through to the snout tip. Work the colour change where it looks right from the side angle and keep the cream only on the bottom half of each round.
Why do I start with the flukes instead of the head? Building tail-first means the joining round creates a natural taper that would be very difficult to achieve by sewing two separately made flukes onto a finished body. The continuous construction also means no seam is visible at the tail end.
My pectoral fins are sitting at different angles. How do I fix it? Take both pins out, hold the dolphin at arm's length from the front, and re-pin. The fins should be mirror images of each other relative to the belly line. Sewing one and then eyeballing the second almost always results in an angle difference.