
Crochet Dinosaur Amigurumi Free Pattern Keychain - Tiny Dino with Spikes
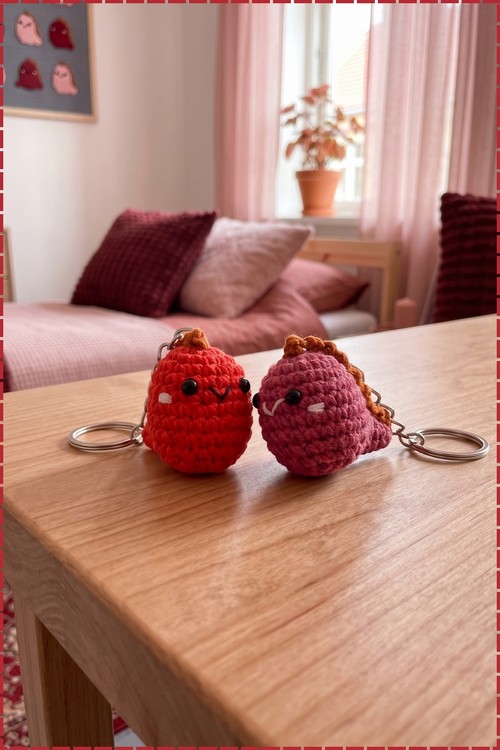
School lockers and pencil cases look brighter with a crochet dinosaur keychain in tomato red or berry pink, topped with a row of orange spikes. Little dino fans get a smiling amigurumi dinosaur keychain that hangs from a silver chain and stands upright on a desk between school runs.
Silver chains and egg shaped bodies make this crochet dinosaur amigurumi keychain an easy party favour. Hand them out at birthdays, classroom parties, or Easter baskets. Spring fairs sell them fast. Crochet dinosaur amigurumi keychain sets in two colours clip onto every school bag by term start.
Crochet Dinosaur Amigurumi Keychain
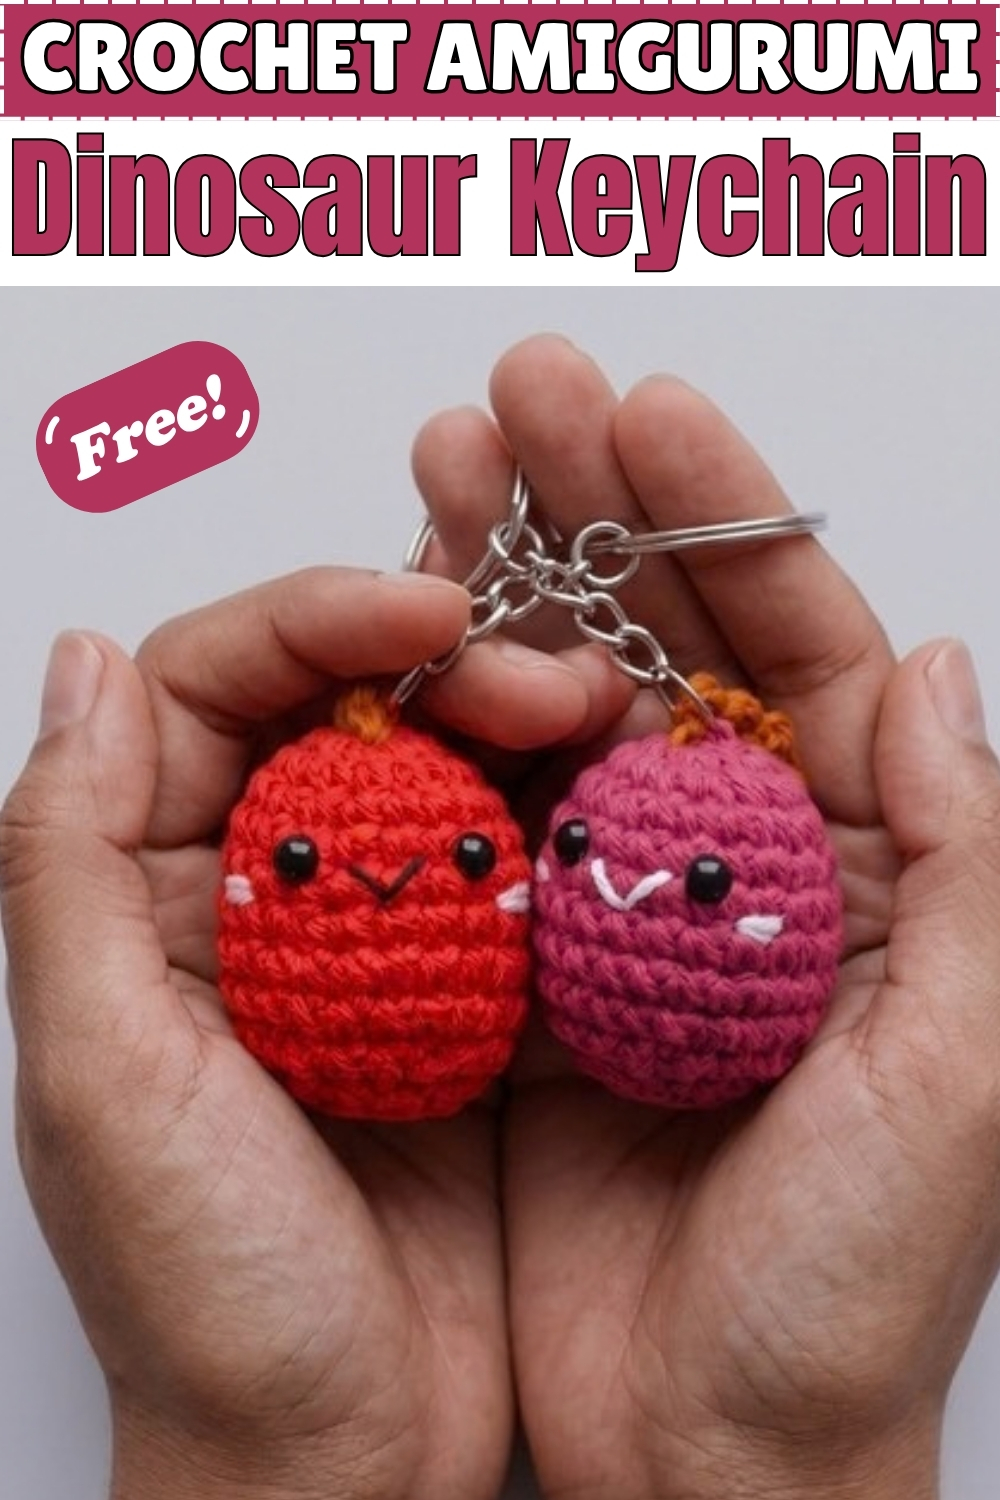
Four rounds of plain single crochet build the widest part of this body, and a back loop only close at Round 12 leaves a flat base so the finished crochet dinosaur amigurumi keychain stands upright on its own between uses. Mine came out in two colourways at once, one in bold red with orange spikes and one in pink with orange spikes, both hanging from silver chain keyrings. Spikes run in a single strip from tail tip to crown and get sewn down in one pass. Tail, body and spike strip are made separately and joined at the end.
Materials and Tools
- 4-ply yarn in red for the body and tail of the first dino
- 4-ply yarn in pink for the body and tail of the second dino
- 4-ply yarn in orange for the spike strip on both
- Small amount of black yarn for the smile embroidery
- Small amount of white yarn for the blush, or use white embroidery thread
- 3.0 mm crochet hook
- Two small black bead or button eyes per dino, or safety eyes
- Fiberfill stuffing
- Yarn needle
- Stitch markers
- Scissors
- Blank keychain ring with chain per dino, silver finish as on mine
Using a 3.0 mm hook with 4-ply yarn gives a tight enough fabric that the stuffing stays hidden. Sizing down one step from the yarn's recommended hook is intentional.
Why I Love This One
Two colours of body yarn, one spike colour, two keyrings, and you have a matched set to give or keep. The spike strip is the part that looks fiddly in photos but takes about three minutes to make once you understand that each spike is just a chain two folded back on itself.
The Pattern
Body
- Use the 3.0 mm hook and body yarn, either red or pink
- Round 1: 6 single crochet (sc) into a magic ring (MR) [6]
- Round 2: increase (inc, meaning 2 sc in the same stitch) in every stitch around [12]
- Round 3: 1 sc, inc, repeat 6 times around [18]
- Round 4: 1 sc in every stitch around [18]
- Round 5: 5 sc, inc, repeat 3 times around [21]
- Round 6: 1 sc in every stitch around [21]
- Round 7: 6 sc, inc, repeat 3 times around [24]
- Rounds 8 and 9: 1 sc in every stitch around [24] and by this point the body should be a plump egg shape, wider than it is tall
- Round 10: 2 sc, invisible decrease (inv dec, meaning decrease using front loops only), repeat 6 times around [18]
- Round 11: 1 sc, inv dec, repeat 6 times around [12]
- Pause here and stuff the body firmly before the opening gets too small
- Round 12: in back loops only (BLO), work 6 regular decreases (dec) [6] and working into the back loops here leaves the front loops free to create a flat bottom so the dino can stand
- Cut the yarn leaving a long tail, thread it through the front loops of the remaining 6 stitches, and pull tight to close the hole
- Push the needle through the centre bottom of the body and bring it out at the exact top centre of the head, and leave this tail hanging for the keychain attachment later
Tail
- Use the 3.0 mm hook and the same body yarn as the body
- Round 1: 4 sc in a magic ring [4] and the piece may curl inward at this size, just flip it right side out using the blunt end of your hook
- Round 2: 1 sc, inc, repeat twice [6]
- Round 3: 1 sc in every stitch around [6]
- Round 4: 2 sc, 2 inc in the next two consecutive stitches, 2 sc [8]
- Round 5: 1 sc in every stitch around [8]
- Slip stitch into the next stitch, cut yarn leaving a long sewing tail, and fasten off
- Stuff the tail very lightly, just enough to hold its shape without going stiff
Spike Strip
- Use the 3.0 mm hook and orange yarn
- Make a slip knot
- Spike 1: chain 2, skip the first chain, and slip stitch (sl st) into the 2nd chain from the hook
- Spike 2: chain 2, sl st into the 2nd chain from the hook
- Continue the same sequence, chain 2 then sl st into the 2nd chain, until the strip is long enough to run from the tail tip to the crown of the head, which on my pair of dinos needed roughly 9 spikes
- Fasten off leaving a long tail for sewing
Assembly and Facial Features
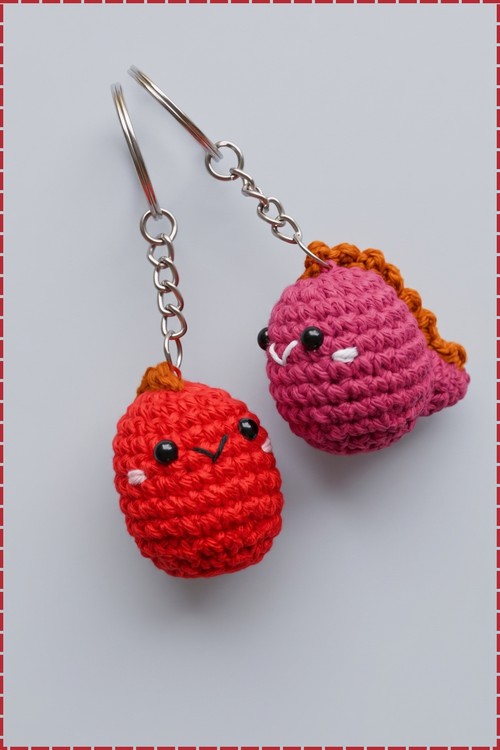
- Smile: separate a single ply from black yarn and thread your needle, then count down from the top of the head to find Round 6, and make a straight horizontal stitch across 2 stitches, bring the needle out one round lower at Round 7 directly below the centre of that stitch, loop the yarn over the straight stitch and pull slightly downward to shape a small V or U, then tie the tails securely at the back of the head and push the knot inside the body
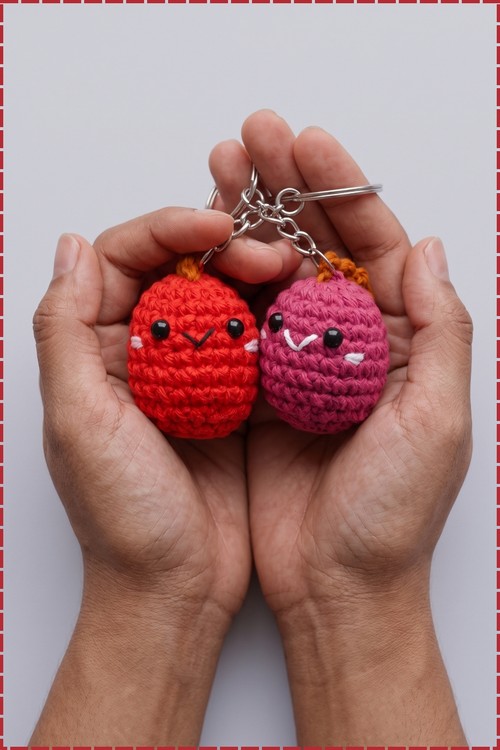
- Eyes: place each eye between Rounds 6 and 7, one stitch away from the outer edge of each smile arm, and glue or sew them in place, and on both my dinos these are small black beads that sit close together for a compact cute face
- Blush: thread a needle with white yarn and sew a small horizontal line, one stitch wide, right beside the outer edge of each eye between Rounds 6 and 7, and my version uses white rather than pink for the blush marks, which is clearly visible in the photo as two small white stitches flanking each smile
- Keychain: take the long tail still coming out of the top of the head, thread it on a needle, pass it through the jump ring of the keychain, return through the exact same hole, pull tight, tie securely to a neighbouring stitch, and hide the knot inside the body
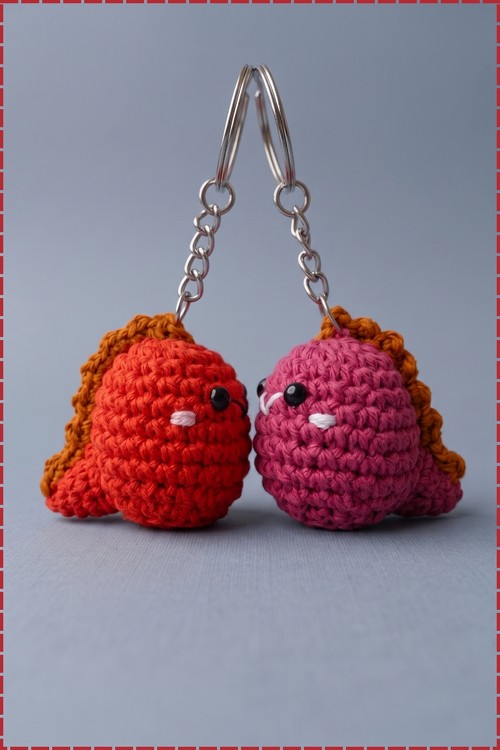
- Tail: position the lightly stuffed tail at the bottom centre back of the body with the curved side, where the increases sit in Round 4, facing upward, and sew it cleanly all the way around by weaving under body stitches and through tail edges, then hide the remaining tail inside the body
- Spikes: use the long orange tail left at the end of the strip, start sewing from the tip of the tail and follow a straight line up the back to the crown of the head finishing just behind the keychain loop, and on my dinos the strip sits neatly along the spine with the orange standing out clearly against both the red and the pink body colours, then push the needle into the body, bring it out the side, knot to secure, and hide the excess
Customisation Ideas
- Make a whole set in different body colours with the same orange spike for a matching group.
- Use safety eyes if the keychain is going to a child.
- Embroider the blush in pink instead of white for a softer look.
- Try a longer chain between the ring and the dino for a bag pendant rather than a keychain.
- Make the spike strip in the same colour as the body for a more subtle finish.
Yarn Substitution
Any smooth 4-ply or fingering weight works here. Cotton gives a firmer body that holds the flat base better. Acrylic is softer and the body rounds slightly on the bottom, so tuck a small disc of cardboard inside before closing if you want it to stand. Avoid anything textured or fluffy because the smile and blush stitches disappear into the surface.
FAQ
Can I make this without a keychain ring and just use it as a toy? Yes, leave the tail at the top out entirely, close the body normally, and it becomes a small standalone figure. Skip the chain and ring entirely.
Why does my spike strip look twisted? Each spike is a chain 2 folded back on itself, and the strip should lie flat. If it twists, the slip stitches are too tight. Work them loose enough that the strip will bend when you sew it along the spine.
My dino falls over. What went wrong? The flat base depends on the Round 12 BLO decrease. If that round was worked through both loops, the bottom curves under instead of sitting flat. The fix is to restuff from the closing hole and press the base down while it sets, or add a small felt circle sewn across the front loops.
How do I keep the eyes from falling off? Use safety eyes with their backing plates, which lock from inside the body before you close Round 12. Beads and buttons held with glue work for display pieces but should not go on anything a child will handle.