
Crochet Donut Keychain Free Pattern Amigurumi
Red frosting and beige dough share one tube on this crochet donut keychain: start from a joined foundation chain, change colour halfway, then fold the halves together around the stuffing. Black safety eyes, embroidered sprinkles and two dangling legs finish it.
Orders keep coming in for the crochet donut keychain because the dangling legs make people laugh before they even pick it up. Sprinkles sell it. Every crochet donut keychain can get a different icing color, so no two match and buyers want the whole tray. That is why this one never sits on the table.
Crochet Donut Keychain
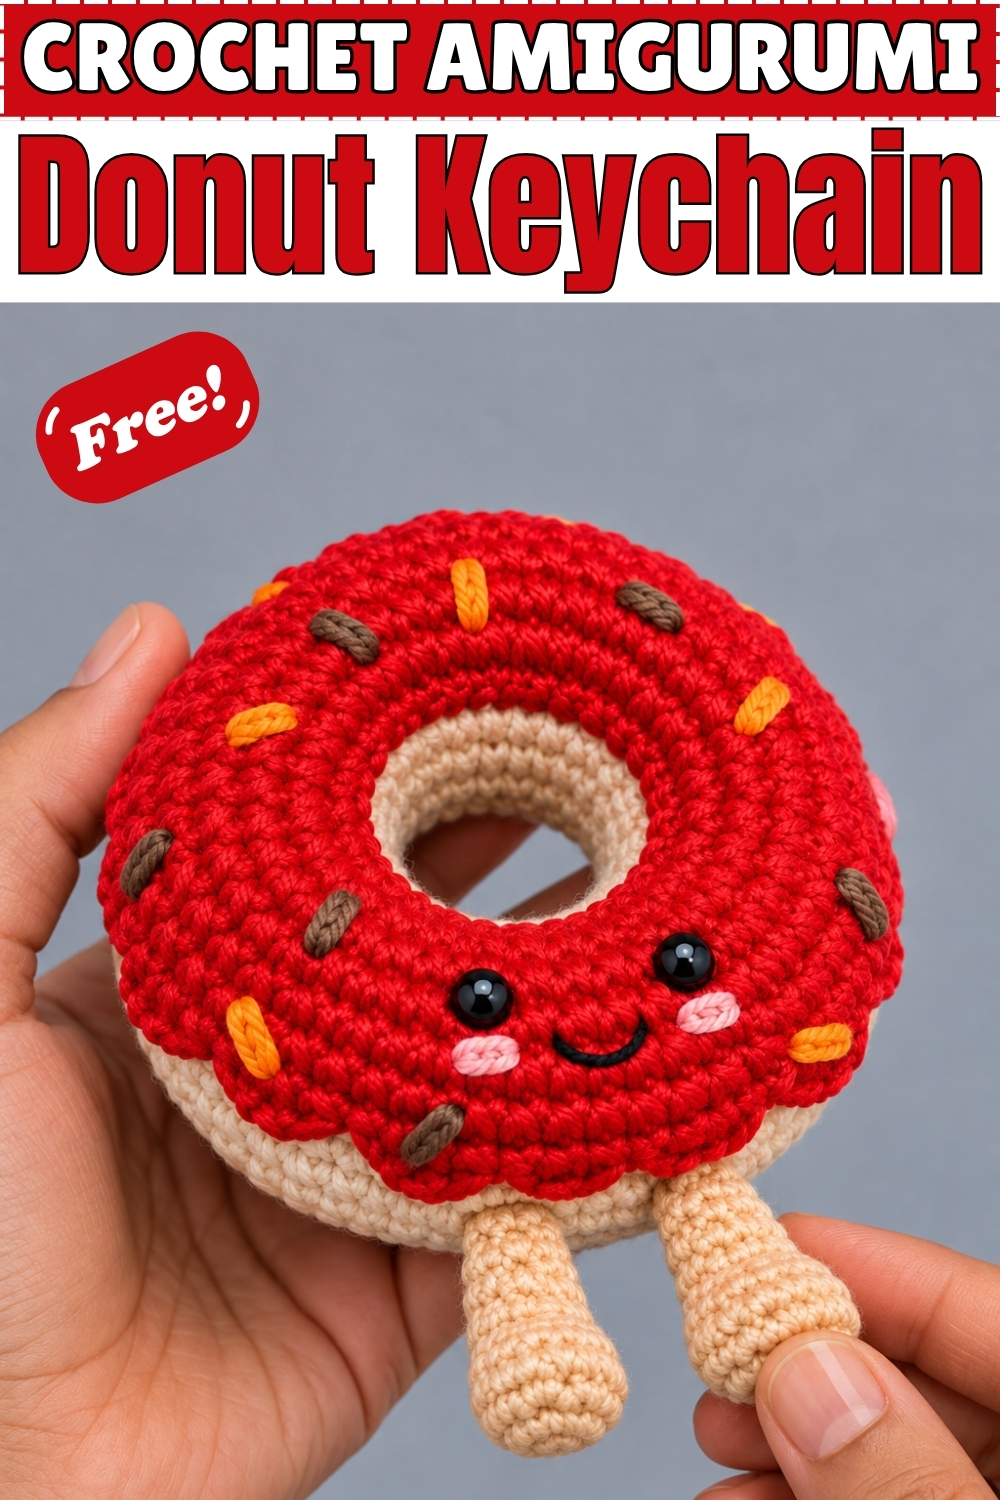
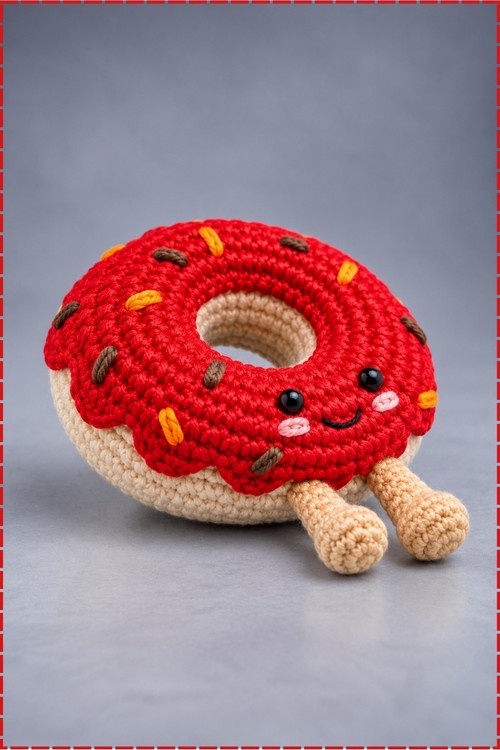
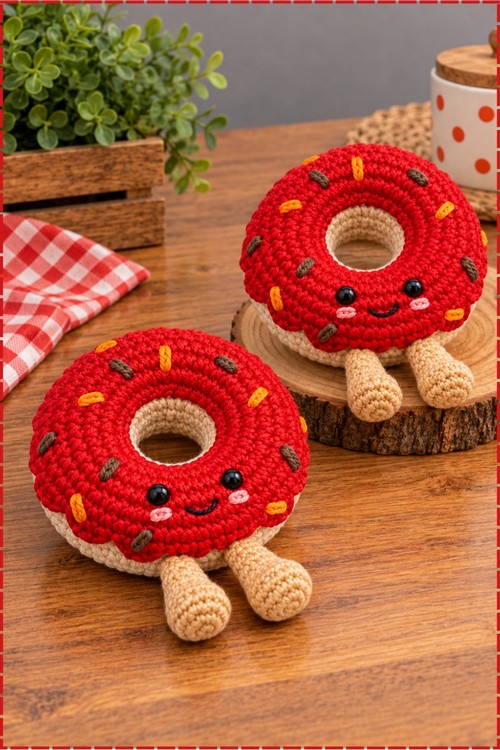
A foundation chain joined into a ring starts this crochet donut keychain as a tube that grows outward through increases, then mirrors that shape back inward through decreases and folds shut into a solid stuffed ring. The colour changes partway through the tube so the top half becomes the frosting and the bottom half stays as the dough, and folding the two halves together is what creates the donut shape. Mine uses warm beige for the dough and bold red for the frosting, with orange and brown sprinkles embroidered across the top and two beige legs dangling from the underside.
Beginner Technique Notes
- A foundation chain joined into a ring is simply a starting chain where you slip stitch the last chain to the first to make a circle. Check the chain is not twisted before you join, because a twist cannot be undone once you start crocheting into it.
- Front Loop Only (FLO) means inserting your hook into only the front strand of the V at the top of each stitch, leaving the back strand unworked. Working FLO on round 12 creates a visible ridge where the frosting appears to sit slightly raised above the dough, which is exactly the effect you can see on mine.
- A colour change on the last single crochet of a round means you start the stitch in the old colour and pull the final two loops through with the new colour. This keeps the join clean on the right side.
- The invisible decrease picks up only the front loops of two stitches at once. It lies flatter than a standard decrease and keeps the outside of the donut smooth without visible divots.
- Whipstitching the inner edges means running your needle over and over through both layers at the opening, like lacing two pieces together. Stuff the donut just before you close the last centimetre so no polyfill escapes.
- The legs use a magic ring (MR). Wrap yarn around your fingers, insert the hook through the loop, pull up a working loop, and crochet into the ring before pulling the tail tight to close it.
Materials and Tools
- 5 ply yarn in warm beige for the dough and legs
- 5 ply yarn in bright red for the frosting
- 4 ply yarn in orange and brown for the sprinkles and legs
- Crochet hook, 3.0 mm for the donut body
- Crochet hook, 2.0 mm for the legs
- Two black safety eyes, approximately 6 mm or 8 mm
- Black yarn or embroidery thread for the smile
- Pink yarn for the cheek blush, optional
- Polyfill stuffing
- Stitch marker, tapestry needle, scissors
Abbreviations
- SC: single crochet
- FLO: front loop only
- SC2TOG or DEC: decrease, meaning single crochet 2 stitches together
- INC: increase, meaning 2 SC in one stitch
- SL ST: slip stitch
- MR: magic ring
- CH: chain
Difficulty and Time
This is an intermediate project because of the colour change, the fold and sew closing method, and the leg attachment. Each step on its own is beginner level, but combining them takes some patience. In my experience the donut body alone takes about an hour, with the face, sprinkles, and legs adding another thirty to forty minutes.
The Pattern
Donut Body (Beige Yarn, 3.0 mm Hook)
- Foundation: chain 24, then carefully slip stitch into the first chain to form a ring without twisting it. The ring is the center hole of the donut; keep it open throughout.
- Round 1: work 1 SC in each chain around [24 sts].
- Round 2: work SC in the next 3 stitches then 1 INC, repeated 6 times around [30 sts].
- Round 3: work SC in the next 4 stitches then 1 INC, repeated 6 times around [36 sts].
- Round 4: work SC in the next 5 stitches then 1 INC, repeated 6 times around [42 sts].
- Rounds 5 through 10, 6 rounds total: work 1 SC in each stitch around [42 sts per round]. The tube is now at its widest point and should feel full and even.
Colour Change to Red Frosting
- Round 11: work 1 SC in the first 41 stitches using beige. On the very last SC of this round, start the stitch in beige but pull through the final two loops with the red yarn to complete the colour change cleanly [42 sts].
- Round 12: using red yarn and working in front loops only (FLO), work 1 SC in each stitch around. This FLO round creates the slight raised ridge where the frosting meets the dough, visible on the outside of the finished piece [42 sts].
- Rounds 13 through 16, 4 rounds total: working in both loops as normal, work 1 SC in each stitch around [42 sts per round].
Shaping the Top and Closing
- Round 17: work SC in the next 5 stitches then 1 DEC, repeated 6 times around [36 sts].
- Round 18: work SC in the next 4 stitches then 1 DEC, repeated 6 times around [30 sts].
- Round 19: work SC in the next 3 stitches then 1 DEC, repeated 6 times around [24 sts].
- Round 20: work 1 SC in each stitch around [24 sts]. Fasten off leaving a very long tail of about 15 to 20 inches for sewing.
Face, Sprinkles, Stuffing, and Closing
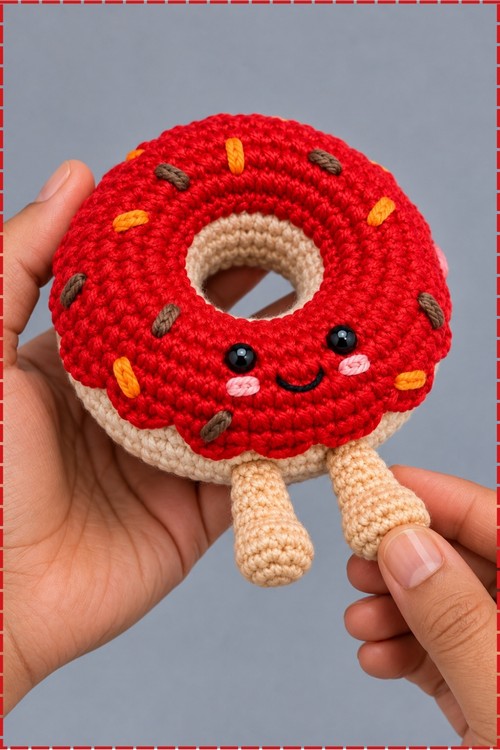
- Before sewing the donut shut, insert the safety eyes between rounds 13 and 14 on the red frosting side, placing them approximately 4 to 5 stitches apart. Press the washers on firmly from inside. On mine the eyes sit side by side near the lower center of the frosting, giving the face a forward looking, friendly expression.
- Using the tapestry needle threaded with black yarn, embroider a small curved smile beneath and between the eyes. On mine the smile is a shallow U shape stitched with two or three short passes, and it sits clearly below and between the eyes.
- Using pink yarn, add small blush cheeks on either side of the smile. Mine are a few short parallel stitches that read as soft pink ovals against the red frosting.
- Using orange and brown 4 ply yarn and the tapestry needle, sew random short straight stitches across the red frosting section to look like sprinkles. On mine they are scattered in no particular pattern, some horizontal and some slightly angled, which is what makes them read naturally.
- Fold the red top of the tube down toward the beige bottom so round 20 meets round 1, aligning the inner edges. Using the long tail and the tapestry needle, whipstitch the inner edges of round 1 and round 20 together, stopping just before closing completely.
- Stuff the donut firmly with polyfill through the remaining gap, then finish the whipstitch to close. Tie off and hide the tail inside the body.
Dangly Legs (Make 2, Beige Yarn, 2.0 mm Hook)
- Round 1: make a magic ring (MR) and work 6 SC into the ring, then pull tight to close [6 sts]. This forms the round foot at the base of each leg.
- Rounds 2 and 3: work 1 SC in each stitch around [6 sts per round].
- The leg: chain 6, or chain until the leg reaches your preferred length. On mine the legs are long enough to hang visibly below the donut body, about twice the height of the foot section.
- Fasten off leaving a tail for sewing.
Attaching the Legs
- Flip the donut upside down to the beige side.
- Thread the tail of the first leg onto the tapestry needle and sew it securely to the bottom of the donut, slightly off center below the face.
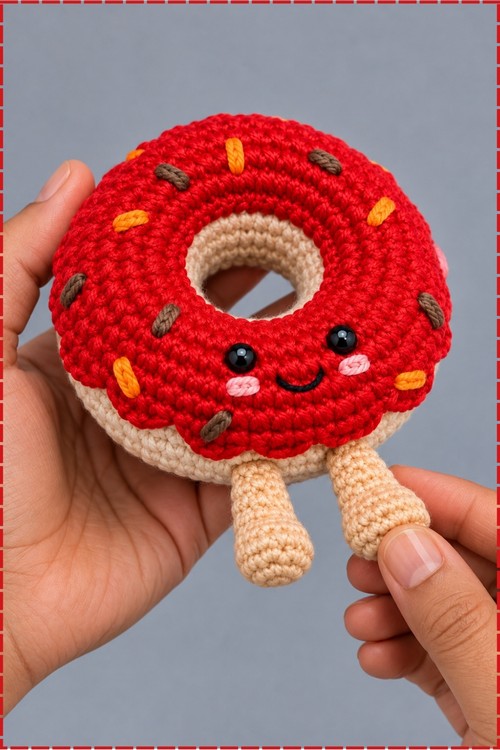
- Repeat with the second leg, spacing it approximately 3 to 4 stitches from the first. On mine the two legs hang parallel and slightly apart, just below the face on the underside.
- Weave in all remaining ends.
Tips and Troubleshooting
- Do not skip the stitch marker on the foundation round. A 24 stitch ring in a plain beige yarn looks identical from every angle and you will lose your starting point without a marker.
- Complete the face embroidery and sprinkles before folding and sewing the donut closed. Trying to embroider on a fully closed, stuffed ring is unnecessarily fiddly.
- Stuff firmly. The donut needs enough polyfill to hold the ring shape under its own weight, and light stuffing produces a flat disc rather than a rounded tube.
- Keep the sprinkle stitches short, two to three yarn loops each, and angle them in different directions. Long stitches loop and catch rather than sitting flat as straight marks.
- Sew the legs on last, after everything else is finished, so you can hold the donut upright and judge placement before committing to any stitch.
Yarn Substitution
The 5 ply body yarn needs to be smooth enough to show stitch definition clearly, since the dough and frosting colours rely on visible row lines to read correctly. Cotton or cotton blend at 5 ply gives a firmer stuffed shape than pure acrylic. The 4 ply sprinkle yarn can be any smooth contrast colour in any fibre.
Customization Ideas
- Use chocolate brown instead of red for a chocolate glazed donut.
- Add a keyring to a short chain off the top of the donut for an actual functional keychain version.
- Work the frosting in pink and use rainbow coloured sprinkles for a birthday party version.
- Make the legs in the same red as the frosting for a more graphic two colour piece.
- Skip the legs entirely for a flat display donut.
FAQ
Why does my FLO round look too tight? FLO stitches tend to pull tighter than normal rounds because you are only anchoring into one strand. Loosen your tension deliberately on round 12 or go up half a hook size for that round only.
My colour change line shows a visible jog. How do I fix that? The colour change jog is normal on any round worked item. To minimise it, make sure you pull the new colour through cleanly on the very last pull of round 11 and carry the tail over a few stitches into round 12 before snipping.
The donut does not hold its ring shape after stuffing. What went wrong? This usually means the inner whipstitch join is too loose or the stuffing is too light. Restitch the inner join a second time around and push in more polyfill before closing.
Can I add a keyring instead of legs? Yes. Sew a short loop of yarn or attach a metal ring directly to the top of the donut through the fabric. The dense stuffed fabric holds a ring attachment securely.
My sprinkles look too long and loopy. How do I fix them? Keep each sprinkle to two or three thread lengths and pull the yarn snug before moving to the next one. Longer passes sit on top of the fabric rather than into it.