
Crochet Easter Egg Bunny Free Amigurumi Pattern
Easter baskets gain a sitting egg bunny amigurumi when you shape one taupe body, increasing to round five and decreasing from round thirteen, then add tall ears, safety eyes, a stitched nose and a pom pom tail. One yarn colour and a 2.5 mm hook cover it all.
Ears up, egg body, no legs. This crochet egg bunny amigurumi takes one color and two pieces. Safety eyes, stitched nose, done. Make the egg bunny amigurumi for Easter baskets, for kids, for a fast gift. Taupe yarn, simple rounds, nothing fiddly.
Crochet Egg Bunny Amigurumi
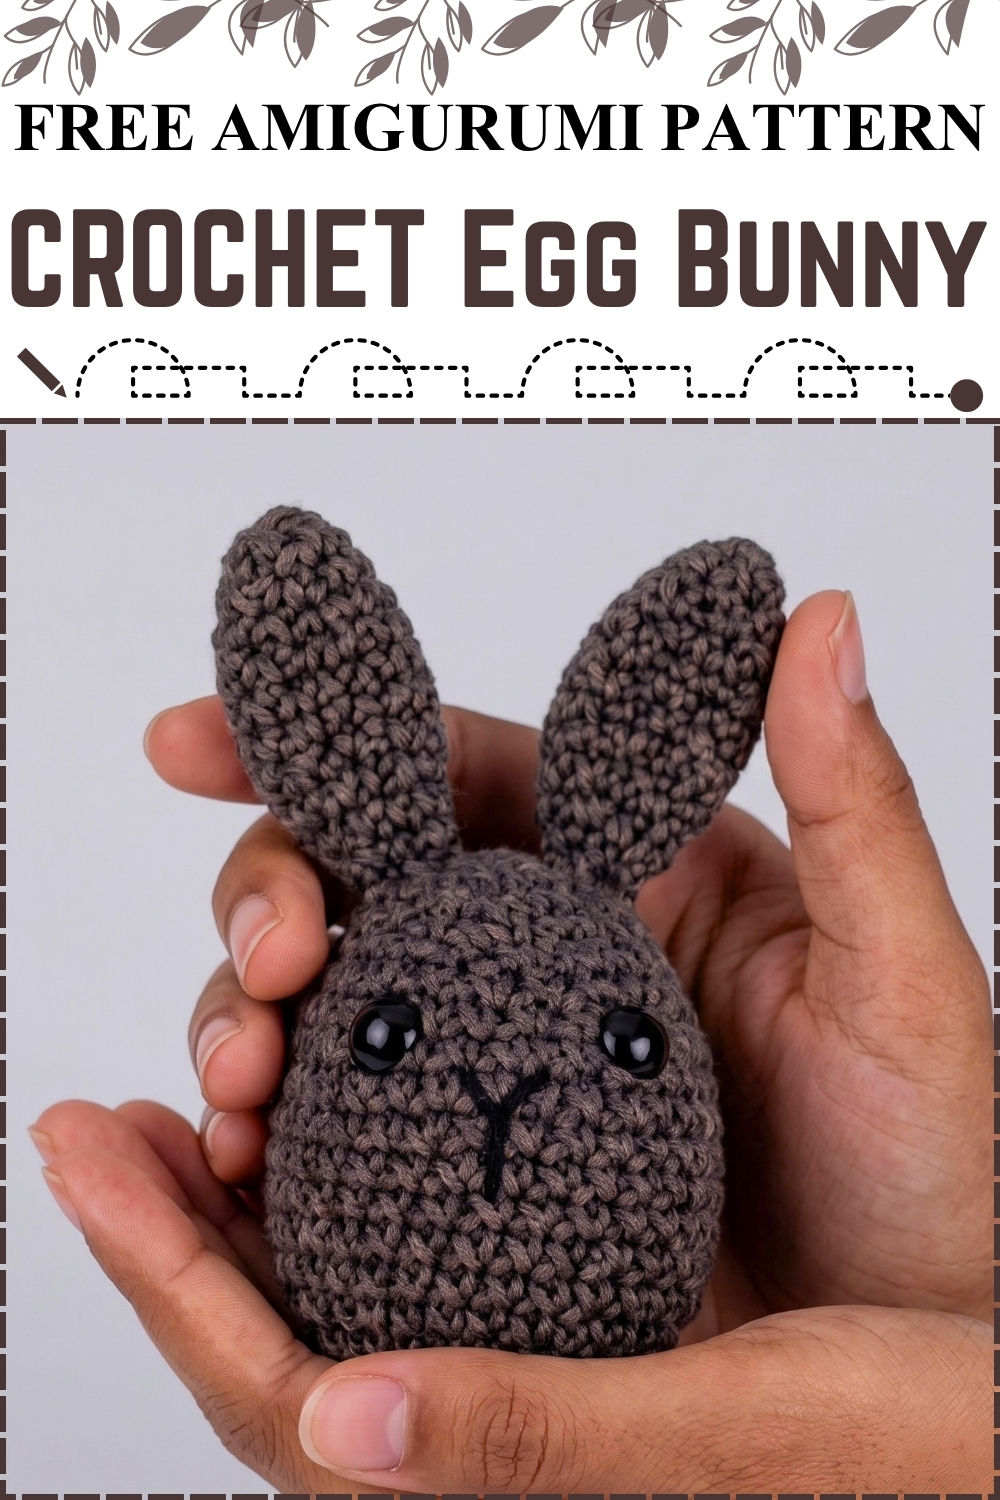
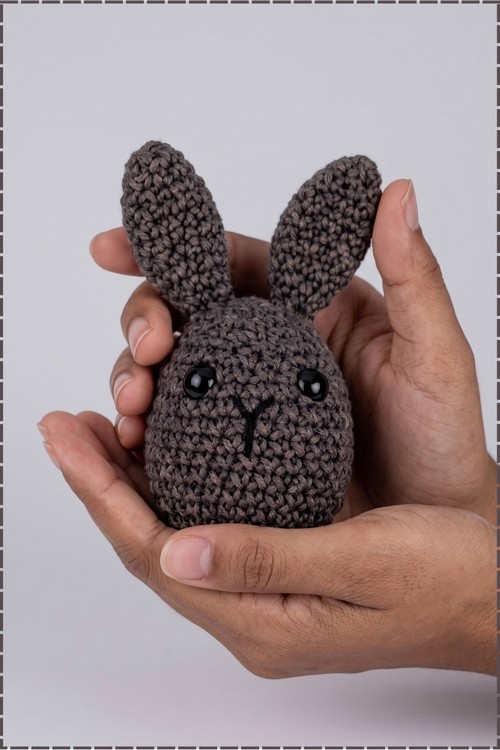
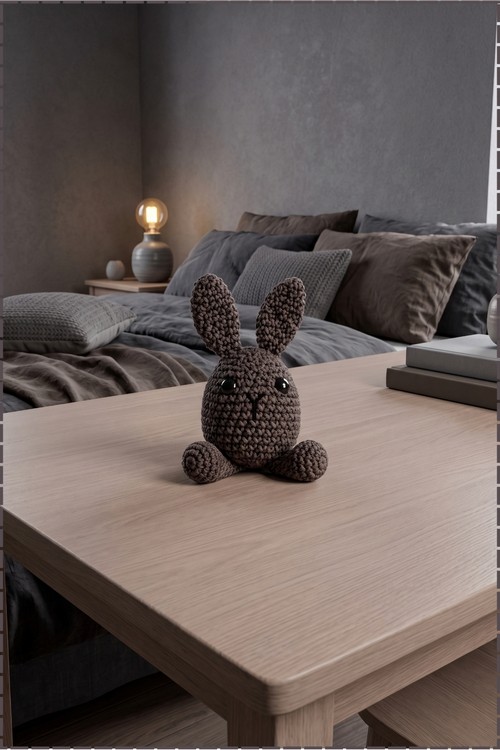
Increases through round five and decreases from round thirteen downward build the egg shaped body of this crochet egg bunny amigurumi, wider at the base and narrower toward the top, so the finished piece sits upright on its own without any internal support. Two tall ears attach at the crown and a pom pom tail anchors at the back. Safety eyes and a black embroidered nose sit on the face before the body closes. Mine is worked throughout in a warm mid brown that gives the bunny a quiet, natural look. Every piece uses one yarn colour with no colour changes needed.
Materials and Tools
- Warm brown yarn, medium weight, for the body and ears
- Small amount of black yarn for the nose embroidery
- Crochet hook, 2.5 mm
- Two black safety eyes with washers
- Toy stuffing
- Pom pom maker, ¾ inch
- Matching sewing thread for attaching the pom pom tail
- Scissors, yarn needle, and stitch marker
Abbreviations
- sc: single crochet
- inc: increase, meaning 2 sc in the same stitch
- inv dec: invisible decrease, worked by picking up only the front loops of the next two stitches
The Pattern
Body
- Round 1: make a slip knot, chain 2, and work 6 sc into the second chain from the hook [6 sts].
- Round 2: work 1 inc in every stitch around [12 sts].
- Round 3: repeat 1 sc then 1 inc all the way around [18 sts].
- Round 4: repeat 2 sc then 1 inc all the way around [24 sts].
- Round 5: repeat 3 sc then 1 inc all the way around [30 sts]. The base of the body is now at its widest point and should sit flat.
- Rounds 6 through 12, 7 rounds total: work 1 sc in each stitch around [30 sts per round].
- Round 13: repeat 3 sc then 1 inv dec all the way around. The invisible decrease picks up only the front loops of the next two stitches to keep the fabric smooth on the outside [24 sts].
- Round 14: work 1 sc in each stitch around [24 sts].
- Round 15: repeat 2 sc then 1 inv dec all the way around [18 sts].
- Round 16: work 1 sc in each stitch around [18 sts].
Face, Eyes, and Stuffing
- Pause crocheting here. Turn the work inside out if needed to reach the back of the safety eyes more easily.
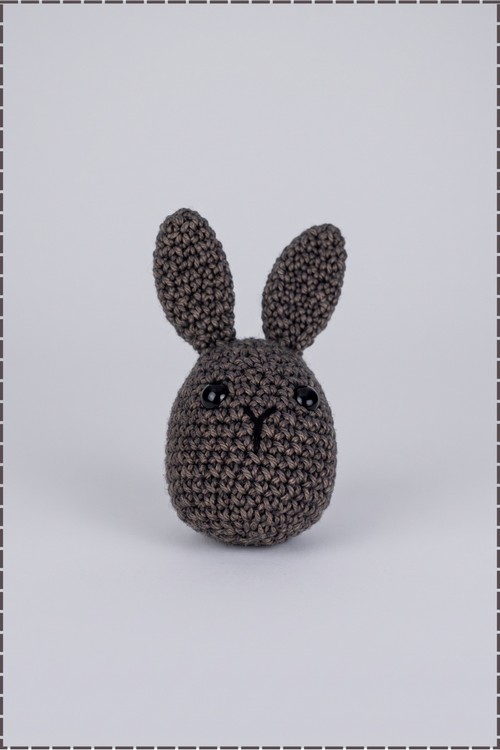
- Place the first safety eye between rounds 13 and 14, then place the second eye on the same row approximately 5 stitches from the first. Push the washers on firmly from inside so the flat side of each washer presses against the fabric.
- Using the yarn needle threaded with black yarn, bring the needle through from the inside and embroider a V shape centered just below and between the two eyes for the nose. Stitch a short vertical line downward from the bottom point of the V for two rounds. Tie knots on the inside to secure. On mine the nose sits clean and centred, giving the face an even, still expression.
- Pack the body firmly with toy stuffing, shaping it into a full egg as you go.
Closing the Body
- Round 17: repeat 1 sc then 1 inv dec all the way around [12 sts].
- Round 18: work 1 sc in each stitch around [12 sts]. Add any remaining stuffing now before the opening narrows further.
- Round 19: work 1 inv dec in every stitch around [6 sts].
- Cut a length of yarn and pull it through the final loop. Thread the needle and pick up the front loops only of the 6 remaining stitches, then pull tight to cinch the top hole closed. Pass the needle through the center of the closure and out the side to hide the end. Weave in and trim.
Ears (Make 2)
- Round 1: make a slip knot, chain 2, and work 6 sc into the second chain from the hook [6 sts].
- Round 2: repeat 1 sc then 1 inc around [9 sts].
- Round 3: work 1 sc in each stitch around [9 sts].
- Round 4: repeat 2 sc then 1 inc around [12 sts].
- Rounds 5 through 9, 5 rounds total: work 1 sc in each stitch around [12 sts per round]. The ear is now a tall narrow tube. On mine the ears are not stuffed, which lets them curve slightly inward at the tips naturally.
- Round 10: repeat 2 sc then 1 inv dec around [9 sts].
- Round 11: repeat 1 sc then 1 inv dec around [6 sts].
- Round 12: work 1 sc in each stitch around [6 sts].
- Cut a long yarn tail for sewing and pull through the final loop. Repeat for the second ear.
Pom Pom Tail
- Open the ¾ inch pom pom maker and wrap the main yarn thickly and evenly across the first leg until it sits flat and full. Close the leg.
- Pass the yarn through the groove to the second side and wrap that leg equally. Close the maker and cut the yarn from the skein.
- Keeping the maker closed, snip through the yarn along the center groove around the full circle.
- Fold a long length of sewing thread in half, guide it into the groove, wrap it twice around the center tightly, and tie a firm double knot on both sides.
- Release the maker and fluff the pom pom. Trim any uneven ends into a round shape. Leave the long thread tails for attaching.
Assembly
- Pin both ears to the top of the bunny head between rounds 2 and 3, positioning them upright and evenly spaced. On mine the ears sit close together near the crown, both pointing straight up.
- Using the long yarn tails left on the ears and the yarn needle, sew each ear securely into place.
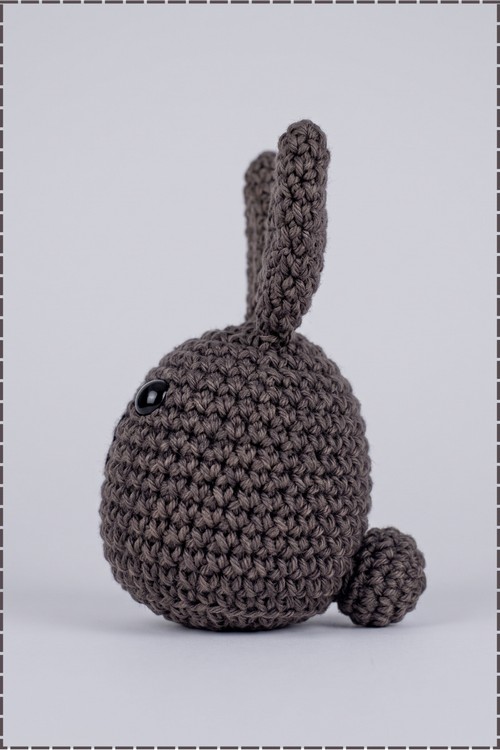
- Pin the pom pom tail to the bottom rear center of the body.
- Thread the long sewing thread tails onto the needle and pass back and forth through the body and through the dense center of the pom pom several times to anchor it firmly.
Tips
- Use a stitch marker at the end of every round on the body. The decreases in the upper body are where most makers lose count, and a marker removes all doubt.
- Press the safety eye washers on before stuffing. Getting a washer onto a backing inside a nearly closed body is genuinely difficult and sometimes impossible without reopening the seam.
- Leave the ear tails long, at least ten inches. Running out of tail midway through sewing an ear to a round body is a common frustration.
Customization Ideas
- Work the inner ear in a contrast pale pink yarn on rounds 3 through 9 for a two tone ear.
- Use pale grey or cream yarn for a different colourway.
- Leave off the pom pom tail and embroider a small flat tail for a cleaner look.
- Add a tiny bow sewn between the ears for a gift version.
FAQ
Can I skip the invisible decrease and use a regular decrease? You can, but the invisible decrease keeps the outside of the body smooth. A regular decrease leaves a visible bump on the surface, which matters more on a plain single colour piece like this one.
My ears flop sideways after sewing. How do I fix that? Sew through the full base of the ear rather than just a couple of stitches at the rim. Running the needle back and forth through the base several times before knotting anchors the ear upright.
Do I need a pom pom maker or can I make the tail another way? A small yarn pom pom wound around two fingers works just as well. Wind until it is thick, tie the center tightly, cut the loops, and trim to shape.