
Crochet Fish Amigurumi Free Pattern With Orange Fins
Goldfish fans can hook this seamless crochet fish amigurumi from the nose outward, adding the orange tail, dorsal fin, ventral fin and two side fins straight onto the yellow body so nothing needs sewing. Plan on about two hours with a 2.25 mm hook.
Summer bucket lists and beach themed parties both have room for this crochet fish amigurumi. Ocean week at school. Birthday favors in July. Bright orange and yellow suit warm months, so the crochet fish amigurumi sits well in a seaside basket or a holiday stocking with a nautical theme.
Crochet Fish Amigurumi
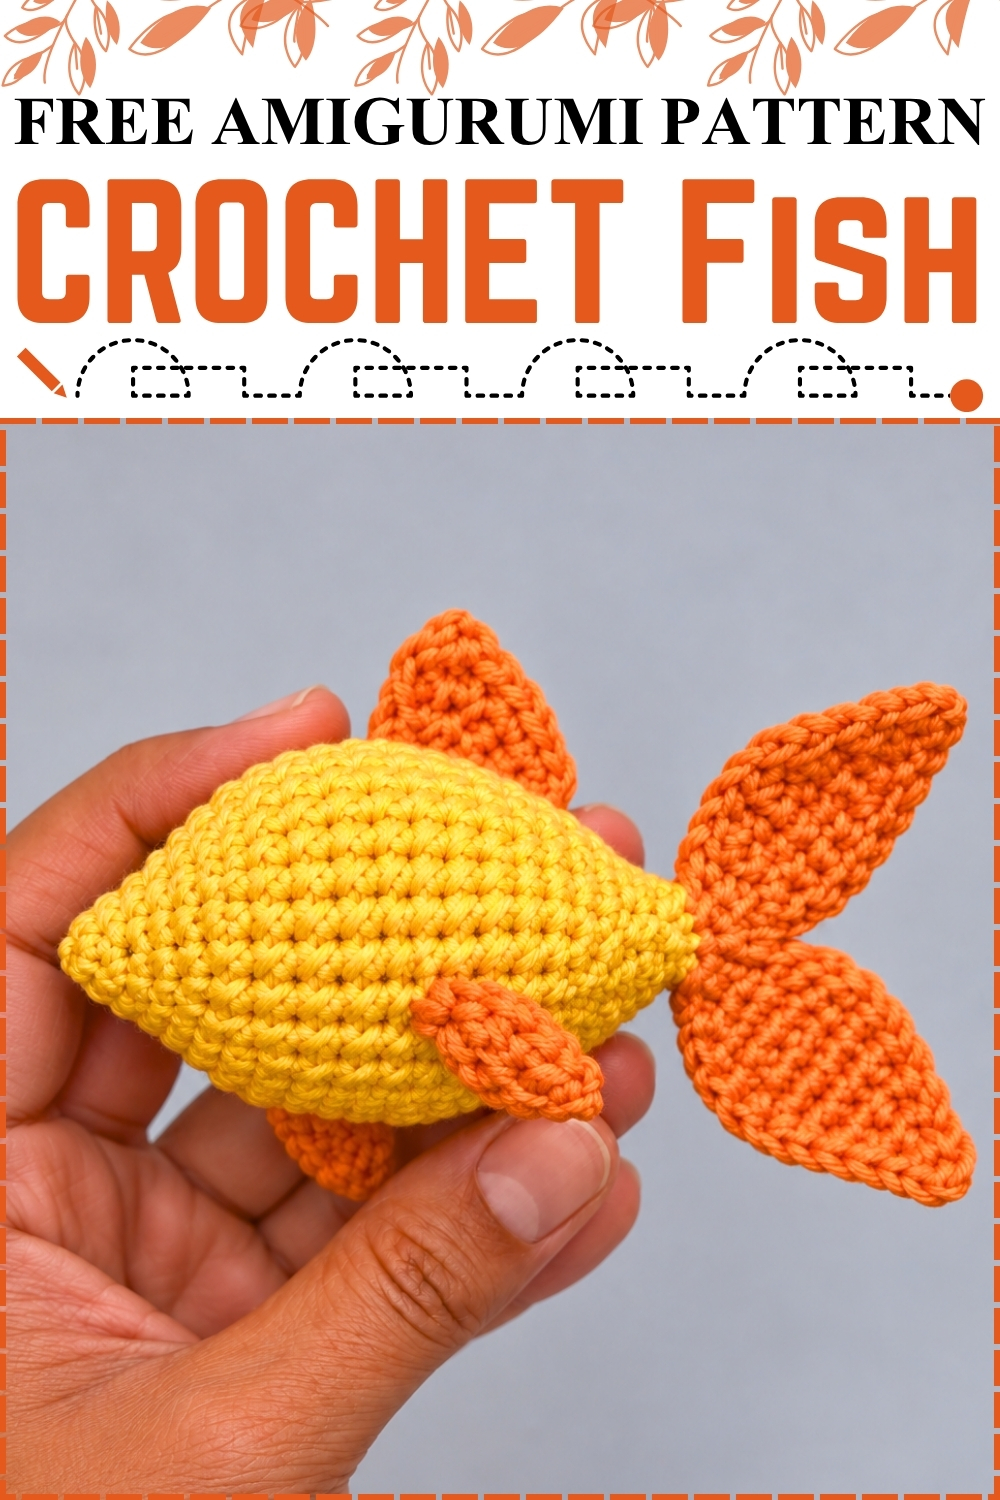
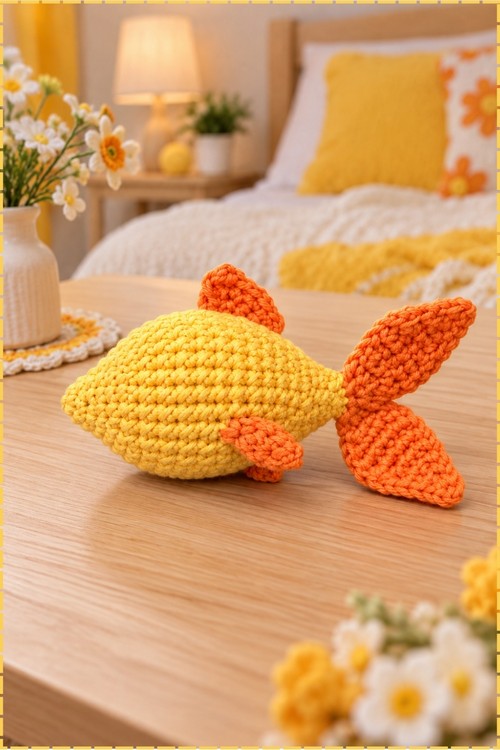
Building a fish from the nose outward in continuous rounds is what keeps the yellow body smooth and seamless on this crochet fish amigurumi, with every fin and tail worked directly onto the finished body rather than sewn on separately. The tail grows from the flattened closed end in two mirrored rows of turning work, and the dorsal fin, ventral fin, and two side fins each attach between specific rounds along the body. Mine uses bright yellow for the body and warm orange for every fin, which together read as a goldfish. The embroidered eyes sit close to the nose and give the face its gentle sideways look.
Why I Love This One
There is something satisfying about a pattern where you never have to sew a piece on from scratch. Every fin attaches directly to the body while you are still holding it, and the finished fish has no visible joins anywhere. Mine has been squeezed by several small hands at this point and still holds its shape perfectly.
Materials and Tools
- Bright yellow yarn for the body
- Warm orange yarn for the tail, dorsal fin, ventral fin, and both side fins
- Crochet hook, 2.25 mm
- Fiberfill stuffing
- Black yarn or thread for embroidering the eyes
- Scissors and tapestry needle
Abbreviations
- MR: magic ring
- sc: single crochet
- hdc: half double crochet
- dc: double crochet
- inc: increase, meaning 2 sc in the same stitch
- dec: decrease, meaning sc 2 stitches together
- sl st: slip stitch
- ch: chain
- st or sts: stitch or stitches
Difficulty and Time
This sits at an intermediate level because of the turning rows on the tail fins and the precision needed for fin placement. In my experience the body alone takes about forty five minutes, and adding all four fins and the tail brings the total closer to two hours. Everything is worth it for the result.
The Pattern
Body (Yellow Yarn, Continuous Rounds)
- Round 1: work 6 sc into a magic ring (MR) [6 sts].
- Round 2: work 1 inc then 1 sc repeated 3 times around [9 sts].
- Round 3: work 2 sc then 1 inc repeated 3 times around [12 sts].
- Round 4: work 3 sc then 1 inc repeated 3 times around [15 sts].
- Round 5: work 4 sc then 1 inc repeated 3 times around [18 sts].
- Round 6: work 2 sc then 1 inc repeated 6 times around [24 sts].
- Round 7: work 1 sc, 1 inc, 2 sc repeated 6 times around [30 sts].
- Rounds 8 through 13, 6 rounds total: work 30 sc in each round [30 sts]. The body is now at its widest point and should feel like a firm oval.
- Round 14: work 1 sc, 1 dec, 2 sc repeated 6 times around [24 sts].
- Rounds 15 and 16, 2 rounds: work 24 sc in each round [24 sts].
- Round 17: work 2 sc then 1 dec repeated 6 times around [18 sts].
- Round 18: work 18 sc [18 sts]. Add fiberfill stuffing to the body at this point, pushing it firmly into the nose end before the opening narrows further.
- Round 19: work 1 dec then 1 sc repeated 6 times around [12 sts].
- Round 20: work 12 sc [12 sts].
- Round 21: work 6 dec [6 sts]. Add a second firm handful of fiberfill now, filling right to the edge so the tail end holds its shape when flattened.
- Round 22: flatten the edge and work 3 sc through both sides at once to close the body [3 sts]. Fasten off and hide the yarn end inside. The closed end should sit as a flat horizontal seam, which is the base for the tail fins.
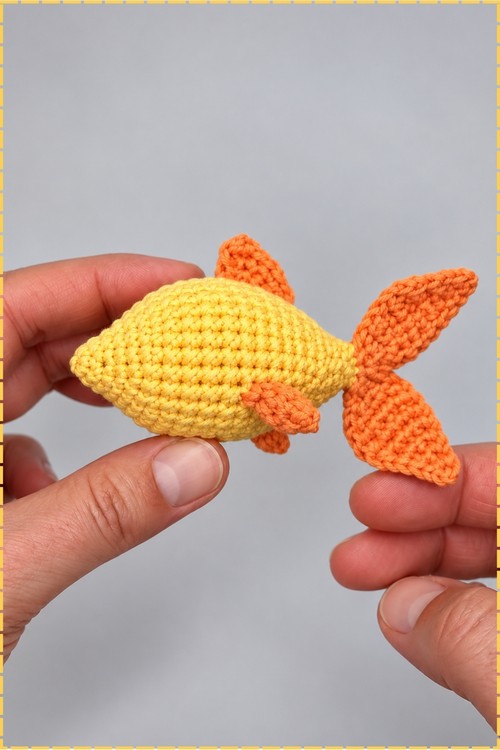
Tail (Orange Yarn, Two Fins Worked from the Closed End)
First Tail Fin
- Attach orange yarn to the closed end of the body.
- Row 1: chain 1, work 2 sc into the first stitch, chain 1, turn.
- Row 2: work 2 inc, one in each stitch, chain 1, turn [4 sts].
- Row 3: work 1 inc then 3 sc, chain 1, turn [5 sts].
- Row 4: work 4 sc then 1 inc, chain 1, turn [6 sts].
- Row 5: work 6 sc, chain 1, turn [6 sts].
- Row 6: work 4 sc then 1 dec, chain 1, turn [5 sts].
- Row 7: work 1 dec then 3 sc, chain 1, turn [4 sts].
- Row 8: work 2 sc then 1 dec, chain 1, turn [3 sts].
- Row 9: work 1 dec then 1 sc, chain 1, turn [2 sts].
- Row 10: work 1 dec, chain 1 [1 st]. The first tail fin tapers to a point here.
- Work 10 sc down the inner edge of this tail fin toward the base, then sl st into the next stitch on the body.
Second Tail Fin
- Row 1: work 2 sc into the next stitch on the body, chain 1, turn.
- Row 2: work 2 inc, chain 1, turn [4 sts].
- Row 3: work 3 sc then 1 inc, chain 1, turn [5 sts].
- Row 4: work 1 inc then 4 sc, chain 1, turn [6 sts].
- Row 5: work 6 sc, chain 1, turn [6 sts].
- Row 6: work 1 dec then 4 sc, chain 1, turn [5 sts].
- Row 7: work 3 sc then 1 dec, chain 1, turn [4 sts].
- Row 8: work 1 dec then 2 sc, chain 1, turn [3 sts].
- Row 9: work 1 sc then 1 dec, chain 1, turn [2 sts].
- Row 10: work 1 dec, chain 1 [1 st].
- Work 10 sc down the inner edge toward the base, sl st to secure, cut yarn, and weave in ends. On mine the two tail fins sit as a wide V shape fanning out from the closed body end, with the upper fin slightly larger than the lower due to the mirrored stitch order.
Dorsal Fin (Top Fin, Orange Yarn)
- Count 7 rows back from the tail and insert your hook between round 7 and round 8.
- Attach orange yarn.
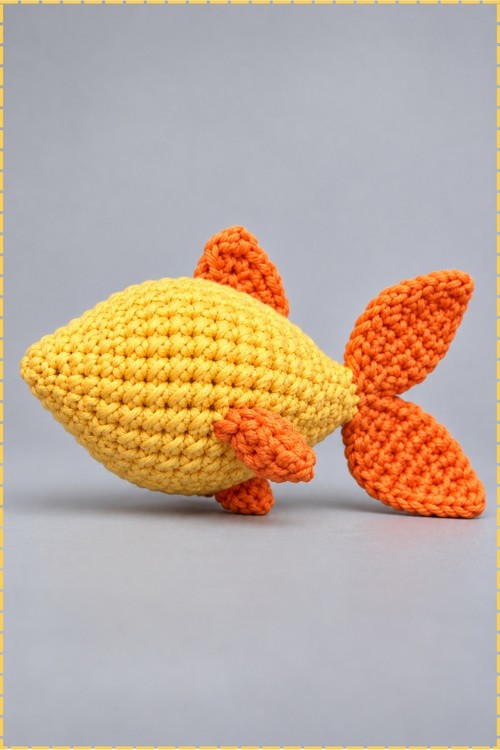
- Chain 1, work 1 sc in the same space, work 1 hdc in the space between the next rows, work 1 hdc in the next space, work 2 dc into the next space as an increase. The dorsal fin sits as a small upward pointing triangle on the top of the fish.
- Fasten off, pull yarn through the last loop, and hide the tail inside the body.
Ventral Fin (Bottom Fin, Orange Yarn)
- Insert your hook between round 8 and round 9 counted back from the tail, on the underside of the body.
- Attach orange yarn.
- Chain 1, work 1 hdc in the same space, work 2 hdc between the next two rows, then work 1 sl st. The ventral fin is smaller than the dorsal and sits flat against the underside.
- Fasten off and weave in ends.
Side Fins (Pectoral Fins, Orange Yarn, Make 2)
First Side Fin
- Count 12 rounds down from the nose and locate the placement approximately 5 sc up from the ventral fin.
- Attach orange yarn.
- Row 1: chain 1, work 1 sc in the same stitch, chain 1, turn.
- Row 2: work 3 hdc into the single stitch, chain 1, turn.
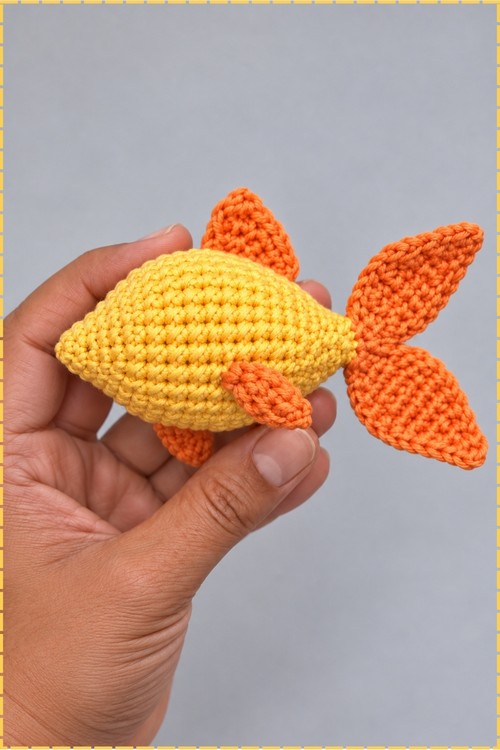
- Row 3: work 1 dec using sc, leave the last stitch unworked, chain 1. Cut yarn and weave in end. The finished side fin is a small flat oval that lies against the body, pointing slightly downward and forward as on mine.
Second Side Fin
- Position the hook between round 12 and round 13 on the opposite side of the body, spaced approximately 10 sc apart from the first fin.
- Attach orange yarn.
- Row 1: chain 1, work 1 sc, chain 1, turn.
- Row 2: work 3 hdc into the single stitch, chain 1, turn.
- Row 3: work 1 dec using sc, leave the remaining stitch unworked, chain 1. Cut yarn and weave in ends.
Eyes
- Thread the tapestry needle with black yarn and embroider the eyes between round 3 and round 4 from the front nose. On mine both eyes are small oval stitches set close together near the nose, worked in black yarn that shows clearly against the yellow body.
Tips and Troubleshooting
- Count your stitches after every increase round in the body. One missed increase shifts all the subsequent counts and the body comes out lopsided.
- Work the tail fin rows slowly since this is where most makers lose track of which row they are on. Mark your starting stitch at the body join with a contrast piece of yarn.
- Stuff the body in two stages as the pattern says. Waiting until round 21 to stuff everything makes the nose end too collapsed to push fiberfill into properly.
- Place both side fins before deciding they are in the right spot. Holding the fish at arm's length and checking symmetry from the front saves unpicking later.
Customization Ideas
- Use deep orange and white to make a clownfish version.
- Work the body in pale pink and the fins in coral for a cherry blossom fish.
- Embroider a small curved mouth below the eyes for extra expression.
- Add a keyring loop at the dorsal fin to use the fish as a bag charm.
FAQ
Can I embroider the eyes instead of using safety eyes? The pattern uses embroidered black yarn eyes, which is exactly what mine has. No safety eyes are needed at all.
My tail fins are uneven sizes. What caused that? The two fins use mirrored stitch orders rather than identical ones, so they are intentionally slightly different. If the difference is large, check that you followed the first fin from Row 1 to Row 10 and the second fin with its own sequence rather than repeating the first.
How do I find the right round for the dorsal fin placement? Count back from the closed tail seam rather than forward from the nose. The seam is a fixed reference point and round 7 back from it lands reliably in the same spot each time.
Can I make the fish larger? Yes by increasing your hook size or yarn weight. The proportions of the fins relative to the body should stay the same as long as you use the same hook and yarn for every piece.