
Crochet Heart Keychain Pattern Free Easy In Red
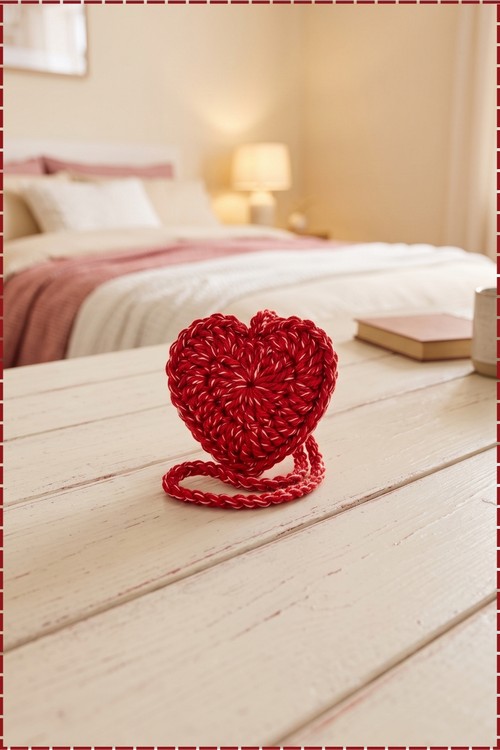
Valentine's week calls for a crochet heart keychain in red marled cotton, plump enough to hold its shape in a palm and finished with a sturdy yarn loop. Gift bags, backpacks, and rear view mirrors suit a padded red crochet heart keychain made as a token for a partner or best friend.
Working the crochet heart keychain feels like watching a shape appear under the hook, round by round, until the lobes announce themselves. Yarn with a twist does half the work for you. Finishing a crochet heart keychain in one sitting is the kind of win that sends most makers straight back for a second one.
Crochet Heart Keychain
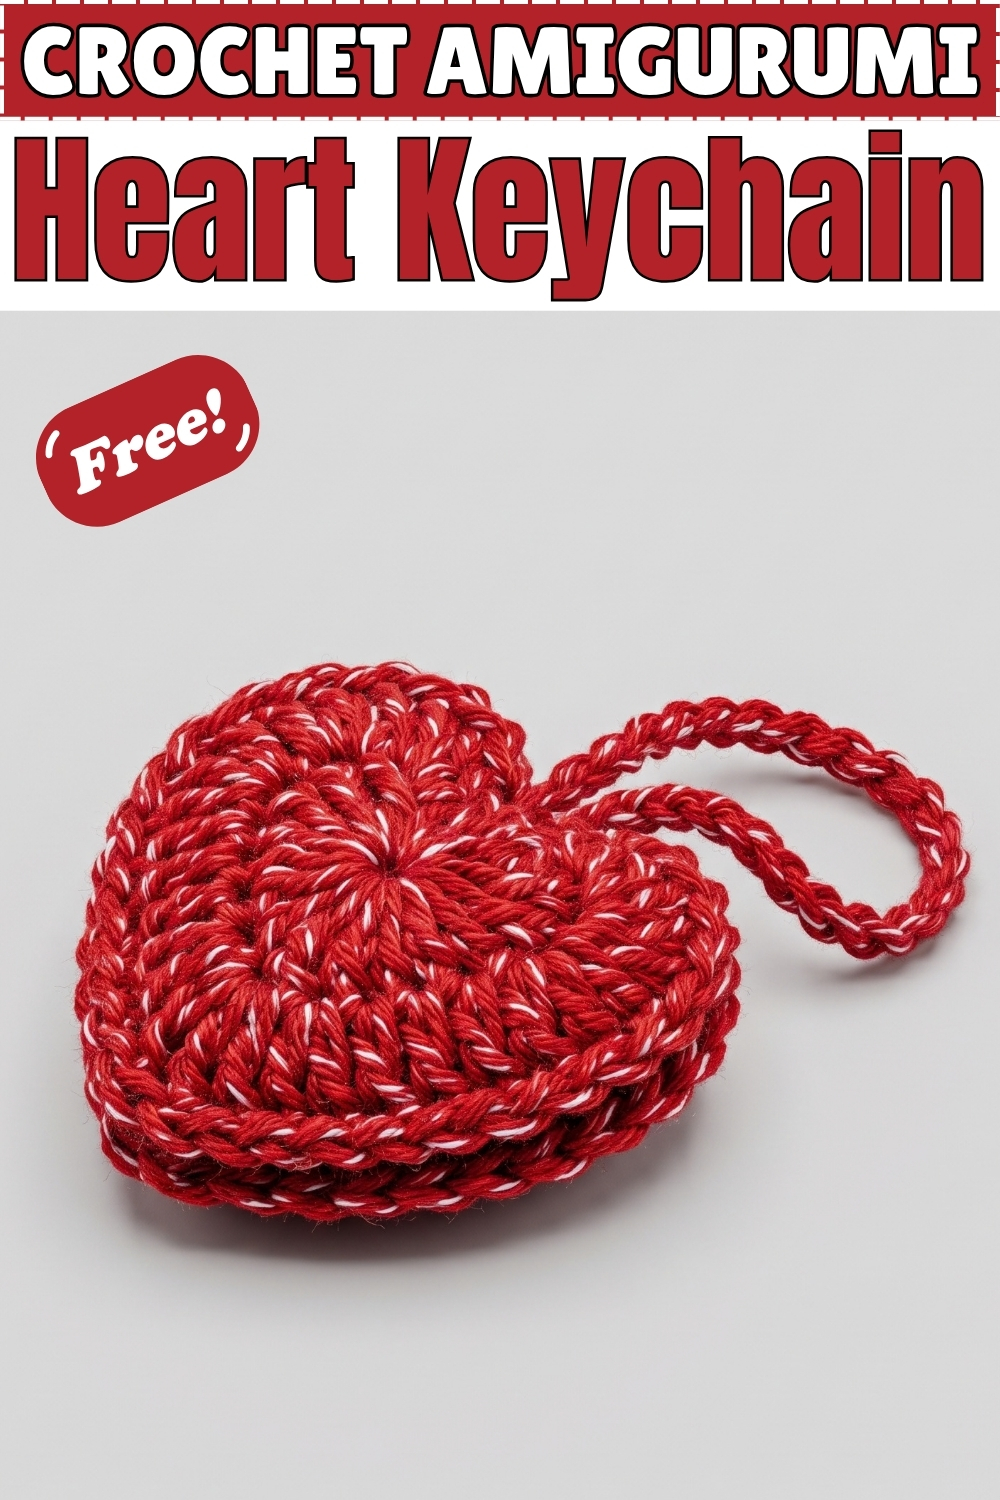
Panels worked in the round create the two faces of this crochet heart keychain, and they join edge to edge with a slip stitch seam. Stuffing goes in just before that seam closes, which gives the heart a padded body instead of a flat motif. Mine uses a red and white marled cotton, so every stitch picks up both colours at once. Treble and double crochets handle all the shaping, meaning each panel takes only two rounds. Hanging it needs nothing more than a chained loop off the top. Beginners with basic stitches finish one in under an hour.
Quick Facts
- Difficulty: easy, with one fiddly part where three different stitch heights land in the same center stitch
- Time: roughly forty minutes to an hour in my experience, including seaming and the loop
- Stitches used: single crochet, double crochet, extended double crochet, treble crochet, slip stitch
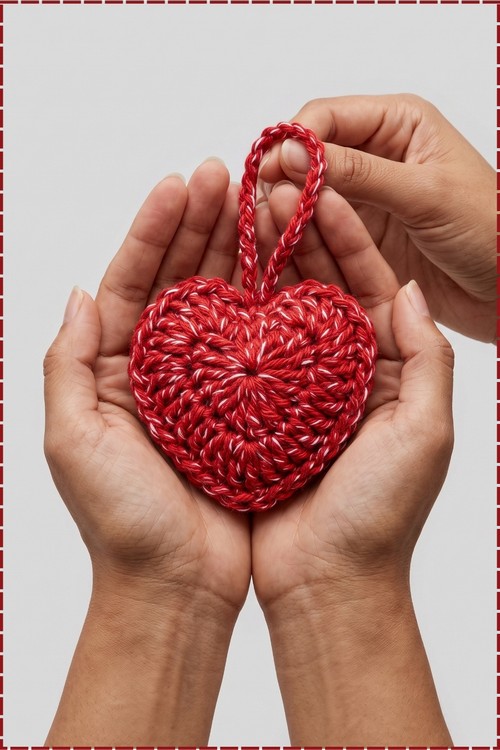
- Finished size: small enough to sit in a cupped palm, as shown in my photo
- Yarn: 100% cotton, used double colour marled
Materials and Supplies
- 100% cotton yarn in a red and white marled or twisted colourway
- 4.0 mm crochet hook
- Soft toy filling, polyfill or fiberfill
- Yarn or tapestry needle for weaving in ends
- Scissors
My version uses a marled cotton where red and white ply together in the same strand. That is the only material difference from the plain pattern, which leaves colour open. The twist is what makes every stitch read as two tones in the photo, and it hides small tension differences nicely.
Customization Ideas
- Swap the marled red for a solid colour if you want the stitch definition to read more sharply.
- Make the hanging loop longer or shorter depending on whether it clips to keys, a bag strap, or hangs from a hook.
- Add a split ring or lobster clasp through the chained loop to turn it into a proper keyring.
- Skip the stuffing for a flat heart coaster or applique.
- Work a second heart in a contrasting colour and hang both from the same ring.
- Use a smaller hook and finer cotton for a miniature version, or a larger hook for a hanging ornament.
The Pattern
Two identical heart panels are made and then joined.
Part 1: The Heart Panels, Make 2
- Start: make a magic circle.
- Round 1: chain 2, which sets up the first corner space, then work all of the following into the magic circle.
- Round 1: work 3 treble crochet (tr) into the magic circle.
- Round 1: work 4 double crochet (dc) into the magic circle.
- Round 1: work 1 treble crochet into the magic circle. This single treble becomes the bottom point of the heart, so keep track of it.
- Round 1: work 4 double crochet into the magic circle.
- Round 1: work 3 treble crochet into the magic circle.
- Round 1: chain 2.
- Round 1: slip stitch into the magic circle to join the round, then pull the circle closed. The piece now looks like a small fan rather than a heart, which is correct at this stage.
- Round 2: work 1 single crochet (sc) into the beginning chain 2 space.
- Round 2: working into the top of the next 3 treble crochets, work 3 double crochet into each one, giving 9 double crochets across those 3 stitches. Packing three stitches into each treble is what fans out the first lobe, so do not shortcut this.
- Round 2: work 1 double crochet into each of the next 3 stitches.
- Round 2: work 2 double crochet into the 4th stitch.
- Round 2: into the middle treble crochet, work 1 extended double crochet (ext dc).
- Round 2: into the same middle treble crochet, work 1 treble crochet.
- Round 2: into the same middle treble crochet again, work 1 extended double crochet. These three stitches in one place push the fabric out to form the bottom point, and the taller center stitch is what makes the tip sharp rather than rounded.
- Round 2: work 2 double crochet into the next stitch.
- Round 2: work 1 double crochet into each of the next 3 stitches.
- Round 2: work 3 double crochet into each of the next 3 treble crochet stitches, giving 9 double crochets.
- Round 2: work 1 single crochet into the final chain 2 space.
- Round 2: slip stitch into the first single crochet to join. The panel should now read clearly as a heart, with two full lobes, a dip at the top center, and a point at the bottom.
- Panel 1: cut the yarn, secure it, and weave in the loose ends.
- Panel 2: do not cut the yarn. Leave the working loop attached, since that loop joins the two panels in the next part.
Part 2: Joining and Stuffing
- Place both heart panels together with the wrong sides facing each other on the inside, so the public side of each panel faces outward. Check that the bottom points line up before you start seaming, because any twist shows immediately at the tip.
- Insert your hook through the first double crochet of both panels, skipping the very first single crochet corner.
- Grab the working loop and pull it through both layers.
- Chain 2.
- Continue joining the panels by working 1 slip stitch followed by chain 1 in each corresponding pair of stitches around the edge of the heart. The chain 1 between slip stitches is what stops the seam from pulling tight and puckering the edge.
- Leave a small opening before you close the heart completely.
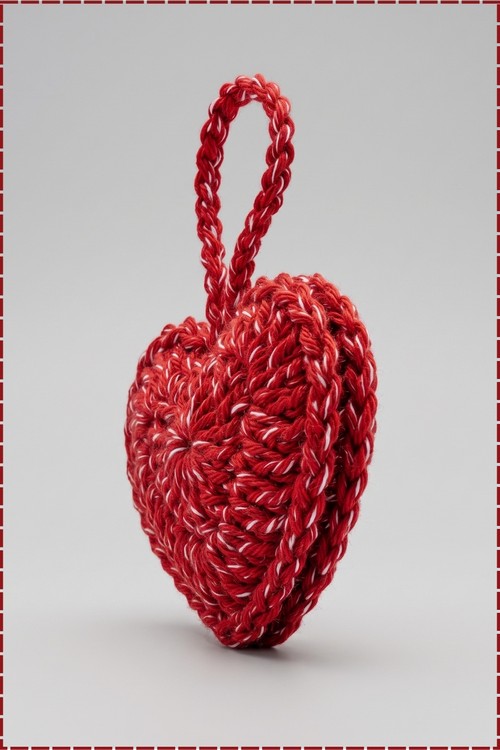
- Stuff the heart moderately with soft toy filling, neither tight nor loose. Mine takes only a small amount. Overstuffing rounds the lobes too much and the heart loses its flat keychain profile.
- Continue slip stitching and chaining 1 to close the remaining gap up to the final single crochet.
- Slip stitch into the final single crochet space.
Part 3: The Hanging Loop
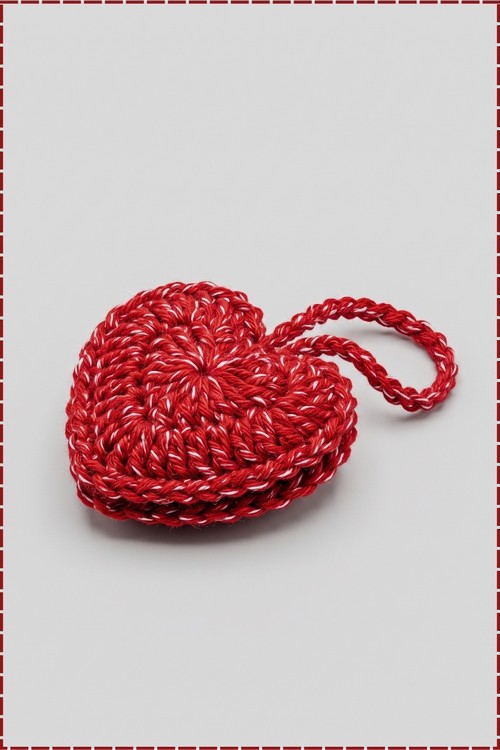
- From that final slip stitch, chain 20, or chain more if you want a longer loop. On my keychain the loop is noticeably longer than the minimum, which is why it hangs well clear of the heart in the photo. Chain until the loop reaches the length you want.
- Anchor the loop back into the same final stitch with a slip stitch to form a secure closed loop.
- Cut the yarn and pull it through to secure a knot.
- Weave in all remaining ends with a tapestry needle, running them inside the seam where they stay hidden.
Tips
- Keep the magic circle tight before you start round 2. Every stitch in round 1 sits in that circle, and a loose center leaves a visible hole right in the middle of the heart.
- Count the three double crochets into each treble carefully on both lobes. If one lobe gets eight and the other nine, the heart sits crooked and no amount of seaming fixes it.
- Stuff lightly and in small pinches through the gap rather than one wad. A keychain that is too plump will not sit flat against a bag.
Yarn Substitution
Cotton is the right call here and I would not change it. It holds the point at the bottom, resists stretching when the keychain swings from a bag, and keeps the stitch edges crisp.
Acrylic works but softens and stretches over time, which rounds off the bottom point. Avoid anything fuzzy, since the whole appeal of this heart is the visible fan of stitches radiating from the center. A marled or twisted colourway like mine adds depth without needing any colour changes.
FAQ
What is an extended double crochet?
Yarn over, insert the hook, pull up a loop, then yarn over and pull through just one loop before completing the stitch as a normal double crochet. It sits between a double and a treble in height, which is exactly what the bottom point needs.
My heart looks lopsided. What went wrong?
Nearly always an uneven stitch count on one of the lobes in round 2. Lay both panels flat and compare. It is quicker to redo one panel than to seam a mismatched pair.
Can I make this without stuffing?
Yes. Join the panels the same way and skip the filling for a flat heart, which works well as an applique or a bookmark topper.
How do I attach it to actual keys?
Thread a split ring or a lobster clasp through the chained loop. Attaching hardware directly to the heart body puts strain on the seam, so always go through the loop.