
Crochet Heart Shape Pillow Free Pattern With Love
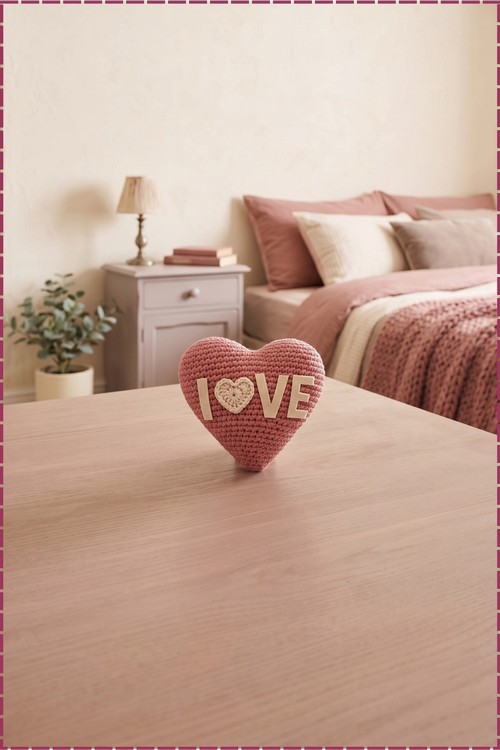
Dusty rose cotton forms the heart while cream letters spell love across the front, with a tiny crocheted heart standing in for the O. Two joined cups and steady single crochet make a plump cushion that brightens a bed, sofa, or reading chair as cozy home decor.
Bold and a little sentimental, the Crochet Heart Shape Pillow With Love says its piece without saying a word. Letters stitched across the front give this crochet heart shape pillow with love a cheeky confidence wherever it lands, on a bed, a sofa, a reading chair. It sits there and refuses to be ignored.
Crochet Heart Shape Pillow With Love
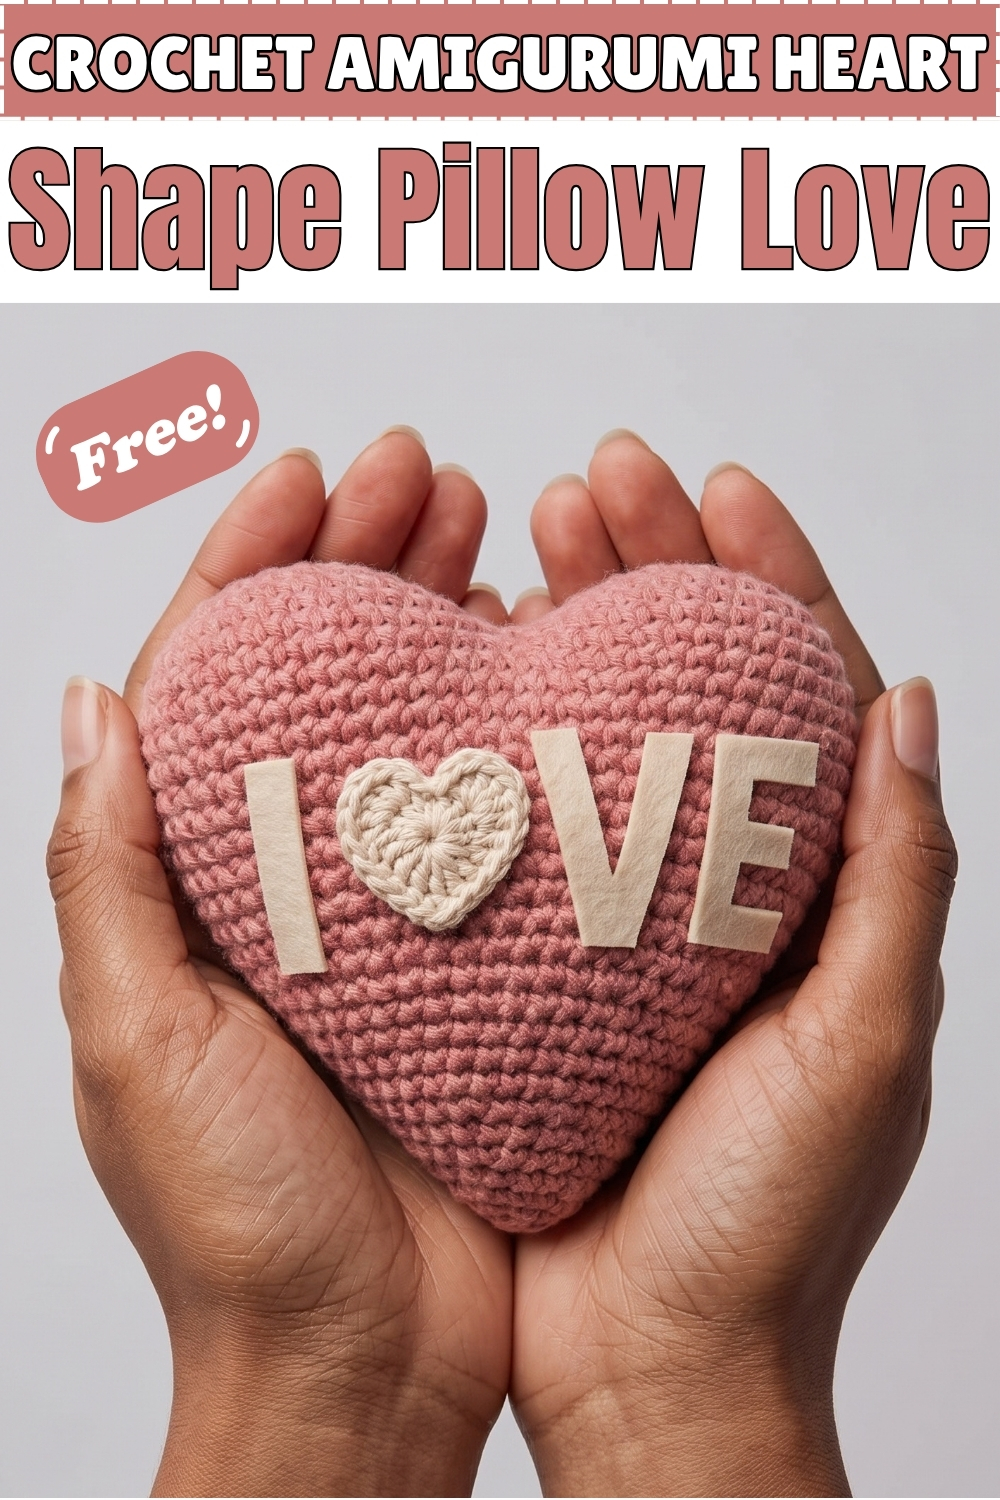
Two flat rounds join at their edges to shape this crochet heart pillow, then the joined body decreases down to a point at the bottom. Stuffing goes in before the final rounds, which keeps both lobes plump and the tip firm instead of floppy. My version uses dusty rose cotton with cream letters sitting across the front, spelling love with a small crocheted heart standing in for the O. Single crochet carries the whole piece, so the fabric stays dense and nothing shows through. Beginners finish one in an evening once the joining round clicks into place.
Materials and Tools
- Worsted weight cotton or cotton blend yarn in dusty rose for the heart body
- A small amount of cream or ivory yarn in the same weight for the letters and the little applique heart
- 5.5 mm crochet hook, or whatever hook gives you a tight fabric with no gaps
- Stitch marker for tracking the start of each round
- Fiberfill or pillow stuffing
- Yarn needle for sewing the letters on and hiding ends
- Scissors
I used a matte cotton for the body, which is why my heart holds its shape so cleanly in the photo. Cotton has very little stretch, so the stuffing pushes outward without distorting the stitches.
Difficulty and Time
In my experience this sits at an easy to advanced beginner level. You only need a magic circle, single crochet, increases, and decreases. The one part that trips people up is joining the two cups, and that is a slip stitch plus a round of single crochet worked around both edges.
Mine took roughly two to three hours from start to finish, with the letters adding maybe another forty minutes. Treat those numbers as a rough guide, since hook speed and yarn thickness change everything.
Beginner Technique Notes
- Magic circle: a loop of yarn you crochet into and then pull closed, so the center of your piece has no hole. If you dislike it, chain 2 and work your 6 single crochets into the first chain instead.
- Increase (inc): two single crochets worked into the same stitch.
- Decrease (dec): an invisible decrease works best here. Pick up the front loops only of the next two stitches, yarn over, and pull through all loops.
- Work in a continuous spiral, not joined rounds. Move your stitch marker up at the start of every round.
- Keep your tension tight. Loose single crochet lets fiberfill peek through, and on a pale body that shows badly.
The Pattern
Part 1: The Two Cups
Both pieces are worked in dusty rose. Make two identical cups following rounds 1 through 5.
- Round 1: Make a magic circle and work 6 single crochet (sc) into it. Alternatively chain 2 and work 6 sc into the first chain. (6) Your circle should pull completely closed with no visible center hole.
- Round 2: Increase in every stitch around. (12) The disc stays flat at this stage and should lie down on the table without curling.
- Round 3: [Sc in the next stitch, increase in the next stitch] repeat around. (18) Still flat, and the spiral seam should be barely visible.
- Round 4: [Sc in the next 2 stitches, increase in the next stitch] repeat around. (24) This is your last increase round, so the disc is now at its full width.
- Round 5: Sc in every stitch around. (24) Without increases the edge begins to turn upward, which is what forms the shallow cup shape you need.
- First piece only: cut the yarn, leaving a short tail, and slip stitch into the last stitch to lock it. Weave that tail in now, because it becomes hard to reach later.
- Second piece only: do not cut the yarn. The working yarn on this piece joins the two cups together in the next part.
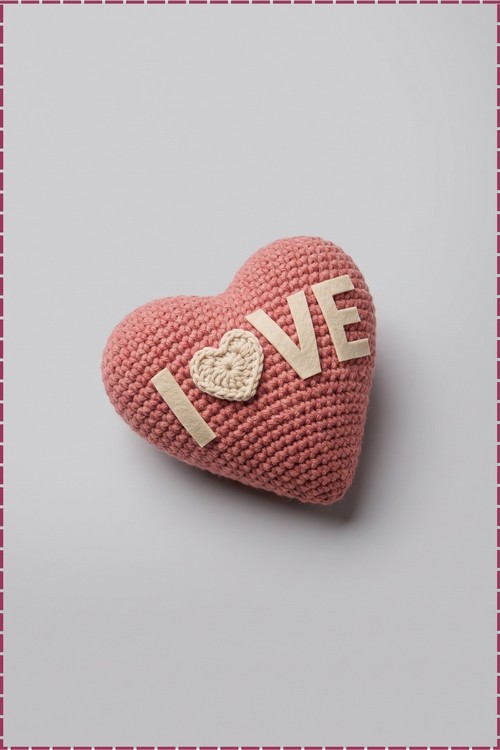
Part 2: Joining the Cups and Shaping the Body
- Joining: hold the two cups side by side with their right sides facing out, then slip stitch your second piece into the single crochet stitch that sits immediately before the slip stitch on the first piece. Line the edges up carefully here, because this join becomes the dip between the two lobes at the top of the heart.
- Round 1 (joined): single crochet all the way around both pieces, continuing from one cup straight onto the other. (48 stitches total, 24 on each side) The outline already reads as a heart at this point, with two rounded humps and an open bottom.
- Round 2: Sc in every stitch around. (48)
- Round 3: Sc in every stitch around. (48) These two plain rounds build the depth of the pillow, so resist any urge to start decreasing early.
- Round 4: [Sc in the next 5 stitches, dec] once, then [sc in the next 10 stitches, dec] three times, then sc in the remaining 5 stitches. (44) The uneven placement of decreases is deliberate and it starts pulling the sides inward while leaving the humps full.
- Round 5: [Sc in the next 9 stitches, dec] repeat around. (40)
- Round 6: [Sc in the next 4 stitches, dec] once, then [sc in the next 8 stitches, dec] three times, then sc in the remaining 4 stitches. (36)
- Round 7: [Sc in the next 7 stitches, dec] repeat around. (32) Lay the piece flat and check that the two lobes still look even. A lopsided heart almost always traces back to a miscounted decrease round, so fix it now rather than later.
- Round 8: [Sc in the next 3 stitches, dec] once, then [sc in the next 6 stitches, dec] three times, then sc in the remaining 3 stitches. (28)
- Round 9: [Sc in the next 5 stitches, dec] repeat around. (24) The lower half is now clearly tapering toward the point of the heart.
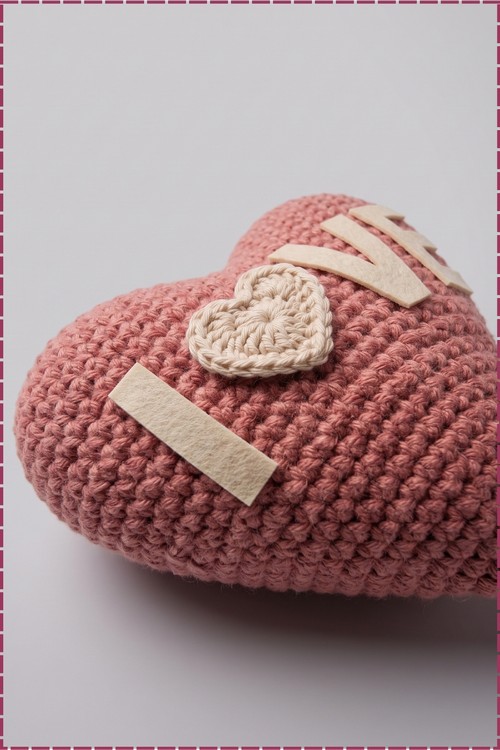
Part 3: Stuffing and Final Decreases
- Stuffing: firmly stuff the heart with fiberfill now, pushing small pieces into each lobe first with the back of your hook. Overstuff slightly, since cotton relaxes and a softly stuffed heart sags at the top within a few days.
- Round 10: [Sc in the next 2 stitches, dec] once, then [sc in the next 4 stitches, dec] three times, then sc in the remaining 2 stitches. (20)
- Round 11: [Sc in the next 3 stitches, dec] repeat around. (16) Add a little more stuffing here if the point feels hollow, because the opening closes fast after this.
- Round 12: [Sc in the next 2 stitches, dec] repeat around. (12)
- Round 13: [Sc in the next stitch, dec] repeat around. (8)
- Round 14: Decrease 4 times in a row. (4) The bottom now pulls into a neat point rather than a flat nub.
Part 4: The Love Lettering
My photo shows cream letters spelling love across the front of the heart, with a small cream applique heart used in place of the O. The original pattern does not cover these, so work them freehand in your cream yarn.
- Letter L: chain until the vertical stroke reaches the height you want, then single crochet back along the chain. Chain again for the short foot, single crochet back along it, and join the foot to the base of the upright.
- Letter V: work two short chained strokes of equal length, single crochet back along each one, and join them at one end so they meet at an angle.
- Letter E: make one vertical stroke the same height as your L, then add three short horizontal strokes worked the same way and attach them at the top, middle, and bottom.
- Small applique heart: work a flat heart in cream by making two small bobbles or two half circles side by side, joining them, then decreasing to a point. Keep it roughly the same height as your letters so the word reads evenly.
- Make all four letter strokes the same width by using the same number of chains in height relationships you choose, and keep your single crochet tension firm so the letters stay stiff and do not curl.
Part 5: Finishing
- Cut the yarn, leaving a short tail, and pull the working loop all the way through to secure the knot.
- Thread the tail onto a yarn needle, run it through a few nearby stitches to draw the opening fully closed, then tug gently to tighten.
- Push the remaining tail into the inside of the heart so nothing shows on the outside.
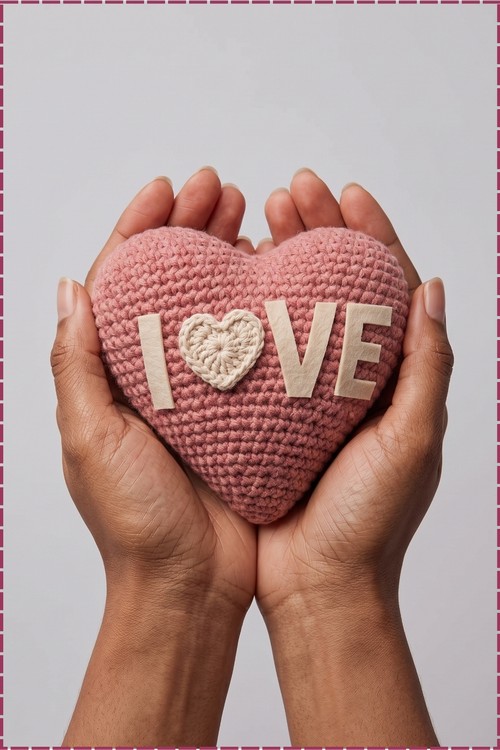
- Lay the letters across the front of the heart before sewing anything. On my piece the word runs on a slight upward diagonal from the lower left lobe toward the upper right lobe, which follows the curve of the heart and keeps the word from looking crammed.
- Pin or hold each letter in place, then whipstitch around the edges with cream yarn, catching only the outer edge of the letter and the surface stitches of the heart. Sewing too deeply pulls the letters into the stuffing and flattens them.
- Sew the small applique heart last, centered between the L and the V, sitting just slightly lower than the letters as it does in my photo.
Tips and Troubleshooting
Yarn Substitution
Cotton gives the matte, slightly rustic surface you see on my heart and it keeps the shape sharp. Acrylic works and costs less, though it has more stretch, so the pillow softens and the outline rounds out over time. Cotton blends split the difference nicely.
Avoid anything fuzzy or brushed. Mohair and chenille swallow the letter shapes, and a word spelled in cream disappears entirely against a hairy surface. Whatever you pick, make sure your cream letter yarn matches the body yarn in weight, otherwise the letters sit at a different thickness and look stuck on.
Customization Ideas
- Swap the dusty rose for deep red, blush, or ivory depending on the room.
- Spell a name, initials, or a short word instead of love. The letter method scales to any letter built from straight strokes.
- Use the small applique heart on its own in the center for a plain heart pillow with no lettering.
- Add a chained loop at the top dip so the heart hangs on a door or bedpost. Chain until the loop reaches your preferred length, then sew both ends into the dip between the lobes.
- Make a set in three sizes by holding yarn double or using a smaller hook with the same pattern.
- Work the letters in metallic or sparkle yarn for a wedding or anniversary version.
FAQ
Can I make this heart bigger? Yes. Add more increase rounds to each cup before the plain round 5, following the same pattern of adding one more plain stitch between increases each round. You will then need extra plain rounds in part 2 and more decrease rounds, so be ready to work out the maths as you go.
Why does my heart look more like a circle? That usually means the two cups were joined too loosely or the decrease rounds in part 2 were worked evenly instead of in the uneven groupings written. The uneven decreases are what create the dip at the top and the point at the bottom.
Do the letters have to be crocheted? No. Felt letters cut with scissors and whipstitched on work well and go much faster. I chose crocheted letters because they match the texture of the body, which is why the word looks like part of the pillow rather than something glued to it.
How do I stop the stuffing showing through? Tighten your tension or drop a hook size. If the fabric is already made, line the inside with a thin layer of polyfill batting before adding the loose stuffing, which blocks light from passing through.
Can this be washed? Hand wash in cool water and press the water out rather than wringing it. Reshape the heart while damp and let it dry flat. Machine washing pushes the stuffing into clumps that never fully recover.