
Crochet Parrot Amigurumi Free Pattern In Green
Beginners comfortable with a continuous spiral can shape the whole parrot body without a single seam, since increases on rounds 9 and 16 build out the chest. Flat green wings, a layered tail and crimson beak and feet finish a palm sized bird that stands on its own.
Scarlet feet hold up this crochet green indian parrot amigurumi, and that little bird suits anyone making gifts for kids. Bird lovers take to it too. Small enough to sit in a palm, the crochet green indian parrot amigurumi works well for nursery shelves, classroom corners, or a quiet handmade present for a grandparent who feeds the birds.
Crochet Green Indian Parrot Amigurumi
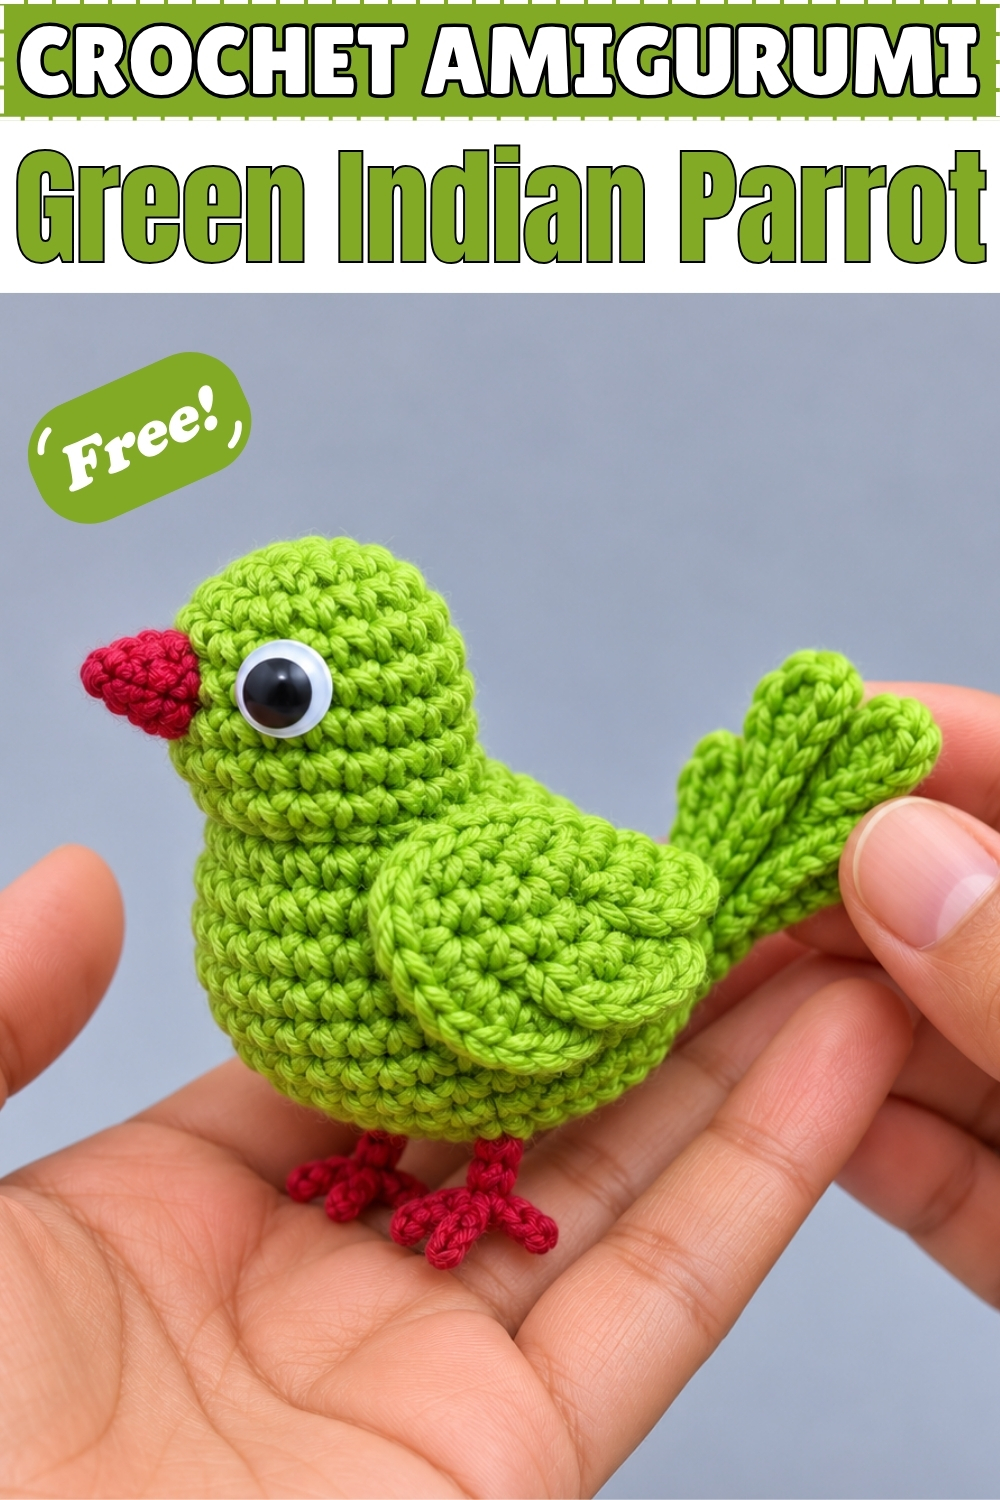
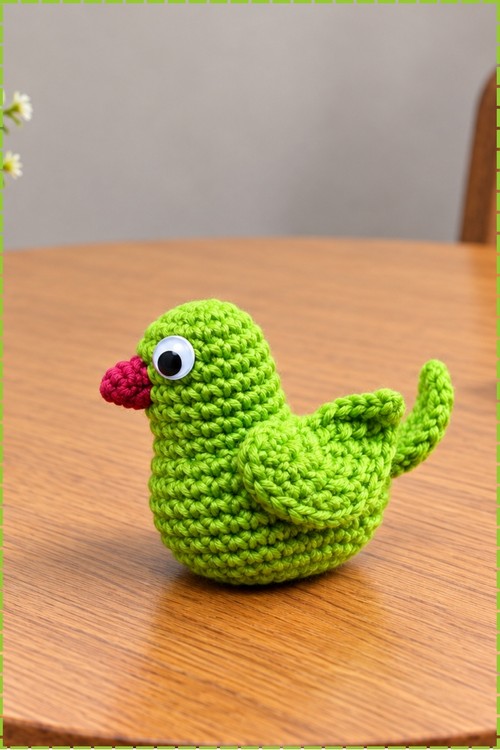
Shaping happens entirely through placed increases and decreases in this crochet green Indian parrot amigurumi, so one continuous spiral turns into a head, a chest and a tapered back with no seams in the body at all. Increases on rounds 9 and 16 widen the chest exactly where a bird thickens, while two decrease rounds pull the tail end closed. Flat pieces finish the bird: a wing on each side, a layered tail at the back, a red beak and two red feet. Mine stands about the length of a palm and sits upright on its own feet.
Materials and Tools
- Bright green cotton or cotton blend yarn for the body, wings and tail
- Crimson red yarn in the same weight for the beak and feet
- Crochet hook sized one or two steps below the yarn label so the stuffing stays hidden
- One large googly eye, or safety eyes if you prefer them
- Craft glue if you use googly eyes
- Polyester fiberfill
- Yarn needle, stitch marker and scissors
My bird uses a single googly eye on the visible side, the same as the original pattern calls for. Add a second on the other side if you want the parrot viewed from both angles.
Difficulty and Time
This is an easy project with no shaping beyond basic increases and decreases. The body took me roughly an hour and the small parts another half hour, though that is only my own pace and yours will differ with hook speed and stuffing fussiness.
Technique Notes
- Magic ring, written as MR, is an adjustable starting loop. Pull it fully closed before round 3, because the hole is much harder to reach once the body fills out.
- Single crochet, written as sc, carries the whole body. Keep tension even and firm, since loose stitches let white fiberfill show through bright green yarn.
- Increase, written as inc, means two single crochets worked into one stitch. Shift the starting point of each increase round a stitch or two so the increases do not stack into a visible ridge up the body.
- Decrease, written as dec, means two stitches worked together. Use the invisible decrease if you know it, as the standard version leaves small bumps along the back of the bird.
- Chain, written as ch, and slip stitch, written as sl st, appear in the tail, beak and feet.
- The body works in a continuous spiral with no joining, so mark your first stitch each round and move the marker up as you go. Losing the marker on a body this plain is the most common reason counts drift.
- Stuff in small pinches rather than one lump. On a piece this size, a single wad reads as a bulge through the fabric straight away.
The Pattern
Body
- Work the body in a continuous spiral from the head down to the tail end.
- Round 1: Make a slip knot and a magic ring, then work 8 single crochet into the ring [8 sc]. Tighten the ring now so the top of the head closes cleanly.
- Round 2: 1 increase in each stitch around [16 sc]. The piece will start to cup into a small dome here.
- Rounds 3 to 8: 1 single crochet in each stitch for 6 rounds [16 sc]. These straight rounds form the head and neck, which stay narrow on my parrot.
- Round 9: 2 single crochet, 1 increase, repeated around [21 sc]. This is where the chest begins to widen below the head.
- Rounds 10 to 15: 1 single crochet in each stitch for 6 rounds [21 sc]. Begin stuffing the head lightly during these rounds while the opening is still easy to reach.
- Round 16: 4 single crochet, 1 increase, repeated around [25 sc]. The body reaches its widest point here, which sits at the belly on the finished bird.
- Rounds 17 to 20: 1 single crochet in each stitch for 4 rounds [25 sc].
- Round 21: 2 single crochet, 1 decrease, repeated around [18 sc]. The back end starts tapering toward the tail now.
- Round 22: 1 single crochet, 1 decrease, repeated around [12 sc].
- Stuff the body firmly with fiberfill, packing the chest well so the parrot holds its upright posture.
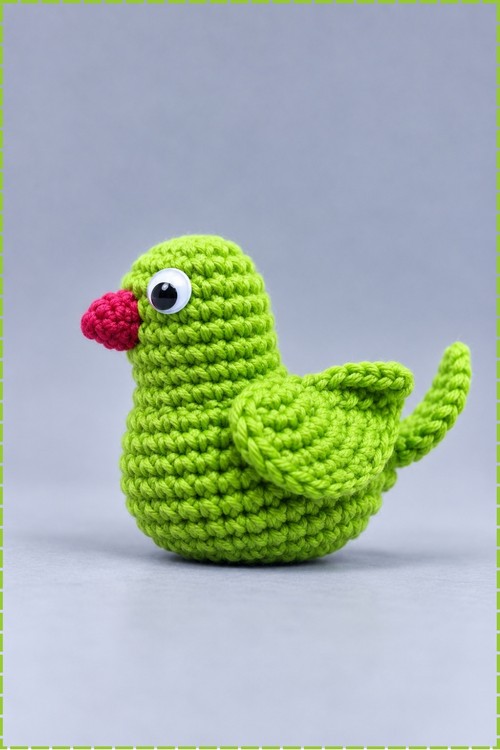
- Round 23: 1 decrease in each stitch around to close the opening, then fasten off and weave the tail end in with a yarn needle. Keep the closure flat rather than pointed, since the tail piece sews onto this area.
Tail
- Chain 10 stitches [10 ch].
- Work back along the chain in single crochet, adding shaping stitches so the strip takes on a feathered tail shape rather than a straight bar.
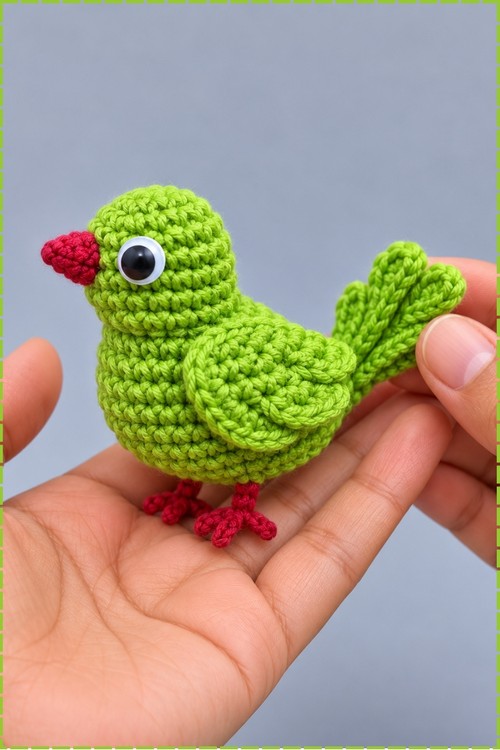
- Repeat the strip until you have the number of feathers you want. My tail uses several narrow green strips laid in a slight fan.
- Stack the strips so each one sits a little above the last, then stitch them together along the inner edge where they will meet the body.
- Sew the joined tail to the back of the parrot at the closing point, angling it slightly upward so the bird balances.
- Keep the sewing stitches on the underside of the tail so the top face stays smooth.
Wings
- My parrot wears a flat wing on each side, which the plain pattern does not cover, so work these as a simple shaped oval in green.
- Start with a chain and work rounds of single crochet around both sides of it until the oval reaches the length you want against the body.
- Taper the last round so one end comes to a soft point, which is the end that falls toward the tail.
- Make a second wing to match, counting your rounds on the first so both come out the same size.
- Pin both wings to the sides of the body before sewing, with the rounded end sitting just below the head and the pointed end angled back and down.
- Sew only along the top edge of each wing so the lower edge lifts away from the body, which is what gives the wing its layered look in my photo.
Beak
- Using red yarn, chain 3 stitches [3 ch].
- Work the chain into a small solid triangle, keeping the stitches tight so the shape stands up on its own rather than flopping.
- Sew the beak to the front of the head, placing it level with the eye and pointing slightly downward.
- Anchor it at the top and both sides, leaving the lower tip free so the beak reads as a separate piece.
Feet
- Two red feet appear on my parrot, which the plain pattern leaves out, so work them in red yarn as simple toed cords.
- Chain until the leg reaches your preferred length, then slip stitch back along the chain.
- From the base of that leg, chain a short length for a toe and slip stitch back to the join, then repeat for the remaining toes you want on that foot.
- Fasten off and make a second foot to match.
- Sew both feet to the underside of the body, set slightly forward of the widest point so the bird tips neither forward nor back.
- Spread the toes before the last stitch and tack each one down, since loose toes curl under and the parrot stops standing.
Eyes and Finishing
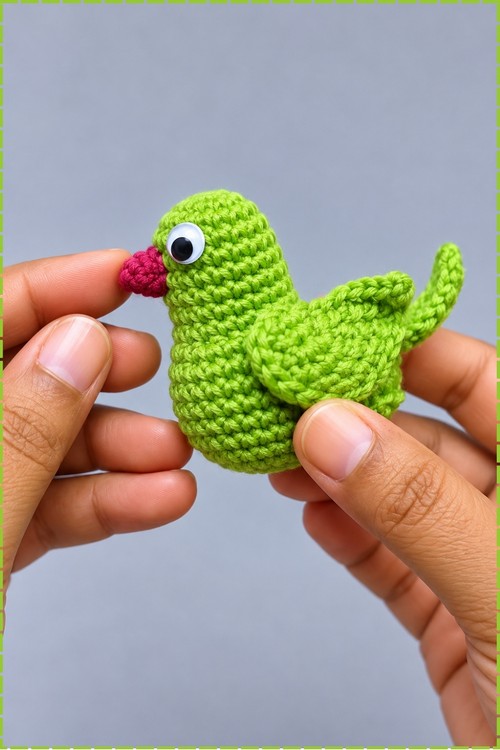
- Glue or attach the googly eye to the side of the head, set above and slightly behind the beak.
- Hold the bird at arm's length before the glue sets, because an eye placed even a stitch too high changes the whole expression.
- Add a second eye on the opposite side if you want the parrot seen from both directions.
- Weave every remaining end into the stuffed body rather than into a flat piece, where a knot would show through.
Yarn Substitution
Cotton gives the crisp stitch definition visible across the body in my photo, which matters on a plain shape with no texture to hide behind. Acrylic works and gives a softer finish, though the wings and tail hold their shape less well. Skip anything fuzzy here, since the whole bird depends on clean stitch lines. Use the same weight for green and red so the beak and feet sit in proportion.
Customization Ideas
- Add a red ring collar across the back of the neck for a true ringneck look.
- Swap the green for blue, yellow or white to make other parrot varieties using the same counts.
- Stitch a hanging loop into the top of the head and use the bird as an ornament.
- Leave the feet off and sew a small flat base instead if you want a sitting parrot.
- Embroider the eye in black yarn instead of using googly eyes for a baby safe version.
Frequently Asked Questions
Why does my parrot lean forward? Foot placement is almost always the cause. Move both feet back toward the belly's widest point and the weight of the head stops pulling the bird over.
Can I work the wings into the body instead of sewing them on? You can, but the layered edge in my photo depends on the wing hanging free at the bottom. Sewing along the top edge only gives that lift, and a worked in wing sits flat against the body.
My beak keeps flopping down. What fixes it? Tight stitches and a firm anchor at the top. Sew across the upper edge of the beak twice before finishing, and keep the red triangle small and dense rather than loose.