
Crochet Jellyfish Amigurumi Free Pattern With Curly Tentacles
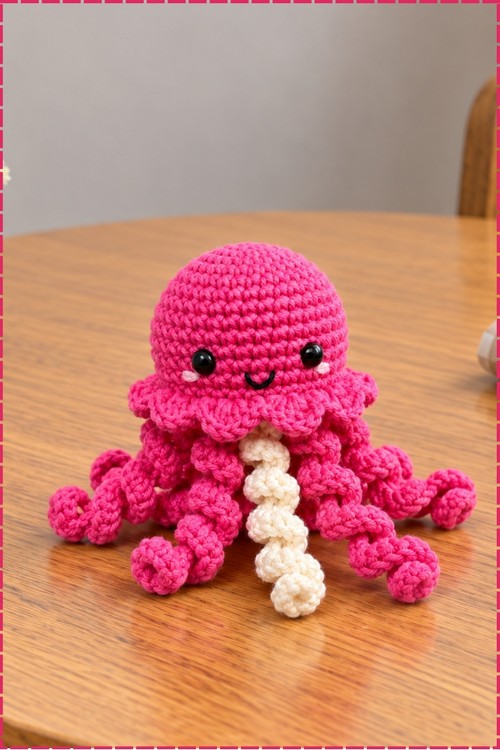
Hot pink and cream curly tentacles hang from a ruffled cap on this crochet jellyfish amigurumi, and a tiny smile sits just above the frill. Ocean themed nurseries and beach bedrooms get a cheerful handmade present in a pink crochet jellyfish plush that sits upright on its curls.
Curly tentacles bounce under the bell, which is what gives this crochet jellyfish amigurumi its cheeky personality. It smiles while it wobbles. Make the tentacles in mismatched colours and no two come out alike, so every crochet jellyfish amigurumi ends up with a slightly different attitude.
Crochet Jellyfish Amigurumi
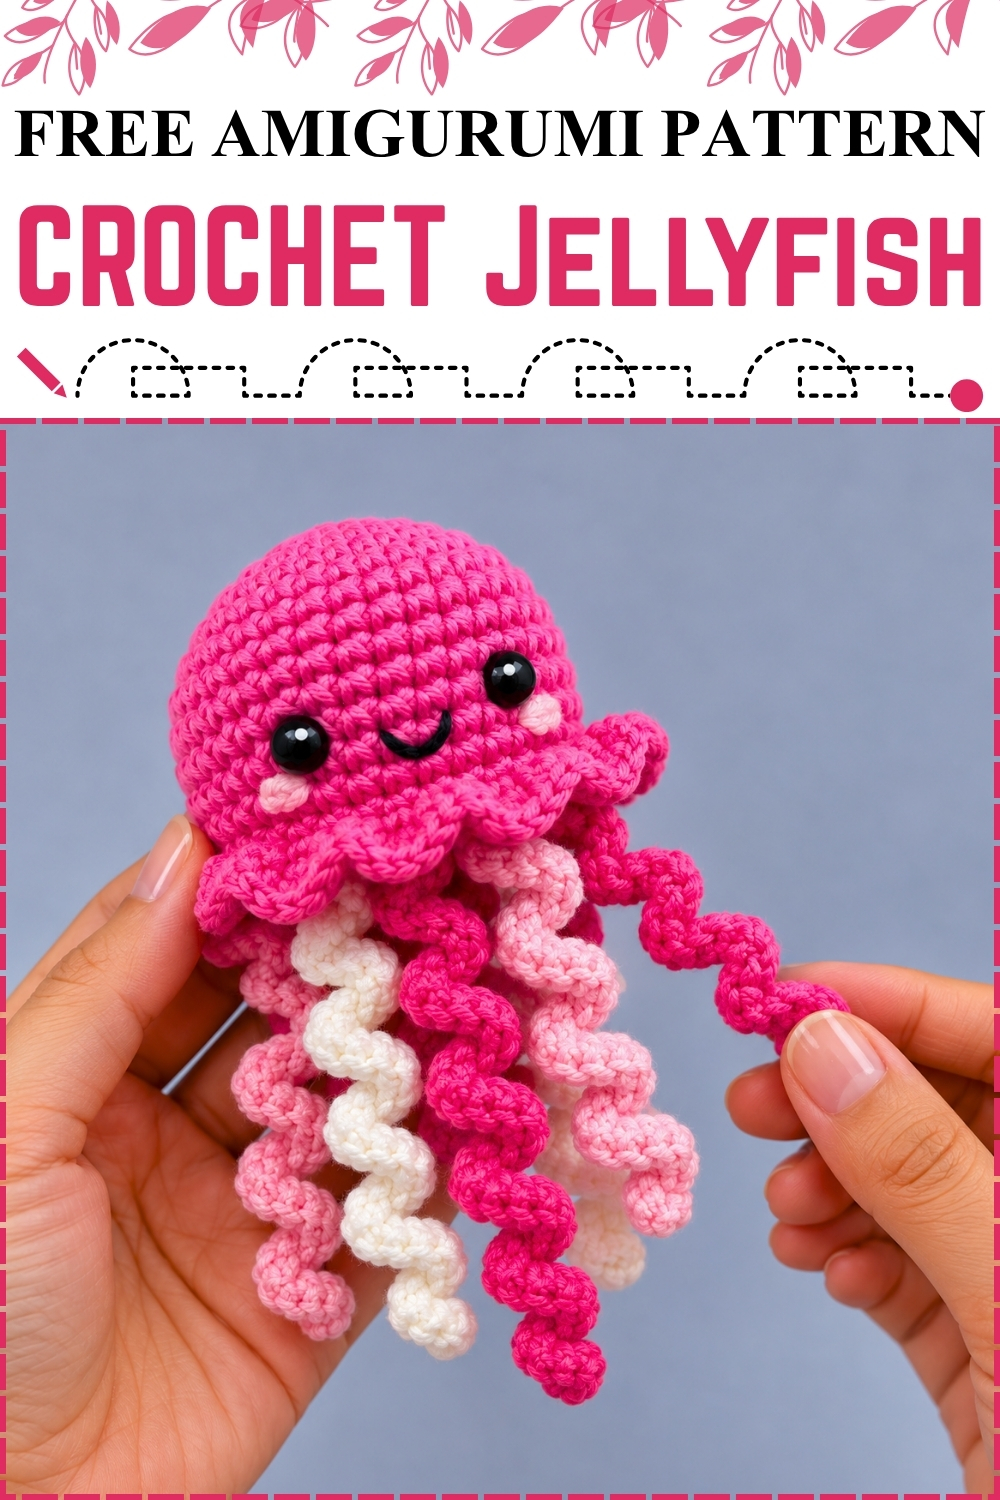
Spiral rounds build the whole dome of this crochet jellyfish amigurumi, so the cap comes off your hook as one smooth piece with no seams to hide. Working the back loops on one round leaves a row of free front loops, and those loops turn into the little ruffle that frames the face. Curls happen on their own once you crowd two stitches into every chain. My version uses hot pink for the cap, with pink, soft blush and cream tentacles twisting underneath. Small enough to sit in one hand, it works up over a quiet evening.
Materials and Tools
- Cotton or cotton blend yarn in hot pink for the cap, ruffle and some tentacles
- Small amounts of the same yarn weight in soft blush pink and cream for the remaining tentacles
- 2.0 mm or 2.5 mm crochet hook, sized down from the yarn label so the stuffing never peeks through
- Black safety eyes, 6 mm or 8 mm
- Polyester fiberfill
- Black embroidery floss for the smile
- A scrap of pale pink yarn or blush powder for the cheeks
- Stitch marker, yarn needle and scissors
I used a light worsted cotton that holds a crisp stitch, which is what keeps the curls springy instead of floppy.
Difficulty and Time
From my own run at this one, it sits at an easy level once you are comfortable with a magic ring and invisible decreases. The cap took me under an hour, and the tentacles took another hour or so because each curl needs its own chain. Treat those times as a rough guide, since hook speed varies a lot from maker to maker.
Beginner Technique Notes
- Magic ring, written as MR, is an adjustable loop you crochet into and then pull closed, which leaves no hole at the top of the dome.
- Single crochet, written as sc, is the stitch that carries the whole cap.
- Increase, written as inc, means two single crochet stitches worked into one stitch.
- Decrease, written as dec, means two stitches joined into one, and the invisible version keeps the fabric smooth.
- Back loop only, written as BLO, means you insert the hook under just the back strand of the stitch, leaving the front strand free for later.
- Front loop only, written as FLO, is the opposite, and you will work into those saved front loops when you add the ruffle.
- Chain, written as ch, and slip stitch, written as sl st, both show up in the ruffle and tentacles.
- Mark the first stitch of every round with a stitch marker, because this piece spirals and never gets joined.
The Pattern
Jellyfish Cap
- Work the whole cap in a continuous spiral from the top down, moving your stitch marker up as you go.
- Round 1: 6 sc in a magic ring [6 sts]. Pull the ring tight now, because it is much harder to close once the dome fills out.
- Round 2: [inc] x 6 [12 sts]
- Round 3: [1 sc, inc] x 6 [18 sts]
- Round 4: [2 sc, inc] x 6 [24 sts]
- Round 5: [3 sc, inc] x 6 [30 sts]
- Round 6: [4 sc, inc] x 6 [36 sts]. The piece should lie flat like a small coin at this point, with no cupping or ruffling.
- Rounds 7 to 11: 1 sc in each st around [36 sts] for 5 rounds total. These straight rounds turn the flat disc into the rounded dome you see in my photo.
- Round 12: [4 sc, dec] x 6 [30 sts]
- Round 13: In back loop only, [3 sc, dec] x 6 [24 sts]. Leave every front loop of this round untouched, since the ruffle grows out of them later.
- Round 14: [2 sc, dec] x 6 [18 sts]
- Insert the black safety eyes between rounds 9 and 10, about 5 to 6 stitches apart, and check the spacing from the front before you snap the washers on, because they will not come off again.
- Round 15: [1 sc, dec] x 6 [12 sts]. Begin stuffing firmly here, pushing fiberfill into the crown first so the top keeps its round shape.
- Round 16: [dec] x 6 [6 sts]
- Fasten off with a long tail, run the tail through the front loops of the last 6 stitches, pull it closed and bury the end inside the body.
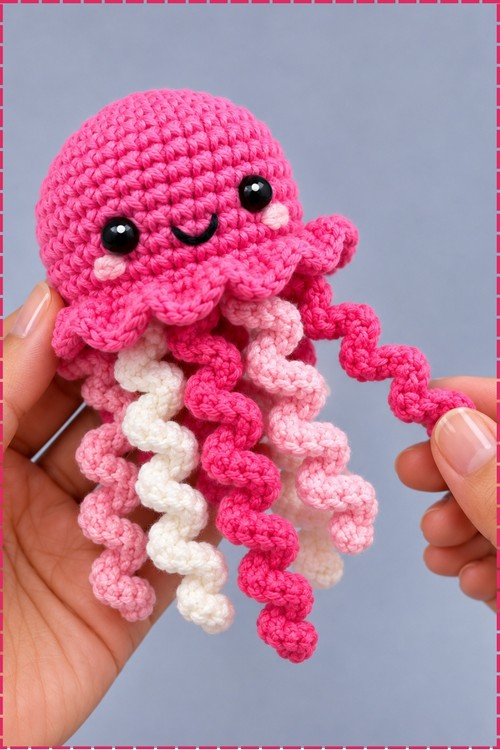
Ruffled Trim
- Join your hot pink yarn to any free front loop left from round 13, working on the underside of the cap.
- Trim round: [ch 1, sl st into the next front loop] all the way around the base of the cap.
- Keep the chains loose so the trim flares outward into the soft scalloped skirt that sits right under the face in my photo.
- Fasten off invisibly and weave the ends up into the body.
Curly Tentacles
- My jellyfish wears curly tentacles only, in three colours. I made several in hot pink, several in soft blush pink and a couple in cream.
- Make 4 to 6 curly tentacles, splitting the count across your colours however you like.
- Chain 25 to 35 stitches, using the shorter chains for the tentacles you want sitting higher and the longer ones for the two that hang well below the rest.
- Starting in the 2nd chain from the hook, work 2 sc in every chain stitch all the way back to the base.
- The strip twists itself into a corkscrew as you go, so resist the urge to flatten it out while you work.
- Fasten off, leaving a long tail for sewing.
- Give each finished curl a gentle stretch and release, which evens out the spiral and stops one end coiling tighter than the other.
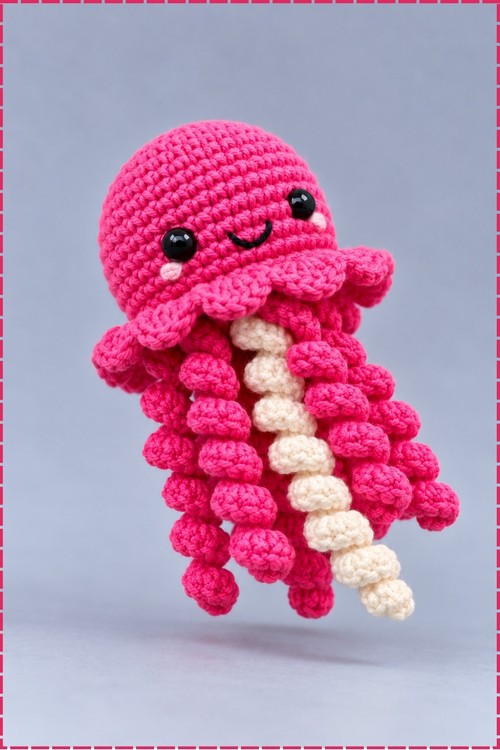
Straight Tentacles
- These are optional, and my own jellyfish does not use them, since I wanted every strand curled.
- Make 3 to 4 if you want a mix of textures.
- Chain 30 to 40 stitches.
- Starting in the 2nd chain from the hook, work 1 sc in each chain back to the base.
- Fasten off, leaving a tail for sewing.
Assembly
- Lay the cap face up and plan your colour order before sewing, so the cream curls land between pink ones rather than next to each other.
- Sew the tentacles to the underside of the cap, anchoring each one just inside the ruffle so the trim still shows from the front.
- Space them evenly around the circle, keeping the two longest curls toward the outer edges where they fall past the others.
- Pull each stitch firm and knot off inside the body, because curls get tugged on and a loose anchor works free fast.
- Embroider a small curved smile in black floss, centred between and slightly below the eyes.
- Add the cheeks in pale pink yarn with two or three short straight stitches on each side, level with the lower edge of the eyes.
- Weave every remaining end into the stuffed body rather than into a tentacle, where a knot would show.
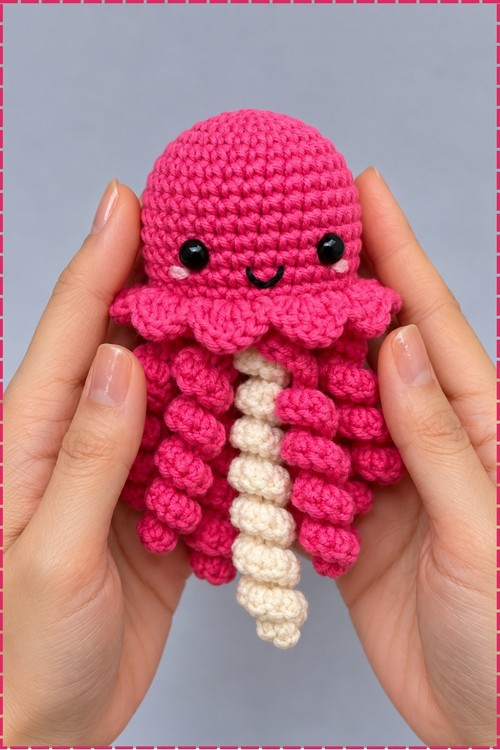
Tips and Troubleshooting
- Count the front loops you saved on round 13 before you start the ruffle. Missing one leaves a gap in the skirt that is obvious from the front.
- Stuff in small pinches rather than one large wad. Big clumps show as lumps through the stitches on a dome this size.
- If your curls hang limp, your chain was too loose. Chain a touch tighter next time, or move down a hook size for the tentacles only.
- Place the eyes while the head is still open. You can reach inside to adjust the angle, which you lose completely once the last round closes.
- Sew the cream tentacles first. Light colours pick up fuzz from darker yarn, so handling them early keeps them clean.
- If the cap leans to one side, the stuffing is uneven. Open the top, redistribute and close it again rather than trying to pinch it straight.
Yarn Substitution
Cotton gives the crisp curls in my photo, and that is the main reason to reach for it here. Acrylic works and softens the look, though the corkscrews relax more over time. Avoid anything fuzzy or loosely plied, since the stitch definition on the cap disappears and the curls lose their spring. Whatever you pick, use the same yarn for all three colours so the tentacles hang at matching weights.
Customization Ideas
- Swap the three pinks for ocean blues, or go monochrome in one shade for a calmer finish.
- Add a chain loop at the top of the cap and hang it from a nursery shelf or a mobile.
- Scale the whole thing up by using worsted yarn and a 3.5 mm hook, keeping every count exactly as written.
- Leave the eyes off and embroider closed sleepy eyes instead for a baby safe version.
- Mix in a few straight tentacles among the curls if you want a looser, driftier shape.
Frequently Asked Questions
Why does my cap ruffle instead of curving? Your increases are probably landing in the same column each round. Stagger them by starting the increase sequence in a different spot, and the fabric will cup properly.
Can I make this without safety eyes? Yes. Embroider the eyes with black floss once the cap is stuffed and closed, using a few tight satin stitches. This is the safer route for anything going to a baby.
How many tentacles should I attach? Anywhere from four to six curls gives a full look at this size. I used a mix across three colours, and the piece still sits balanced because the longest two are opposite each other.
My tentacles unravel at the join. What went wrong? The first stitch of the strip is usually the culprit. Leave a long tail, sew through the base of the curl two or three times, then knot inside the body before trimming.
Can I use a bigger hook to speed things up? Going up a size works for the tentacles but not the cap, where a loose gauge lets fiberfill show through the stitches. Keep the small hook for the body and save the larger one for curls if you want them chunkier.