
Crochet Dinosaur Amigurumi Free Pattern With White Back Spikes
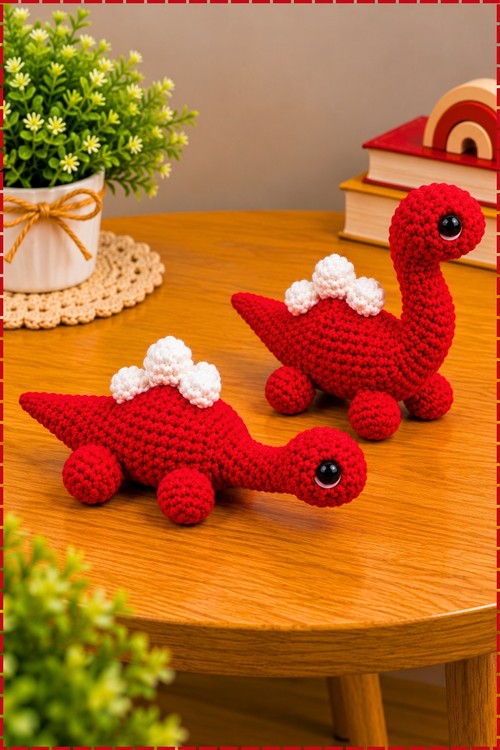
One relaxed evening of single crochet spirals produces a red crochet dinosaur amigurumi firm enough to hold its long neck upright with no wire inside. Soft white bobble spikes run down the back, four short legs keep it standing on a shelf, and embroidered eyes make it baby safe.
Something about the tilt of that neck makes this Crochet Dinosaur Amigurumi read as curious rather than fierce. The white ridge softens it further. Kids name these fast. Make the Crochet Dinosaur Amigurumi in a bold shade and the personality doubles, because the shape already carries a bit of attitude.
Crochet Dinosaur Amigurumi
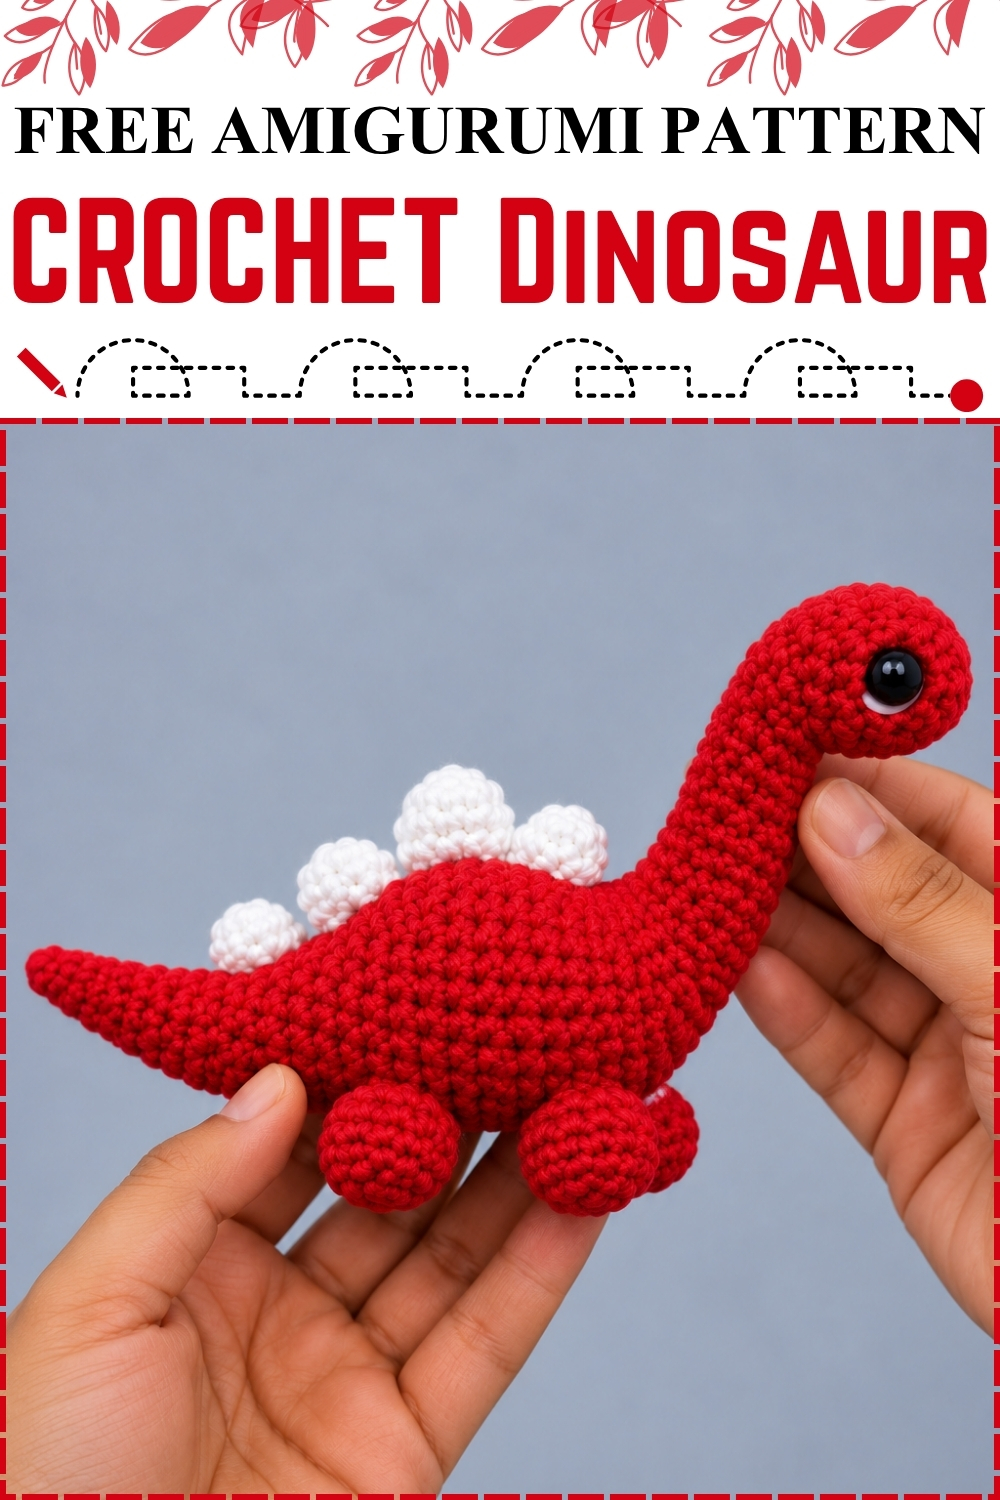
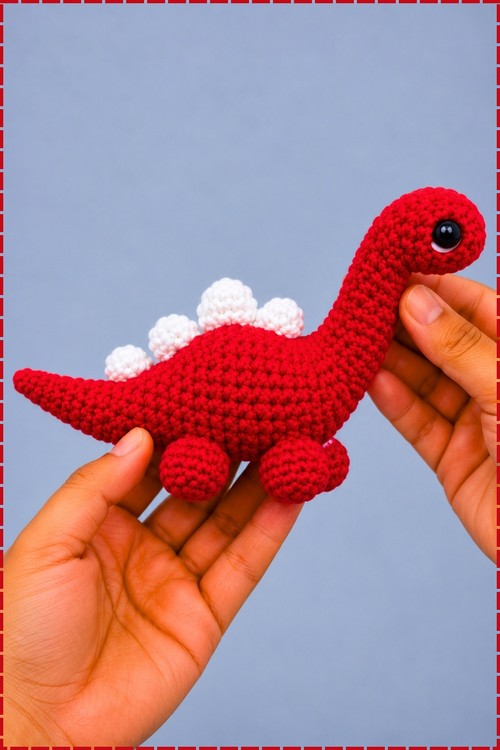
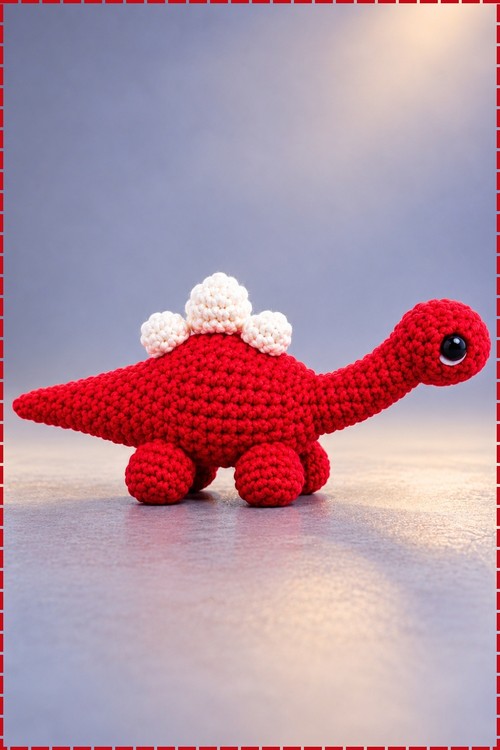
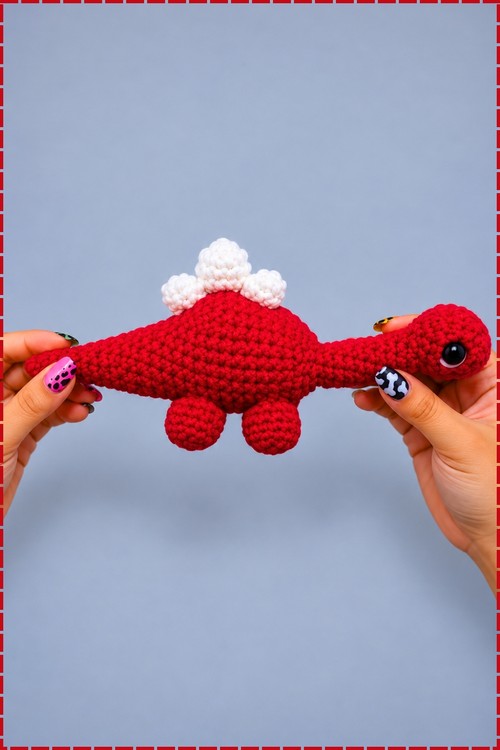
Tight spirals of single crochet give this crochet dinosaur amigurumi a firm body that holds its long neck upright without wire or support. Bright red yarn covers every part except the soft white bobble spikes running down the back. Four short rounded legs keep the little dino standing on a shelf, while the tapered tail balances the weight of the head. One glossy black safety eye sits high on each side of the face, close to the top of the head. Making mine took a single quiet evening, and the finished plush fits comfortably in one hand.
Materials and Tools
- Medium or worsted weight (weight 4) yarn in bright red for the head, neck, body, tail, and legs
- Small amount of white or cream yarn in the same weight for the back spikes
- Crochet hook size H-8 (5.0 mm) or G-6 (4.0 mm), depending on how thick your yarn runs
- Two black safety eyes, or black yarn if you prefer embroidered eyes for a baby-safe toy
- Polyester fiberfill for stuffing
- Stitch marker for tracking the start of each round
- Scissors
- Tapestry needle for sewing parts and weaving in ends
Difficulty and Time
From my own experience with this one, it sits at an easy to comfortable level. Anyone who can work single crochet in a spiral and sew two pieces together will manage it. My finished dino took roughly one evening of relaxed crocheting, and the sewing and stuffing added maybe half an hour on top. Treat those numbers as a rough guide, since yarn thickness and your own pace will shift them.
Beginner Technique Notes
Single crochet, abbreviated sc, means inserting your hook into the stitch, yarning over, pulling up a loop, yarning over again, and drawing through both loops on the hook. Double crochet, abbreviated dc, starts with a yarn over before the hook goes in. Chain is abbreviated ch, slip stitch is sl st, and stitch or stitches is st or sts. Skip is abbreviated sk, and chain space is ch-sp.
Amigurumi wants a tight fabric. Go down a hook size from whatever the yarn band suggests, since stuffing should never peek through the gaps. Mine used the smaller hook with lighter yarn, which is why the red surface looks so smooth in the photo.
The Pattern
Materials and Gauge
- Use medium or worsted weight (weight 4) yarn, or light DK weight yarn
- Use a size H-8 (5.0 mm) hook with worsted, or a size G-6 (4.0 mm) hook with DK
- Keep scissors and a tapestry needle nearby for weaving in ends
- Work your foundation on a multiple of 2 plus 1, or a multiple of 2 plus 3 if you count the turning chain
Foundation Row and Base Chain
- Work a starting chain with any even number of chains, then add 1 additional chain, for example chain 21, 31, or 41 depending on the width you want. Lay the chain flat and make sure it is not twisted before you work back along it, since a twisted foundation cannot be corrected later.
Row 1: Base Row
- Insert your hook into the 2nd chain from the hook, yarn over, pull up a loop, yarn over, and draw through both loops for 1 single crochet.
- Work 1 single crochet into each remaining chain across to the end. Count along the row once you finish, because losing the final chain is the most common slip here.
- Turn your work. The fabric should look like a flat even band with a straight top edge.
Row 2: Establishing the Pattern Stitch
- Chain 3 to count as the first double crochet, or chain 1 and then work 1 single crochet in the first stitch.
- Skip 1 stitch, then work 1 single crochet and 1 double crochet both into the next stitch.
- Repeat that skip and paired stitch across until 2 stitches remain. The surface starts to look pebbled, which is exactly the texture that gives amigurumi its density.
- Skip 1 stitch, then work 1 single crochet or 1 double crochet into the final stitch or turning chain.
- Turn your work.
Row 3: Repeating Row
- Chain 1, then work 1 single crochet into the very first stitch.
- Skip 1 stitch, which is the double crochet from the previous row, then work 1 single crochet and 1 double crochet into the next stitch, which is the single crochet from the previous row.
- Continue repeating that skip and paired stitch across the row. Keeping your tension even here matters most, since loose rows will show as thin patches once the piece is stuffed.
- Finish with 1 single crochet into the last stitch or the top of the turning chain.
- Turn your work.
Subsequent Rows
- Repeat Row 3 continuously until your work reaches the length you want. For my dinosaur I stopped once the fabric measured enough to wrap comfortably around a stuffed shape without pulling.
Shaping the Head and Neck
- Work the head and neck as one continuous piece in a spiral, starting at the nose and increasing until the head reaches the width you want.
- Work even rounds once the head looks like a smooth rounded muzzle, then decrease gently to form the throat.
- Continue working even rounds down the length of the neck until the neck reaches your preferred length. Mine curves upward on its own because the stuffing is packed firmly all the way through.
- Attach the safety eyes high on the sides of the head, set well back from the nose and fairly close to the top curve, matching the placement in my photo. Fix them before you close the piece, since the backs cannot be removed once snapped on.
Shaping the Body
- Work the body in a spiral as a rounded oval, increasing at the chest and working even through the middle.
- Decrease toward the back of the body where the tail will begin. The shape should look like a plump egg lying on its side.
- Stuff the body firmly as you close it so the legs and neck have something solid to sit against.
Shaping the Tail
- Work the tail in a spiral, starting wide where it meets the body and decreasing gradually until it comes to a soft point.
- Continue decreasing until the tail reaches your preferred length. Mine tapers slowly rather than sharply, which gives that long sweeping look.
- Stuff only the thicker half of the tail and leave the tip unstuffed so it stays slim.
Making the Legs
- Work four identical legs in a spiral as short rounded cylinders, increasing at the base for a flat foot and working even for the height you want.
- Keep all four the same number of rounds so the dinosaur stands level.
- Stuff each leg lightly. Overstuffed legs splay outward and the body tips forward.
Making the Back Spikes
- Work the spikes in white or cream yarn as small rounded bobbles in a spiral, increasing then decreasing so each one closes into a ball.
- Make as many spikes as you want along the back. Mine has a row of rounded white spikes that starts just behind the neck and grows smaller toward the tail.
- Leave a long tail of yarn on each spike for sewing.
Assembly
- Sew the head and neck to the front of the body, angling the neck upward rather than straight out so the head sits high.
- Pin the four legs underneath the body first, two at the front near the chest and two at the back near the tail, and check the dino stands before you sew.
- Sew the legs on with the flat side of each foot facing down.
- Sew the tail to the back of the body, lining it up with the spine so it continues the curve of the back.
- Sew the white spikes in a single line along the top of the back, spacing them evenly from the base of the neck to the start of the tail. Sitting them slightly to one side is the easiest mistake to make, so sight down the spine from behind as you pin.
Finishing and Border
- Cut your yarn leaving a 6 inch tail and pull it through the remaining loop to lock the stitch.
- Thread each tail onto a tapestry needle and weave it back and forth through the back of the stitches.
- Bury the ends inside the stuffed parts rather than along the surface, since red yarn shows every stray strand.
Tips and Troubleshooting
- Use a stitch marker in the first stitch of every spiral round and move it up as you go. Losing your place in a red-on-red spiral is frustrating and hard to unpick.
- Stuff the neck harder than feels necessary. A soft neck lets the head flop forward and the whole shape loses its character.
- Sew the head on with the pins in place first and step back to look at it from the side. Head angle changes the personality of the finished dino more than anything else.
- Shape each leg with your fingers after stuffing so the foot stays flat. Rounded feet make the toy roll rather than stand.
- Work the white spikes last so you can judge how many fit the length of the back you actually made.
Yarn Substitution
Cotton yarn gives the crisp stitch definition you can see in my photo, and it holds the bobble spikes in a tidy round shape. Acrylic works just as well and feels softer for a child's toy, though the surface looks slightly fuzzier. Avoid anything with a long fuzzy halo, since the texture will swallow the stitch pattern and hide the spikes completely. Whatever you pick, use the same weight for the red and the white so the spikes sit flush against the back.
Customization Ideas
- Swap the red for forest green, teal, or mustard and keep the spikes white for the same contrast
- Make the spikes in a bright clashing colour like orange or lime for a louder look
- Embroider the eyes in black yarn instead of using safety eyes for a baby-safe version
- Add a short row of smaller spikes down the top of the tail
- Work the belly and inner legs in a lighter shade for a two tone dinosaur
- Stitch a tiny felt or crocheted flower behind one ear area for a softer version
FAQ
Can I make this dinosaur bigger? Yes. Use a thicker yarn with a matching larger hook and every part scales up together. Keep the hook one size below the band recommendation so the fabric stays tight enough to hide the stuffing.
Why does my dinosaur's neck flop over? Almost always understuffing. Push small pieces of fiberfill down the neck with the blunt end of a hook until the neck feels solid rather than squishy, then sew the head on.
How many spikes should I make? As many as fit your back comfortably. Lay them along the spine before sewing and space them evenly. Mine uses a short run of rounded white bobbles that stops before the tail begins.
Are safety eyes suitable for a baby? Not for infants or toddlers who mouth their toys. Embroider the eyes with black yarn instead, using a few tight satin stitches in the same position shown in my photo.
Can I wash the finished dinosaur? Hand wash in cool water and press the water out gently rather than wringing. Let it air dry fully upright so the stuffing settles back into shape.