
No Sew Crochet Amigurumi Dinosaur Pattern
Crocheters who dread sewing on limbs will like this no sew build, where four legs join into a rectangle and the blue body grows straight up from it. White foot caps and a low ridge of spikes finish the long necked dinosaur over two relaxed sittings.
Toddlers grab the tail first, which is why this Crochet Dinosaur suits small hands better than most stuffed toys. Nothing to pull loose. Older kids like the spikes. Parents asking for a first handmade gift usually land on a Crochet Dinosaur, and gift knitters making one for a nursery can size the shape up without changing the build.
Crochet Dinosaur
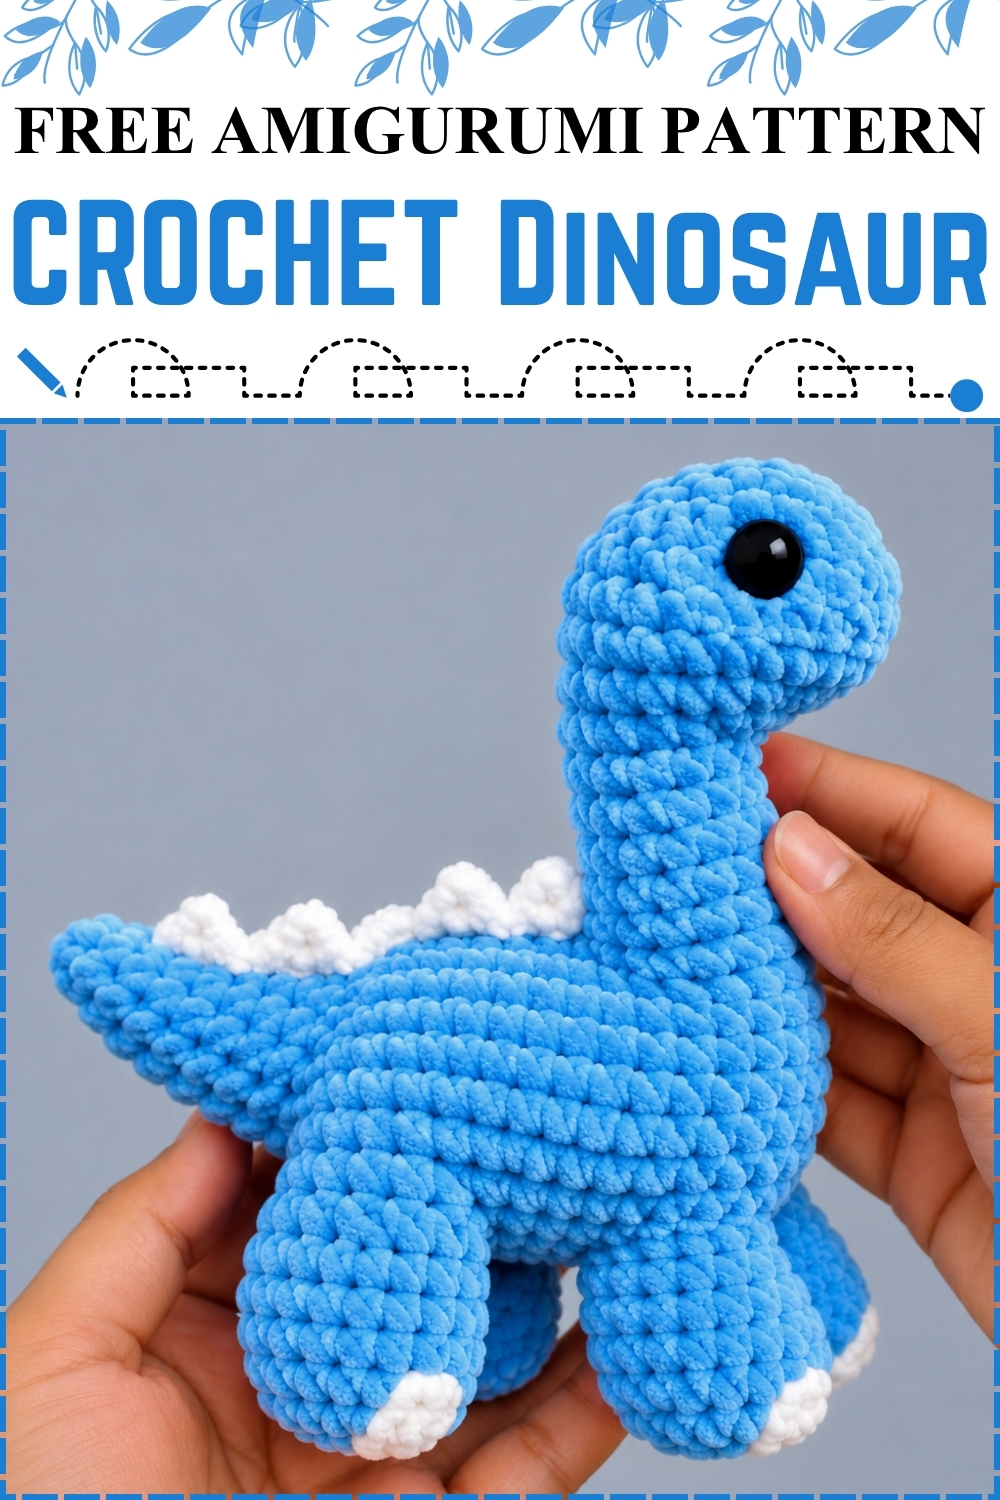
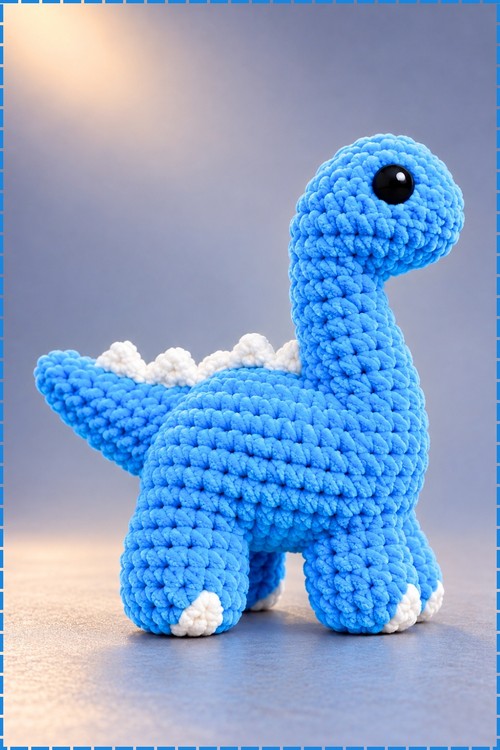
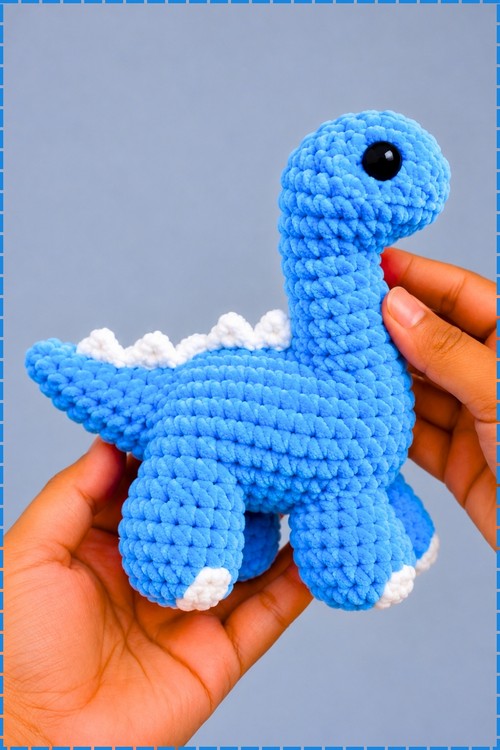
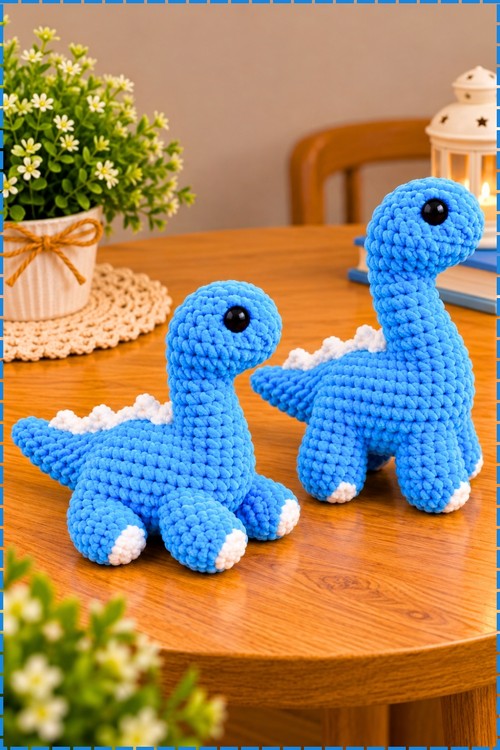
Four separate legs get joined into a rectangle before the body ever takes shape, which is what lets this crochet dinosaur amigurumi stand square and steady on all fours. Bright blue yarn covers the head, long neck, rounded body, and thick tapered tail. White yarn caps each foot and forms the low ridge of spikes running down the spine. Black safety eyes sit on either side of the head, set fairly high and well forward. Standing height on mine lands somewhere around six inches, though yarn weight will shift that either way.
Materials and Tools
- Medium or worsted weight yarn in bright blue for the head, neck, body, tail, and upper legs
- Small amount of white yarn in the same weight for the back ridge and the foot caps
- Crochet hook one size smaller than your yarn band recommends
- Two black safety eyes
- Polyester fiberfill
- Stitch marker
- Scissors
- Tapestry needle
Difficulty and Time
Intermediate. The leg joining round is the only fiddly part, and it makes sense once the rectangle closes. From my own build, allow an evening for the legs and body and a second sitting for the head, tail, and finishing.
Technique Notes and Tips
- Magic ring is abbreviated MR, single crochet is sc, increase is inc and means two single crochet in the same stitch, decrease is dec and means single crochet two together, stitch or stitches is st or sts, slip stitch is sl st, chain is ch, and treble crochet is tr.
- Work in a continuous spiral and keep a marker in the first stitch of every round, because the shaping rounds on the upper body are uneven and you cannot recover the start point by eye.
- Go down a hook size. A tight fabric is the difference between smooth blue stitches and visible white stuffing.
- Stuff the body before the opening closes, not after. Once you are at the final upper body round there is no room to push fiberfill in properly.
- Pin the head angle before sewing anything permanent. A neck sewn straight up makes the dino look stiff, while a slight forward lean matches the posture in my photo.
- Sew the white spike strip on with the strip held slightly stretched. Sewn slack, it bunches and the spikes lean sideways instead of standing up.
The Pattern
Legs, Make 4
- Round 1: work 8 single crochet in a magic ring [8]. Pull the ring fully closed before moving on, since a loose centre shows as a hole in the sole.
- Round 2: work 8 increase [16]. The circle should now lie flat as the base of the foot.
- Rounds 3 to 6, four rounds: single crochet in each stitch around [16]. My version starts these legs in white and changes to blue partway up so each foot ends with a white cap, exactly as the photo shows, with no change to any count.
- Fasten off legs 1, 2, and 3. Leave the yarn attached on the fourth leg so you can connect straight into the joining round.
Joining the Legs and Lower Body
- Join leg 1 to leg 2 with chain 1, slip stitch to leg 2, then work 11 single crochet around leg 2.
- Join to leg 3 with chain 3, slip stitch to leg 3, then work 11 single crochet around leg 3. The longer chain sets the body length, so keep it flat and untwisted.
- Join to leg 4 with chain 1, slip stitch to leg 4, then work 11 single crochet around leg 4.
- Complete the rectangle with chain 3, count 11 stitches from the stitch marker, then work 11 single crochet around the final leg. The four legs should now sit at the corners of a rectangle with a gap in the middle.
- Rounds 1 to 3: work 3 rounds of single crochet all the way around the connected perimeter [56].
Stomach Patch
- Row 1: chain 8.
- Rows 2 to 8, seven rows: work 7 single crochet across [7].
- Cut the yarn, turn the square slightly sideways, and sew it onto the bottom gap between the legs. Turning it on the diagonal is what makes it fill the gap cleanly, and on my dino it sits hidden underneath.
Upper Body
- Round 1: work 25 single crochet, chain 6 to create the opening for the tail, then work 25 single crochet.
- Round 2: work 5 single crochet then decrease around, skipping the decreases across the neck area, and finish with 7 single crochet in the final stitches [49].
- Round 3: work 6 single crochet and decrease once, then repeat 4 single crochet and decrease until near the end, finishing with 5 single crochet [42].
- Round 4: work 3 single crochet, then repeat 3 single crochet and decrease until near the end, finishing with 4 single crochet [35].
- Round 5: work 4 single crochet, then repeat 2 single crochet and decrease until near the end, finishing with 3 single crochet [28].
- Stuff the body firmly at this point. Pack it harder than feels right, because the back is wide and any soft patch will dent once the spikes are sewn on.
- Round 6: work 4 single crochet, then repeat 1 single crochet and decrease until near the end, finishing with 3 single crochet [21].
Neck and Head
- Sew up part of the body opening until 14 stitches remain in a loop for the neck. Position that loop toward the front of the body so the neck rises from the chest rather than the middle of the back.
- Neck rounds 1 to 5, five rounds: single crochet in each stitch around [14].
- Head round 1: work 6 increase then 8 single crochet [20]. The increases all fall on one side, which is what builds the muzzle.
- Head round 2: work single crochet and increase, then 10 single crochet at the end [25].
- Head rounds 3 to 4, two rounds: single crochet in each stitch around [25].
- Head round 5: work 3 single crochet and decrease around [20].
- Head round 6: work 2 single crochet and decrease around [15].
- Insert the safety eyes on either side near the middle of the head, then stuff the head and neck. On mine they sit high on the head and forward toward the muzzle. Fix them now, because the backs will not come off.
- Head round 7: work single crochet and decrease around [10].
- Head round 8: work 4 decrease [6]. Add a last pinch of stuffing before this round closes the shape.
- Fasten off and sew the top closed.
Tail
- Attach blue yarn to the tail opening on the body, working into the 14 stitches around.
- Round 1: work 14 single crochet around [14].
- Round 2: work 5 single crochet and decrease around [12].
- Round 3: single crochet in each stitch around [12].
- Round 4: work 4 single crochet and decrease around [10].
- Round 5: single crochet in each stitch around [10].
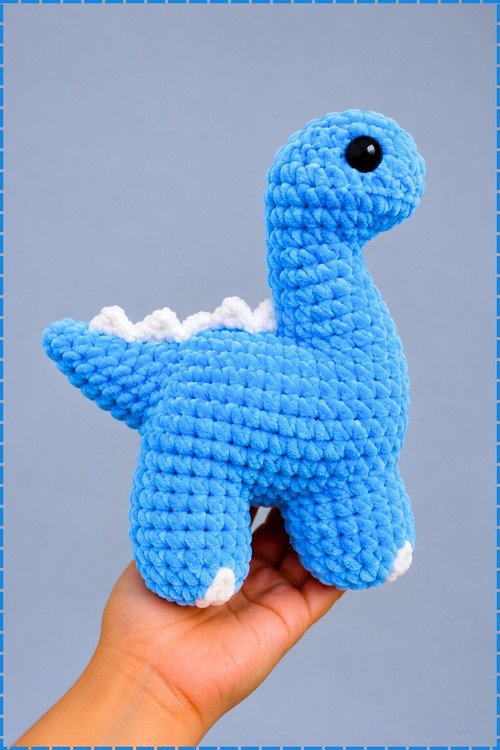
- Stuff the tail lightly as you go. Firm stuffing makes the tail stick out straight, while a lighter fill gives the gentle upward lift visible in my photo.
- Round 6: work 3 single crochet and decrease around [8].
- Fasten off and sew the tip of the tail closed.
Back Ridge and Spikes in White
- Row 1: chain 15 in white yarn.
- Row 2: repeat 1 treble crochet then 2 slip stitches a total of 5 times along the chain. You should end with five rounded bumps along a narrow strip.
- Sew the spike strip straight along the middle of the back and down onto the tail. On my dino the strip starts just behind the neck and the last spikes sit where the back meets the tail, so line it up with the spine before you commit a single stitch.
Foot Details
- My feet are worked in white yarn as part of each leg, so no embroidery was needed.
- Optionally, embroider small French knots or short stitch lines onto each foot in the accent colour to suggest toes if your legs are worked in one colour throughout.
Yarn Substitution
Cotton gives the crisp stitch definition seen in the photo and keeps the white spikes tidy. Acrylic is softer and cheaper and works fine for a toy, with slightly fuzzier stitches. Skip anything with a halo, since the spike strip will disappear into it. Use the same weight for blue and white so the ridge lies flat.
Customization Ideas
- Change the blue for green, lilac, or grey and keep the white ridge for contrast
- Work the spike strip in a bright clashing colour
- Embroider the eyes in black yarn instead of using safety eyes for a baby-safe toy
- Add a second shorter spike strip further down the tail
- Work the stomach patch in white to match the feet
FAQ
- Why does my dinosaur wobble instead of standing? Usually uneven legs. All four need the same number of rounds and the same amount of stuffing. Check the stomach patch is sewn flat as well, since a bunched patch tilts the body.
- Can I skip the leg joining and sew the legs on separately? You can, but the shape changes. The joined rectangle is what gives the body its width and keeps the legs perfectly square underneath.
- How do I stop the neck from flopping? Stuff it firmly all the way up before closing the head. Push small pieces of fiberfill down with the blunt end of a hook rather than one large clump.