
Crochet Dinosaur Keychain Pattern Free No-Sew
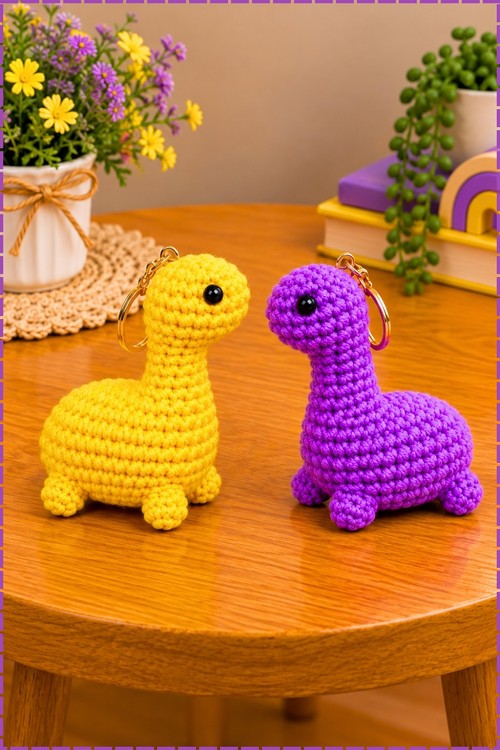
Backpacks get a tiny mascot with this crochet dinosaur keychain, whose four stubby legs pop out of round 5 as bubble stitches so nothing needs sewing on. Each one stands just under three inches tall, works up in about an hour, and clips to a gold keyring behind the neck.
Back to school season is when a Crochet Dinosaur Amigurumi Keychain earns its keep, clipped to a new backpack so the bag is easy to spot in a pile. Birthday party favors work too. Make a Crochet Dinosaur Amigurumi Keychain in each classmate's favorite color and the whole batch goes out in one afternoon.
Crochet Dinosaur Amigurumi Keychain
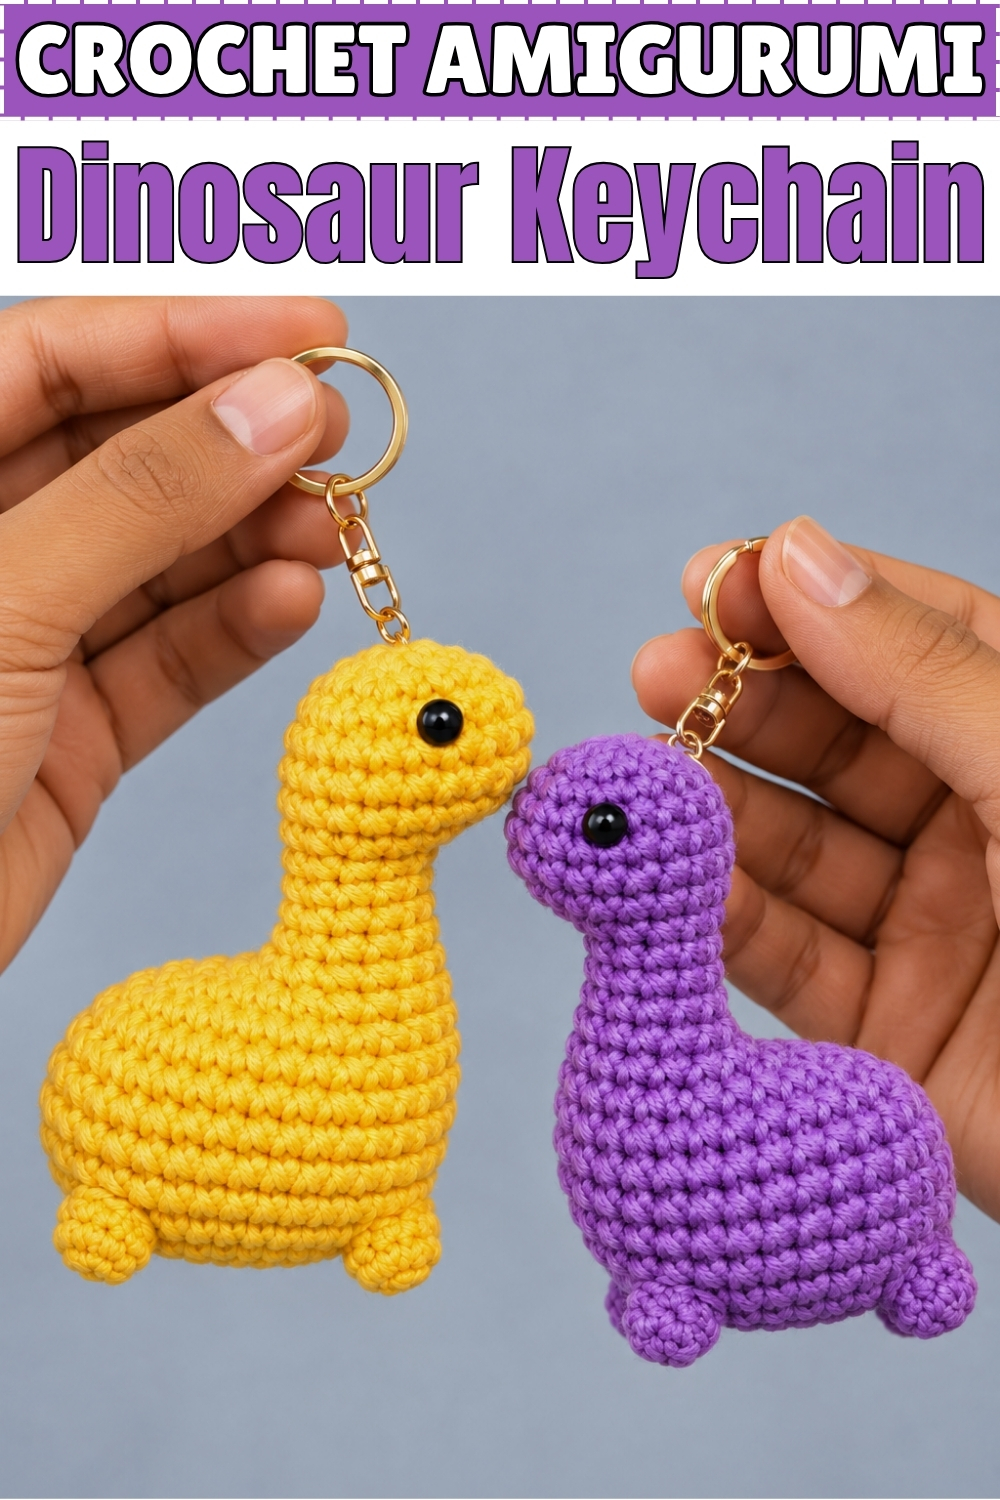
Bubble stitches crocheted directly into round 5 are what give this crochet dinosaur amigurumi keychain its four stubby legs, which means no sewing, no separate pieces, and no guessing where to put them. Mine came out as a matching pair, one in bright yellow and one in bold purple, each with a black safety eye and a gold keyring clipped to the back of the neck. The body grows from a wide base up through a gradual taper, then widens again into the head. Finished size sits just under three inches tall, small enough to tuck into a coat pocket.
Why I Love This One
Making two at once in different colours is the whole point. They look like friends, they take barely any yarn, and the no-sew construction means even the joining round is a non-event.
Materials and Tools
- Light or medium weight yarn in bright yellow for one dinosaur
- Light or medium weight yarn in bold purple for the second dinosaur
- Small crochet hook sized to your yarn, with a 3.5 mm or 4.0 mm working well for a snug fabric
- Two black safety eyes per dinosaur
- Polyester fiberfill
- Yarn needle
- Scissors
- Gold keyring hardware, one per dinosaur, clipped to the back of the neck after finishing
Difficulty and Time
Easy once you understand the bubble stitch leg. The leg round is the only part that slows a first-time maker down, and it makes complete sense by the second leg. Each dinosaur took me about an hour.
The Pattern
Body and Legs
- Round 1: form a magic ring and work 8 single crochet into the ring, then pull tight to close [8]. Closing the ring fully before moving on keeps the base flat rather than leaving a gap at the centre.
- Round 2: work 8 increases, meaning 2 single crochet in each stitch around [16].
- Round 3: repeat 1 single crochet then 1 increase eight times [24].
- Round 4: repeat 2 single crochet then 1 increase eight times [32].
- Round 5, legs round: work 7 single crochet, then work 1 bubble stitch for the first leg. The bubble stitch is a 4-double-crochet bobble worked in place, which becomes the leg without any sewing. Work 7 single crochet, then work 1 bubble stitch for the second leg. Work 7 single crochet, then work 1 bubble stitch for the third leg. Work 7 single crochet, then work 1 bubble stitch for the fourth leg [32, including the 4 bubble legs]. Space all four legs evenly and check that two fall on each side of the body before you close the round.
- Round 6: work 1 single crochet in each stitch around [32].
- Round 7: work 1 single crochet in each stitch around [32].
- Round 8: work 1 single crochet in each stitch around [32].
- Round 9: work 1 single crochet in each stitch around [32].
- Round 10: work 7 single crochet, then work 6 decreases, then work 13 single crochet [26]. The decreases all cluster on one side, which is what pulls the back of the body in and starts the taper toward the neck.
- Round 11: work 4 single crochet, then work 6 decreases, then work 10 single crochet [20].
- Round 12: work 2 single crochet, then work 6 decreases, then work 6 single crochet [14].
- Pause here to insert fiberfill stuffing into the body. This is the last comfortable moment to do it, since the opening gets tight fast from here.
- Round 13: work 2 single crochet, then work 2 decreases, then work 8 single crochet [12].
- Round 14: work 1 single crochet in each stitch around [12].
- Round 15: work 1 single crochet in each stitch around [12].
- Round 16: work 1 single crochet in each stitch around [12]. Add extra stuffing as you work through these rounds, since the neck needs to feel solid to hold the head upright.
Head
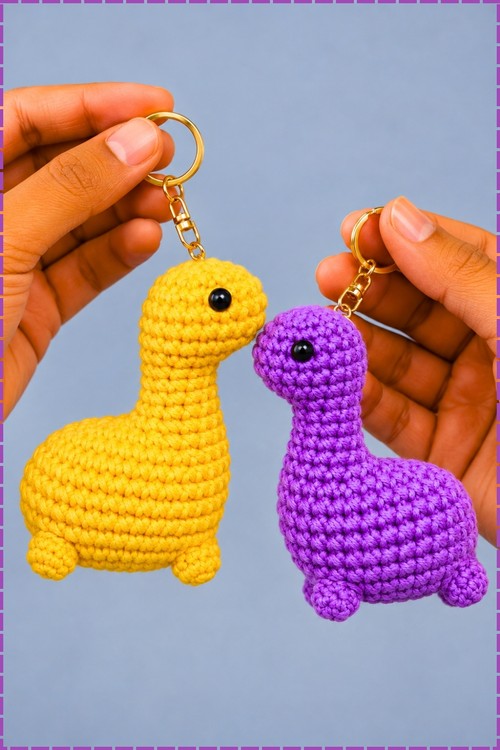
- Round 17: work 10 single crochet, then work 2 increases [14].
- Round 18: work 2 increases, then work 10 single crochet, then work 2 increases [18]. The head starts widening here on both sides of the face.
- Round 19: work 2 increases, then work 16 single crochet [20].
- Round 20: work 1 single crochet in each stitch around [20].
- Round 21: work 1 single crochet in each stitch around [20].
- Round 22: repeat 3 single crochet then 1 decrease four times [16]. Insert the safety eyes now, before the next round closes the opening. On my pair, one black eye sits on each side of the head, fairly high up and slightly forward.
- Round 23: work 8 decreases around [8].
Finishing and Keyring
- Cut the yarn leaving a short tail and pull through.
- Thread the tail onto a yarn needle and weave through the front loop only of all 8 remaining stitches.
- Pull tight to cinch the opening completely closed, then weave the end inside the dinosaur to secure it.
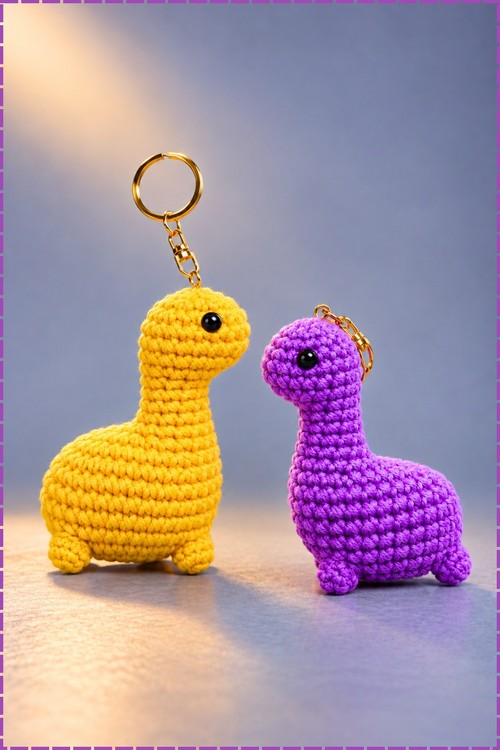
- Clip a gold keyring to the back of the neck, pushing it through the fabric at the narrow point between the body and the head. On mine the ring sits at the very top of the neck, which lets the dino hang upright rather than sideways.
Tips and Troubleshooting
- Work the bubble stitch legs with slightly looser tension than the rest of the body. A tight bobble sits flat instead of popping outward.
- Use your stitch marker throughout the leg round to track where each seven-stitch section ends, since losing your count means an uneven leg placement.
- Stuff the neck before the head rounds begin, not after round 22. The safety eye placement depends on a firm head, and a collapsed neck makes the head tilt.
- Push the keyring hardware through from the inside of the neck rather than from the outside, and it will sit more cleanly.
- Make the pair in one sitting. Each piece teaches you something the next one uses.
Customization Ideas
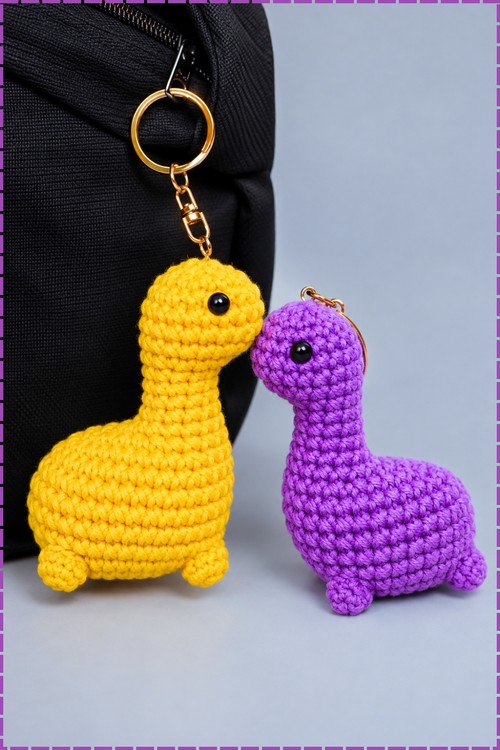
- Make a set in every colour you have going spare and clip them to a bag as a bunch
- Use self-striping yarn for a gradient dino without any colour changes
- Add a tiny embroidered smile below each eye
- Work in a sparkly or metallic yarn for a glittery version
- Make a single large one in chunkier yarn as a bag charm instead of a keychain
FAQ
What is a bubble stitch and how does it work for the legs? It is a 4-double-crochet bobble worked into one stitch. You yarn over, insert, pull up a loop, and yarn over twice, leaving the loops on the hook, and repeat that four times before pulling through all loops at once. The resulting bump becomes the leg.
Can I add the keyring to a different spot? Yes. Some makers prefer it at the top of the head. Try both positions before you clip it in, since the hang angle changes with each placement.
Do I need safety eyes or can I embroider them? Either works. Embroider small oval satin stitches in black in the same position for a baby-safe version.
Can I make a bigger dinosaur with this pattern? Yes, go up in yarn weight and hook size and the whole piece scales up together, since the construction does not rely on any absolute measurements.