
Crochet Duck Keychain Free Pattern Amigurumi
Bag zips and key rings carry the finished duck everywhere, thanks to a silver ring stitched into the top of its head. Head and body follow one single crochet sequence at two scales, so the crochet duck keychain moves fast once the first piece is done.
Working at this scale changes things, and the crochet duck keychain comes together before you lose interest. Small pieces mean fiddly sewing, so pin the bill twice before stitching. Stuffing the crochet duck keychain takes a toothpick. Finish one, and your hands will want another by evening.
Crochet Duck Keychain
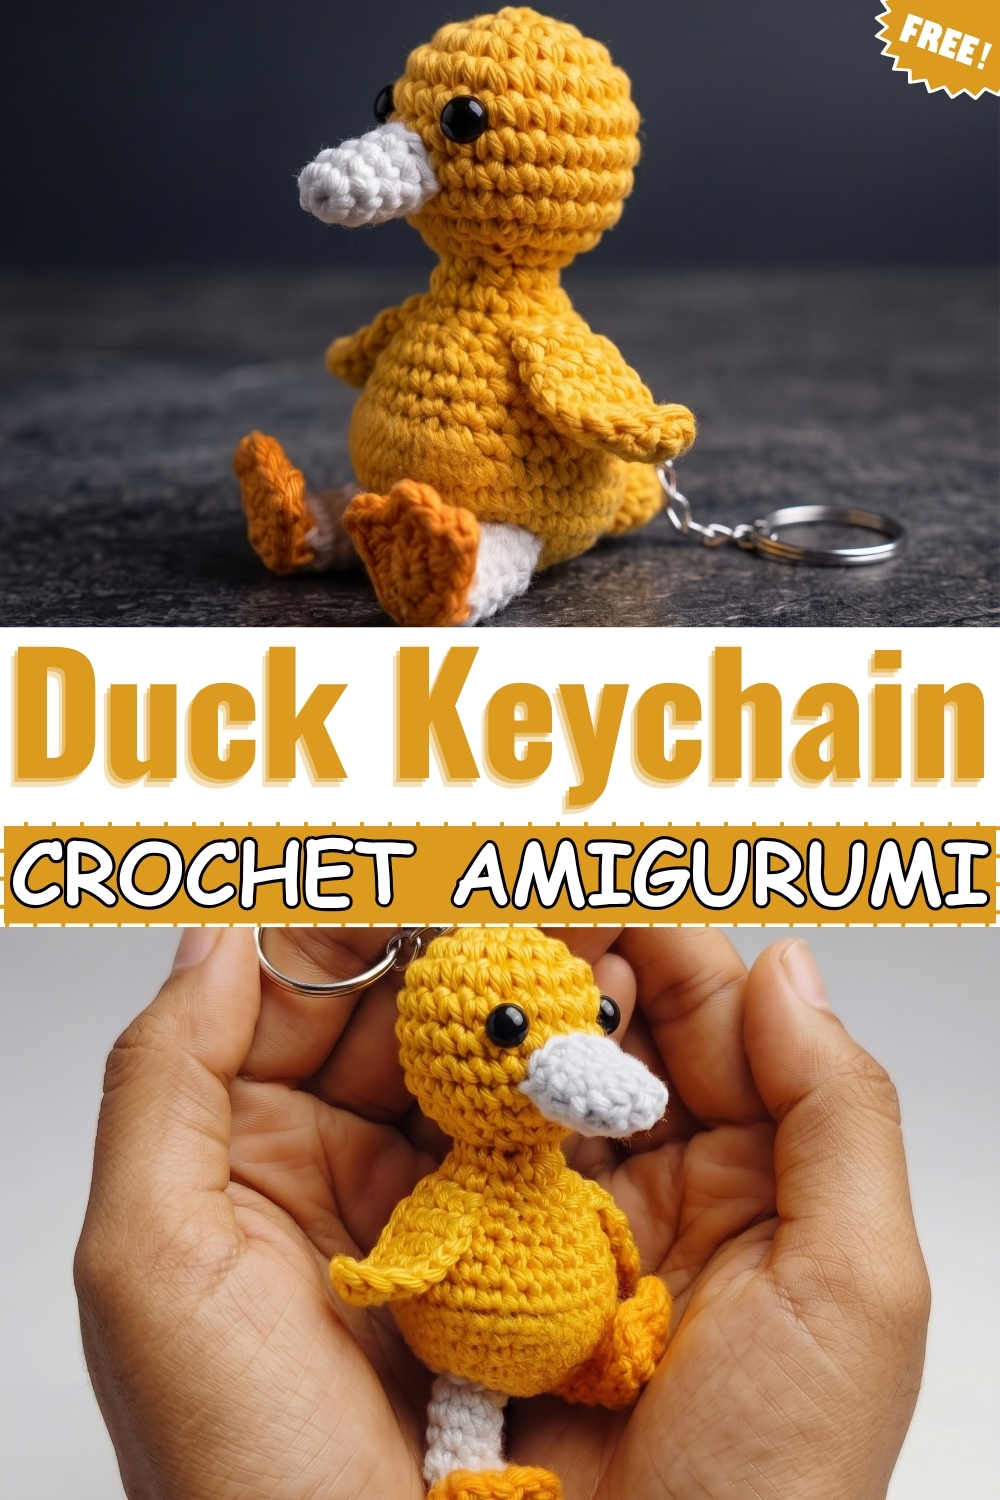
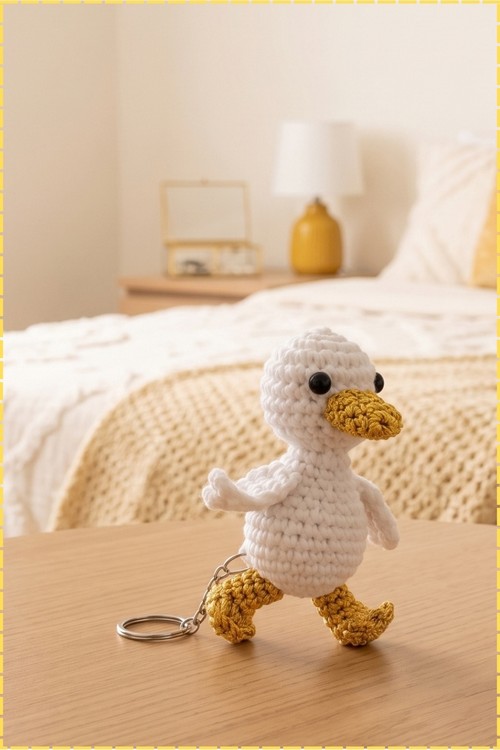
Six pieces worked separately and sewn together turn a little acrylic yarn into a crochet duck keychain that clips onto a bag, keys, or zipper pull within an afternoon. Head and body share the same stitch pattern, scaled differently, so once you know the sequence it moves fast. Mine came out in bright golden yellow with orange feet and legs and a soft white beak rather than the orange beak the original pattern calls for. A silver keychain ring at the top of the head finishes the look. Stitches stay simple throughout, single crochet the entire way.
Quick Facts
Skill level: Easy to intermediate Estimated time: In my experience around three to five hours for all pieces plus assembly Finished size: Palm sized, roughly 7 to 9 cm tall before the keychain ring, depending on yarn weight and tension
Customisation Ideas
- Swap the golden yellow for white yarn and add small black markings to make a classic rubber duck colourway.
- Use pink yarn for a flamingo keychain using the same head and body rounds.
- Try light brown yarn with a darker beak for a mallard duck look.
- Add a tiny crocheted bow tie or collar at the neck join for a dressed up version.
- Make the legs shorter by reducing the leg column rounds from 2 down to 1 for a stubbier seated duck.
- Attach a lobster clasp instead of a split ring to clip it directly onto a bag strap.
Materials And Tools
- Golden yellow 3-ply acrylic yarn for the head, body, and wings
- Orange acrylic yarn in the same weight for the feet and legs
- White acrylic yarn in the same weight for the beak
- 2.5 mm crochet hook
- Black safety eyes, approximately 6 mm
- Polyester fiberfill
- Tapestry needle
- Scissors
- One metal split ring keychain loop
The Pattern
The Head
- Round 1: work 6 single crochet (sc, insert hook, pull up a loop, yarn over, pull through two loops) into a magic ring (MR, an adjustable loop), then pull tight to close [6].
- Round 2: work an increase (inc, 2 sc in the same stitch) in every stitch around [12].
- Round 3: work 1 sc, 1 inc, repeat 6 times [18].
- Rounds 4 to 8: work 1 sc in each stitch around for 5 rounds [18]. These straight rounds build the tall round head shape that gives the duck its round profile from the side.
- Round 9: work 1 sc, 1 decrease (dec, joining two stitches invisibly using front loops only), repeat 6 times [12]. Using front loops for the decrease keeps the surface smooth and avoids a visible bump on the yellow yarn.
- Chain 1, cut the yarn leaving a short tail, and fasten off. Stuff firmly with fiberfill before the opening closes completely.
The Body
- Round 1: work 6 sc into a magic ring [6].
- Round 2: work an increase in every stitch [12].
- Round 3: work 1 sc, 1 inc, repeat 6 times [18].
- Round 4: work 1 sc in each of the next 2 stitches, 1 inc, repeat 6 times [24]. The body widens noticeably here and becomes egg shaped rather than ball shaped.
- Rounds 5 to 9: work 1 sc in each stitch around for 5 rounds [24].
- Round 10: work 1 sc in each of the next 2 stitches, 1 dec, repeat 6 times [18].
- Rounds 11 to 12: work 1 sc in each stitch around for 2 rounds [18].
- Round 13: work 1 sc, 1 dec using front loops, repeat 6 times [12].
- Rounds 14 to 16: work 1 sc in each stitch around for 3 rounds [12]. These straight rounds form the neck column that sits between the body and where the head attaches.
- Chain 1, cut the yarn, and fasten off. Stuff the body thoroughly with fiberfill before sewing the head on.
The Wings
- Foundation: chain 4 in golden yellow yarn.
- Row 1: skip the first chain, work 1 sc in each of the remaining 3 chains, chain 1 and turn [3].
- Row 2: work an increase in the first stitch, 1 sc in the next stitch, and an increase in the last stitch, chain 1 and turn [5].
- Rows 3 to 5: work 1 sc in each of the 5 stitches across for 3 rows, chain 1 and turn after each row [5].
- Edging: chain 3, turn, slip stitch (sl st, insert hook, pull yarn through stitch and loop on hook in one movement) into the next stitch. Continue working chain 3, slip stitch into the next stitch repeatedly across the edge to form scallop feather loops along the wing edge. These loops are the feather detail visible along the back edge of each wing in the photo.
- Chain 1, cut the yarn leaving a long tail for sewing, and weave in loose ends on the wrong side. Make 2.
The Legs And Feet
- Toes: chain 6 in orange yarn. Skip 2 chains and slip stitch into the 3rd chain. Chain 2, skip 1 chain, and slip stitch into the next chain. Chain 2, then slip stitch into the base. The three little loops that form here become the toe spread at the bottom of the foot.
- Foot base: working along the back loops of the chain, work 4 sc across. Chain 1 and turn.
- Work 4 sc across. Chain 1 and turn.
- Work 2 decreases across [2].
- Work 1 sc in each of the 2 remaining stitches.
- Leg column: work single crochet stitches down the side edge, fold the piece into a tube, and work 6 sc total around the circumference of the leg column [6].
- Work 2 additional rounds of 6 sc each around the leg column [6]. The leg tube should feel firm and hold its shape without stuffing. Make 2.
- Chain 1, cut the yarn, and leave a tail for joining.
The Beak
- Round 1: work 6 sc into a magic ring in white yarn [6]. Pull the ring tight.
- Round 2: work 1 sc, 1 inc, repeat 3 times [9].
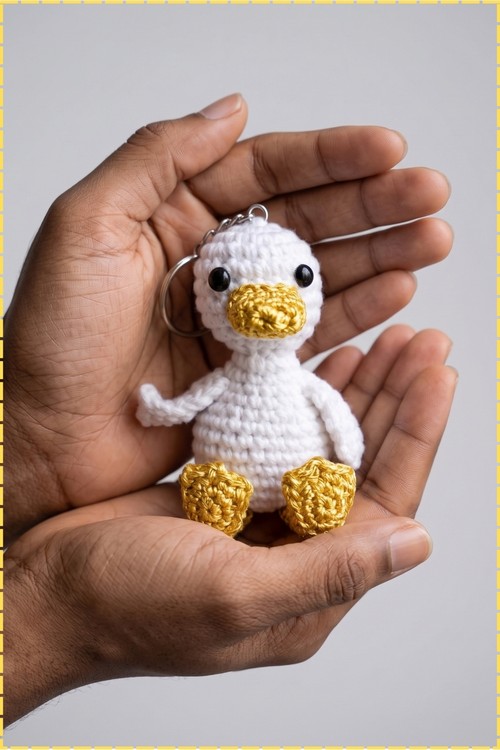
- Rounds 3 to 4: work 1 sc in each stitch around for 2 rounds [9]. The beak stays unstuffed so it can be flattened slightly when sewn on, which makes it sit against the face more naturally.
- Chain 1, cut the yarn, and leave a tail for assembly.
Assembly And Finishing
- Sew the bottom opening of the head [12 stitches] to the top opening of the body neck column [12 stitches] securely, matching stitches around the join so the seam sits even.
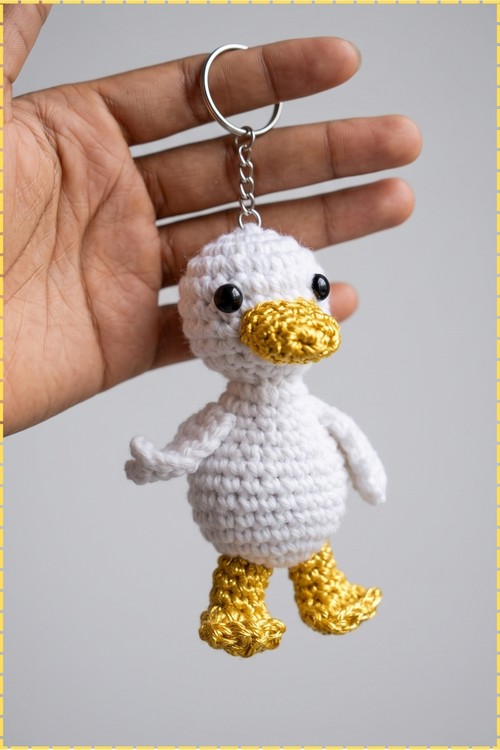
- Place the black safety eyes between rounds 4 and 5 of the head, approximately 4 stitches apart, before pulling the head and body join completely tight. On my duck the eyes sit close together and slightly forward, which gives the side profile its alert expression.
- Centre the white beak between and just below the eyes and sew it on with the yarn tail, angling it very slightly downward so it reads as a proper bill from the front.
- Sew or glue the scalloped wings to either side of the body, with the feather loops pointing toward the back and the flat straight edge sitting flush against the body seam.
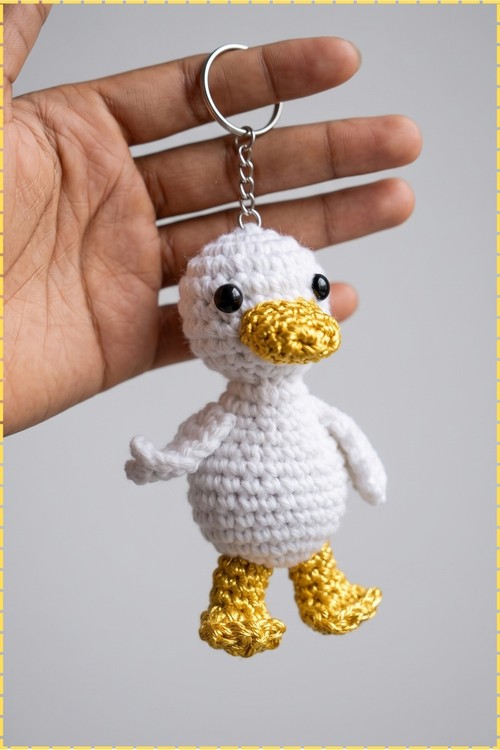
- Attach both feet and legs to the underside of the body. Position them angled slightly outward so the duck can sit upright without tipping. On my version the orange legs are visible from the front below the body base.
- Loop a metal split ring keychain through the top centre of the head, securing it through a stitch at the crown so it sits centred.
Tips
- Keep your tension tight on the 2.5 mm hook. Loose stitches on a stuffed keychain let the white fiberfill show through the yellow, which reads as grey patches in photos.
- Use invisible decreases throughout both the head and body. Standard decreases leave a ridge that catches the eye on a piece this small where every stitch is visible.
- Stuff the head and body in small pinches rather than one large piece. A single large clump always creates a flat spot somewhere, and on a palm sized toy that flat spot will show.
FAQ
Can I use a larger hook and thicker yarn to make it bigger? Yes. The pattern scales cleanly because it uses standard increase and decrease sequences. Go up to a 3.5 mm hook with DK weight yarn and the finished duck will sit around twice the keychain size, which works well as a bag charm or desk toy.
How do I stop the keychain ring from pulling through the stitch? Thread a short length of yarn through the ring first and then sew both yarn ends down into the stitch at the crown. That distributes the pull across two anchor points instead of one stitch and holds much more securely over daily use.
My wings curl inward and won't lie flat. What should I do? Block them briefly under a damp cloth and press flat with your hand while they are warm. Acrylic relaxes with a little steam and holds the shape once cool. Do not press directly with an iron on acrylic yarn.
Can I skip the legs and just sew the feet flat to the body base? Yes, and the result looks slightly different but still reads as a duck. Flatten each foot piece and sew it directly under the body. Without the leg column the duck sits lower and looks more like a sitting duckling than a standing one.