
Crochet Franken Cat Doll Free Halloween Amigurumi Pattern
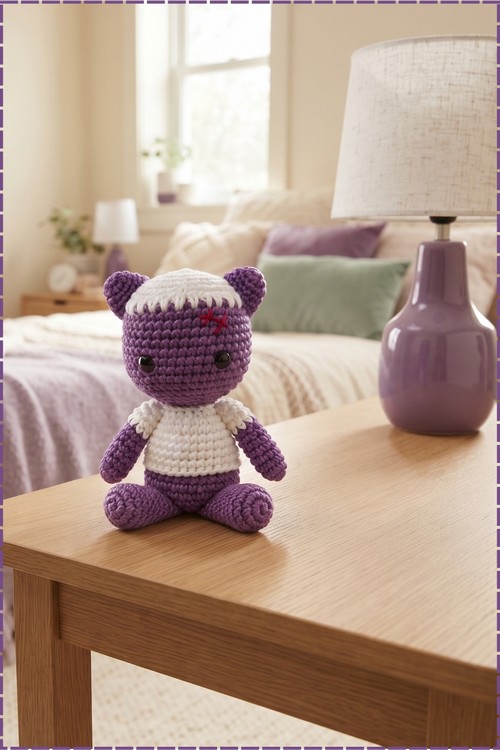
Perched on a Halloween mantel, the purple crochet Franken Cat doll steals the scene with its white skull cap, red stitched scar and wide black eyes. Spooky enough for October displays yet sweet enough to cuddle, it makes a fun trick or treat bag surprise.
Purple body, white skull cap, red stitch scar. The Crochet Franken Cat Doll keeps the whole monster idea in three details and skips the rest. Flat pieces, basic rounds, two colour changes. Make the Crochet Franken Cat Doll for Halloween shelves or for anyone who likes a cat with a backstory.
Crochet Franken Cat Doll
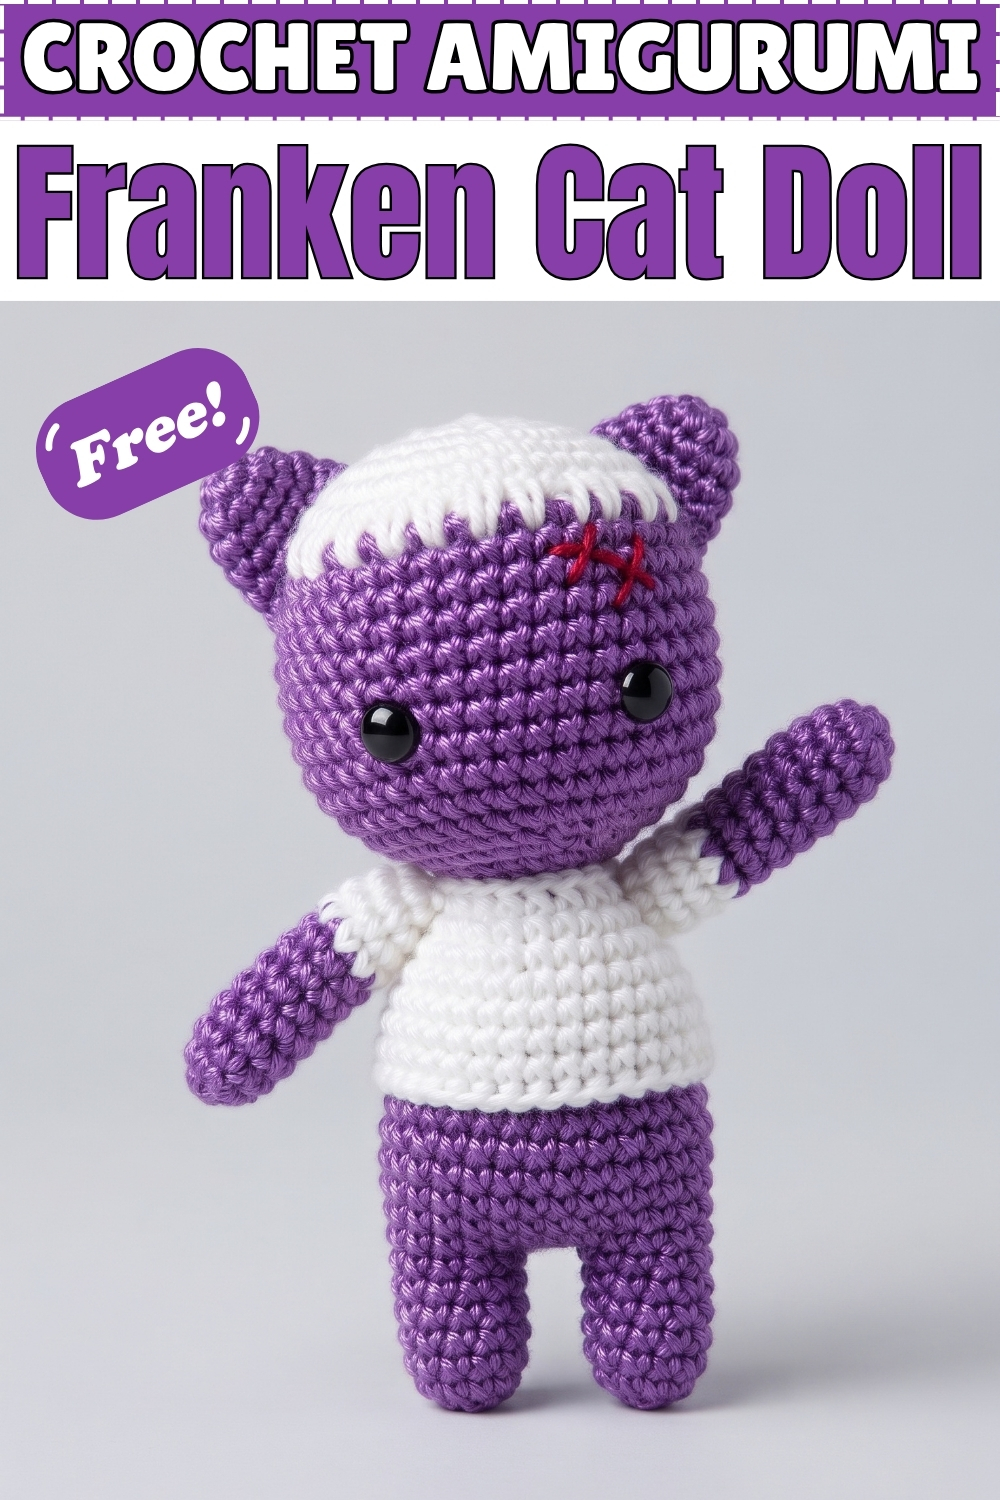
Seven increase rounds build the head of this crochet franken cat doll before the shaping ever starts, which gives it the wide round face a cat doll needs. Separate pieces make up the head, body, ears, arms and legs, all sewn together at the end. Purple carries the whole doll on my version, with white used for the patch across the top of the head and the band around the middle. Red thread forms the single stitched cross on the temple. Black safety eyes sit wide apart and finish the Halloween look.
Materials
- Worsted weight yarn in Purple as the main colour
- Worsted weight yarn in White for the head patch and the body band
- A small amount of Red yarn or embroidery floss for the stitched cross
- 3.5 mm hook
- 9 mm or 10 mm safety eyes
- Fiberfill stuffing
- Yarn needle and stitch markers
- Optional pipe cleaner if you make the tail bendable
- Optional pink or black yarn for a nose
Easy to intermediate, and in my experience a full evening of work rather than a quick one. Work in continuous rounds throughout.
The Pattern
Head
- Use Purple yarn.
- R1: 6 sc in a MR [6]
- R2: inc in each st around [12]
- R3: (1 sc, inc) x 6 [18]
- R4: (2 sc, inc) x 6 [24]
- R5: (3 sc, inc) x 6 [30]
- R6: (4 sc, inc) x 6 [36]
- R7: (5 sc, inc) x 6 [42]
- R8 to R14: sc in each st around for 7 rounds [42]
- Insert the safety eyes between rounds 11 and 12, about 7 stitches apart. On my doll they sit low and wide, which is what gives the face its calm expression.
- R15: (5 sc, dec) x 6 [36]
- R16: (4 sc, dec) x 6 [30]
- R17: (3 sc, dec) x 6 [24]
- Start stuffing the head firmly.
- R18: (2 sc, dec) x 6 [18]
- R19: (1 sc, dec) x 6 [12]
- R20: dec x 6 [6]
- Fasten off leaving a long tail for sewing, finish stuffing and close the hole.
Body
- Use Purple yarn.
- R1: 6 sc in a MR [6]
- R2: inc in each st around [12]
- R3: (1 sc, inc) x 6 [18]
- R4: (2 sc, inc) x 6 [24]
- R5: (3 sc, inc) x 6 [30]
- R6 to R10: sc in each st around for 5 rounds [30]
- R11: (3 sc, dec) x 6 [24]
- R12 to R14: sc in each st around for 3 rounds [24]
- R15: (2 sc, dec) x 6 [18]
- R16 to R17: sc in each st around for 2 rounds [18]
- Fasten off leaving a long tail for sewing, then stuff the body firmly.
Ears, Make 2
- Use Purple yarn.
- R1: 4 sc in a MR [4]
- R2: (1 sc, inc) x 2 [6]
- R3: (2 sc, inc) x 2 [8]
- R4: (3 sc, inc) x 2 [10]
- R5: (4 sc, inc) x 2 [12]
- Fasten off leaving a long tail, do not stuff, and flatten slightly into the pointed triangle shape visible on my doll.
Arms, Make 2
- Use Purple yarn.
- R1: 6 sc in a MR [6]
- R2: (2 sc, inc) x 2 [8]
- R3 to R10: sc in each st around for 8 rounds [8]
- Lightly stuff the lower half, flatten the top opening and sc across both sides to close.
- Fasten off leaving a tail for sewing.
Legs, Make 2
- Use Purple yarn.
- R1: 6 sc in a MR [6]
- R2: inc in each st around [12]
- R3 to R4: sc in each st around [12]
- R5: 3 dec, 6 sc [9]
- R6 to R11: sc in each st around for 6 rounds [9]
- Stuff the lower part firmly and leave the top unstuffed, then fasten off leaving a tail for sewing.
Tail, Optional
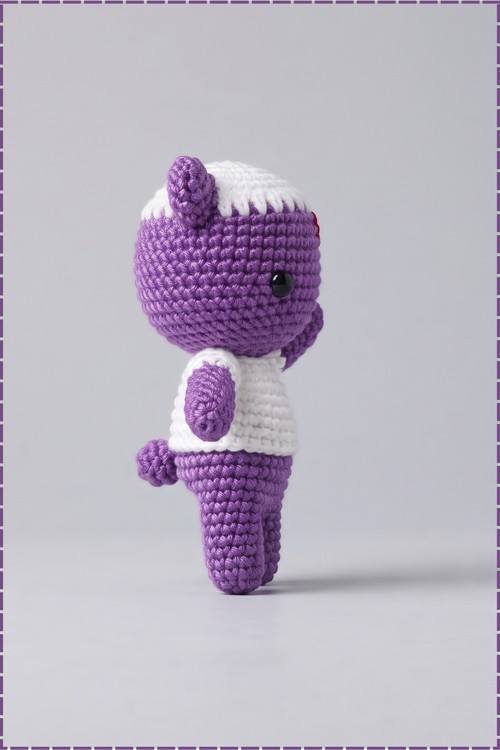
- Use Purple yarn. No tail is visible on my doll, so treat this piece as optional.
- R1: 6 sc in a MR [6]
- R2 to R15: sc in each st around for 14 rounds [6]
- Fasten off leaving a tail. Slide a pipe cleaner inside if you want it bendable.
White Head Patch
- The original pattern has no head patch, so work this to fit your own head piece.
- Crochet a flat circle in White, increasing evenly until it covers the top portion of the head as far down as you want the patch to sit.
- Pin it in place across the crown, slightly off centre toward the front as on my doll.
- Sew the edge down with White yarn using small even stitches, which creates the visible seam line around the patch.
White Body Band
- The original pattern has no body band, so work this to fit your own body piece.
- Crochet a tube in White, worked in rounds with no shaping, wide enough to slip over the body and tall enough to cover the middle section.
- Slide it over the body before assembly and position it so the upper edge sits just below the neck and the lower edge stops above the legs.
- Tack the top and bottom edges down with a few stitches so the band cannot slide.
Assembly
- Sew the neck opening of the body to the bottom centre of the head, adding more stuffing just before closing so the head does not bobble.
- Sew the flattened ears to the top sides of the head, spanning rounds 3 down to 8, set upright and wide apart.
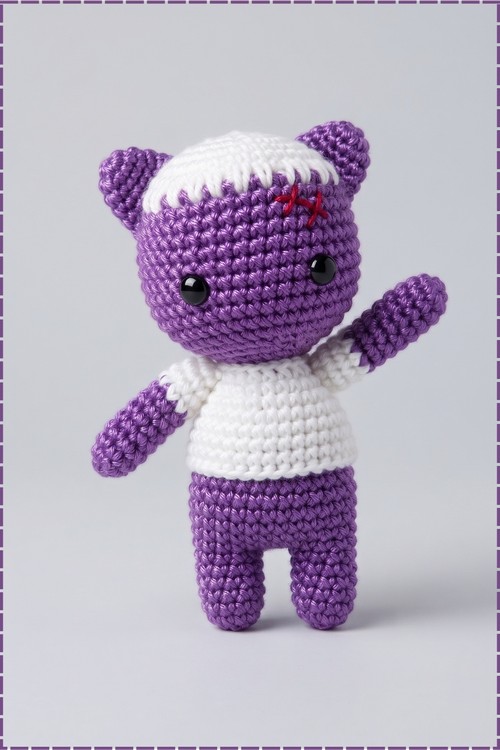
- Sew the arms to the sides of the body at the neck seam, which is round 17 of the body. On my doll one arm points up and one hangs down, so angle them as you sew rather than setting both flat.
- Sew the legs to the bottom front of the body, around rounds 4 to 7, spaced apart so the doll stands on its own.
- Sew the tail to the lower back of the body if you made one.
- Embroider the red cross on the side of the head with red yarn, sitting just below the edge of the white patch and above the eye. Two crossed stitches are all it takes.
- Embroider a small Y shaped nose between the eyes in pink or black if you want one. My doll has no nose, so this is optional.
- Add a few jagged black stitches across the forehead and body if you want the full stitched up look.
Tips
- Count the eye placement from the centre front, not from where your round happens to start. Eyes set unevenly on a 42 stitch head show immediately.
- Fit the eyes before round 15. Once the decreases begin you cannot reach the washers.
- Pin the white patch and band before sewing anything down. Both are easy to set crooked and very obvious once stitched.
- Stuff the legs firmly in the lower half only, so the tops stay flat enough to sew flush against the body. A standing doll needs that.
- Overstuff the neck area slightly. A head this size on an 18 stitch neck will tip forward otherwise.
Customization Ideas
- Swap purple for classic black, grey or green.
- Work the band in orange for a stronger Halloween palette.
- Add a second red cross on an arm or leg.
- Embroider closed eyes instead of using safety eyes.
- Make the tail and bend it upright with a pipe cleaner.
- Stitch a small bolt shape on each side of the neck.
Alt Text Suggestions for Photos
- Purple crochet franken cat doll with a white head patch and red stitched cross standing upright
- Halloween amigurumi cat in purple and white yarn with black safety eyes and pointed ears
- Handmade crochet franken cat with one arm raised and a white band around its middle
- Close up of the white crown patch and red cross stitch on a purple amigurumi cat head
Frequently Asked Questions
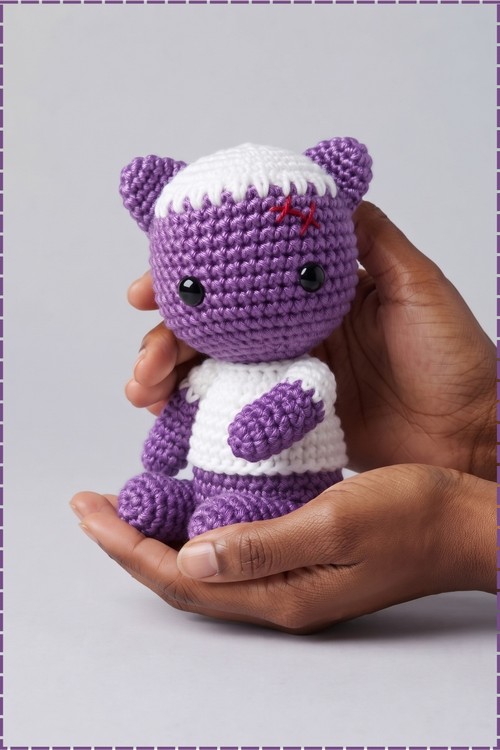
How tall does it finish? Mine stands roughly the height of a hand, which with worsted weight on a 3.5 mm hook feels about right. No measurement is given in the pattern, so treat that as my own experience. Thicker yarn and a larger hook will scale everything up together.
Can I work the white patch and band into the pattern instead of adding them on? You can, by changing colour at the relevant rounds, but the patch on my doll has a visible sewn edge that a colour change does not produce. The band is easier as a separate tube since it slides into position and can be adjusted before you tack it.
Why does my doll fall over? Usually the legs. They need to be stuffed firmly in the lower half, sewn flat against the bottom front of the body and set wide enough apart to carry the head. Adding a tail at the lower back also helps balance it.