
Crochet Grape Keychain Pattern With Green Leaves
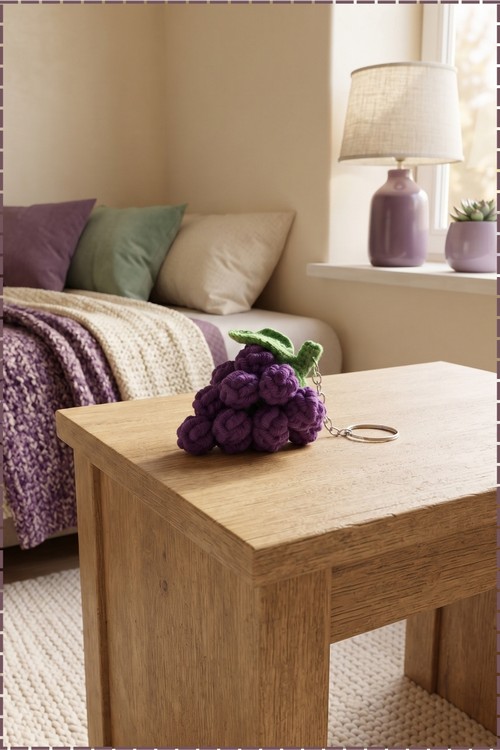
You can work up the crochet grape keychain in one evening with eggplant purple and bright green three ply yarn on a 3.5 mm hook. Puffy half double crochet clusters form each grape over a green cap, and a silver split ring tops the thumb and a half long bunch.
Grapes bunched tight with leaves at the stem, the crochet grape keychain belongs on bags through late summer harvest. Vineyard season brings these out. Pair them with fruit charms in August. Crochet grape keychains also sell fast at autumn markets, right when stalls fill with produce themes.
Crochet Grape Keychain
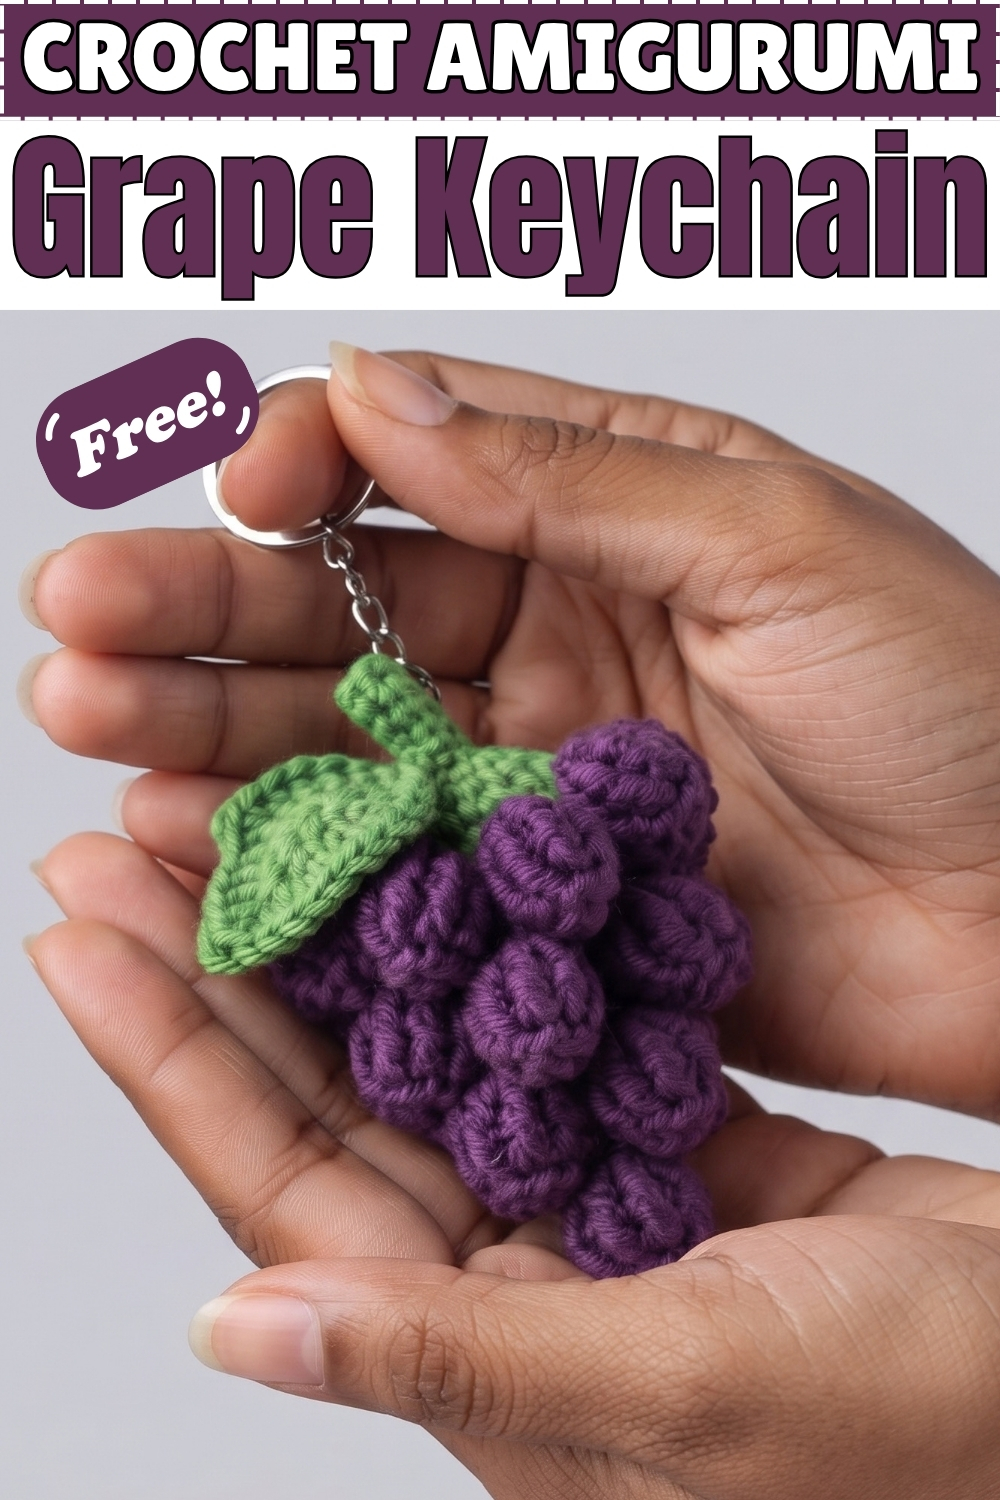
Each grape in this crochet grape keychain comes from a cluster of tall stitches worked into one spot, which is what makes the surface bump outward like real fruit. Green yarn starts everything as a small textured cap at the top. Purple joins into that cap and builds the bunch downward in rounds. Rows narrow as they go, tapering the cluster to a point at the bottom. Leaves sit flat against the top where the ring attaches. Weaving the final stitches closed cinches the tip neatly. Mine hangs from a short chain and swings freely.
Why I Love This One
No stuffing, no safety eyes, no sewing pieces together. The whole thing is just texture, and it still ends up looking more like real fruit than most stuffed amigurumi do.
How Mine Came About
I started this one thinking it would be a quick practice piece for bobble stitches, and then I kept going because the cluster grew in a way I did not expect. Grapes build one bump at a time, and each new round sits slightly under the one before it, so the bunch takes shape gradually rather than appearing all at once. By the time I reached the bottom point I had stopped counting and started just placing grapes where the shape needed them, which is honestly how this pattern works best. It took a whole evening in front of the television and I did not mind at all.
The thing that surprised me most was how much the leaves matter. Before they went on, the purple cluster looked like a blob. Two small green leaves at the top and suddenly it reads as grapes.
Materials and Tools
- Three ply yarn in deep purple for the grapes and bright green for the cap and leaves. My purple is a rich eggplant shade rather than a light lilac, and the depth of colour hides the shadows between grapes nicely.
- 3.5 mm crochet hook.
- Yarn needle.
- Scissors.
- Key ring. Mine is a plain silver split ring on a short chain attached at the top of the cluster.
Size and Time
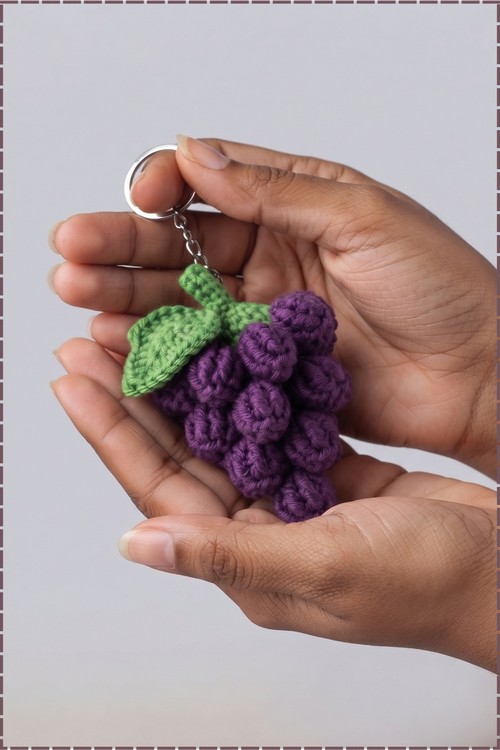
My bunch is roughly the length of a thumb and a half, wider at the top and tapering down. Yarn thickness will change this a lot. Set aside an evening. The individual grapes are quick, but there are many of them and the shaping cannot be rushed.
The Pattern
Green Cap
- Start with green yarn and make a magic ring.
- Work 2 chains, then 1 double crochet, 1 chain, and 2 double crochets into the ring.
- Continue the pattern of 2 double crochets and 1 chain around the magic ring to form the textured cap foundation. The chain spaces between each pair are what you will later join the purple into, so keep them open and even rather than pulling them tight.
- Pull the magic ring closed, finish with a slip stitch, and cut the green yarn. The cap should sit as a small flat green disc with a bumpy edge.
Purple Grape Cluster
- Join the purple yarn to the green base to begin the first row of grapes.
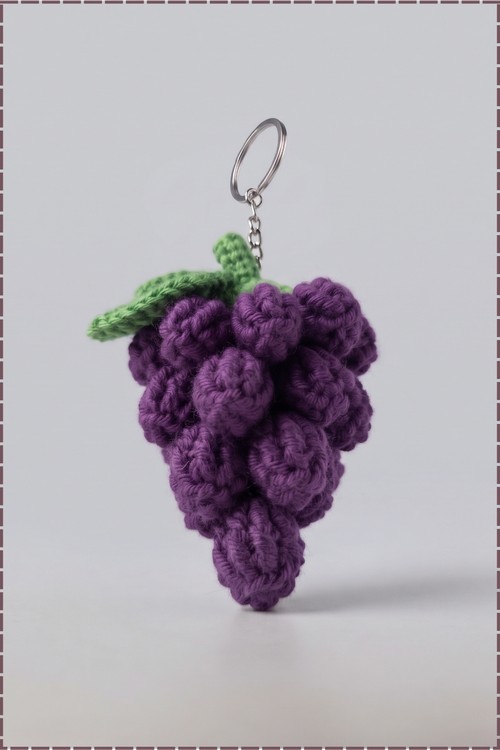
- Work chains and half double crochets into the stitches around the base to create each puffy raised grape. Each grape is a small group of tall stitches worked into the same point and then closed, which makes it stand out from the surface.
- Keep every grape the same size as you go. The cluster only looks like fruit if the bumps are consistent, and one oversized grape draws the eye immediately.
- Continue working in rounds, using slip stitches and chains to move between positions and shape the cluster downward into a tapered bunch.
- Set each new round of grapes slightly inside the one above so the bunch narrows as it descends. On mine the widest point sits just below the green cap, with roughly three or four grapes visible across the front at that level, reducing to a single grape at the tip.
- Work the final rounds with fewer grapes until the cluster comes to a point. The source gives no stitch counts for these rounds, so judge the taper by eye against the shape you want.
Closing and Finishing
- Weave the remaining purple yarn through the final stitches with your needle and pull to cinch the bottom tip of the bunch closed. Pull firmly here, since a loose tip leaves a gap that shows against the dark purple.
- Weave in every loose end. There are more ends on this project than on most keychains because of the colour join and the individual grapes, so give this step proper time.
- Attach the keychain ring at the top of the green cap. Mine is anchored through the cap itself with a short chain above it, which lets the bunch hang straight down and swing.
Leaves
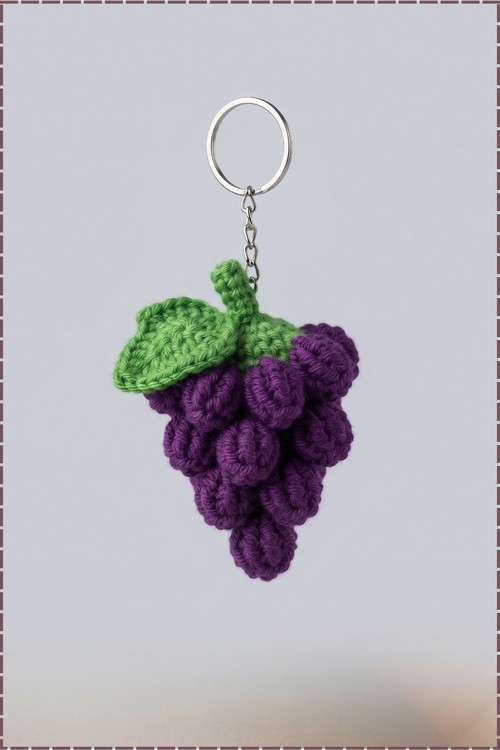
- My keychain has two small flat green leaves sitting at the top of the cluster, which the source pattern does not include.
- With green yarn, chain until the leaf reaches the length you want, then work back along the chain with shorter stitches at each end and taller stitches in the middle to create a pointed oval. Work down the opposite side of the chain the same way to complete the shape.
- Make a second leaf to match, and leave a long tail on each for sewing.
- Sew the leaves flat against the top of the green cap, one on each side of the ring attachment, with the points angling outward and slightly downward over the first row of grapes.
- Press each leaf flat under your thumb before sewing. Leaves that curl upward make the top look messy, while flat ones frame the bunch.
Tips and Troubleshooting
- Count your grapes per round and write the number down. There is no stitch count in this pattern to catch you, so your own notes are the only way to keep the bunch symmetrical.
- If the cluster looks flat rather than full, your grapes are too far apart. Set each one closer to its neighbour so they press against each other and push outward.
- If the shape goes lumpy instead of tapering, work fewer grapes in each successive round rather than trying to pull it in with tension.
- Keep the green cap slightly loose. A tight cap curls up at the edges and the leaves will not sit flat on it afterwards.
Yarn Substitution
Three ply or any fine cotton gives the tight, defined bumps you need here. Cotton is the better choice over acrylic because it holds each grape crisp rather than letting it soften into the cluster. A mercerised cotton adds a slight sheen that suits fruit particularly well. Avoid thick yarn, since larger grapes look clumsy and the bunch loses its proportion. If you want a bigger keychain, make more grapes rather than using heavier yarn.
Customization Ideas
- Work the grapes in soft green for white grapes and keep the leaves a deeper shade.
- Use two tones of purple alternating between rounds for a more natural looking bunch.
- Add a short brown stem above the green cap by chaining to your preferred length and twisting it.
- Make a smaller version with fewer rounds as a zipper pull.
- Add a third leaf if you want a fuller top.
- Clip several bunches to one ring for a fruit cluster charm.
FAQ
Does this need stuffing? No. The grapes are formed entirely by the stitches themselves, and the bumps hold their shape without any filling. Adding stuffing would only distort the cluster.
How many grapes should I make? The source does not specify a number. Work until the bunch reaches the size and taper you want, then close the tip. Mine has roughly four rows of decreasing size.
Why do my grapes look flat instead of puffy? Either your stitches are too loose, or you are not working enough of them into the same point. The bump comes from crowding several tall stitches into one place, so keep the tension firm and the stitches tight together.
Can I attach the ring at the bottom instead? You could, but the bunch would hang point upward and lose the look of real grapes. Attaching at the green cap keeps the fruit oriented correctly