
Crochet Heart Bag Charm Free Pattern Plushie Amigurumi
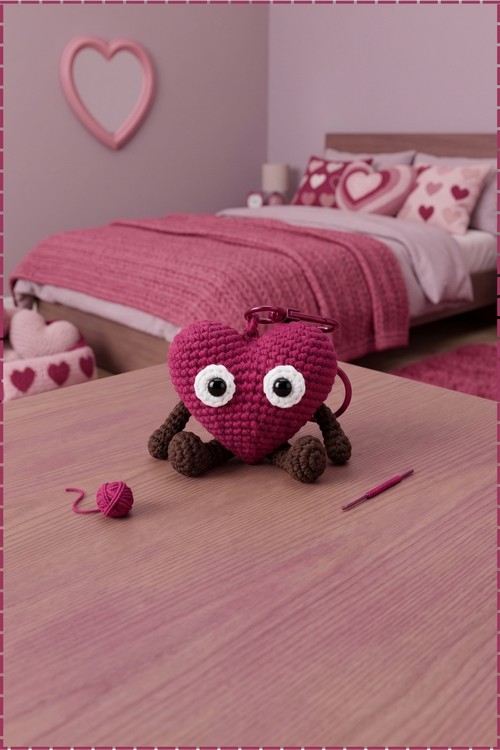
Clipped to a tote strap by a pink carabiner, the berry heart dangles brown legs and peers out through white and black eye patches set high on its face. Two small humps join into the lobes, then steady decreases pull the stuffed body down to a neat point.
Keys, backpacks, and tote straps are where this crochet heart plushie ends up, which makes it an easy gift for teenagers and anyone who clips things to their bag. Crafters making party favours reach for the crochet heart plushie too. Give one to a friend who notices small things.
Crochet Heart Plushie
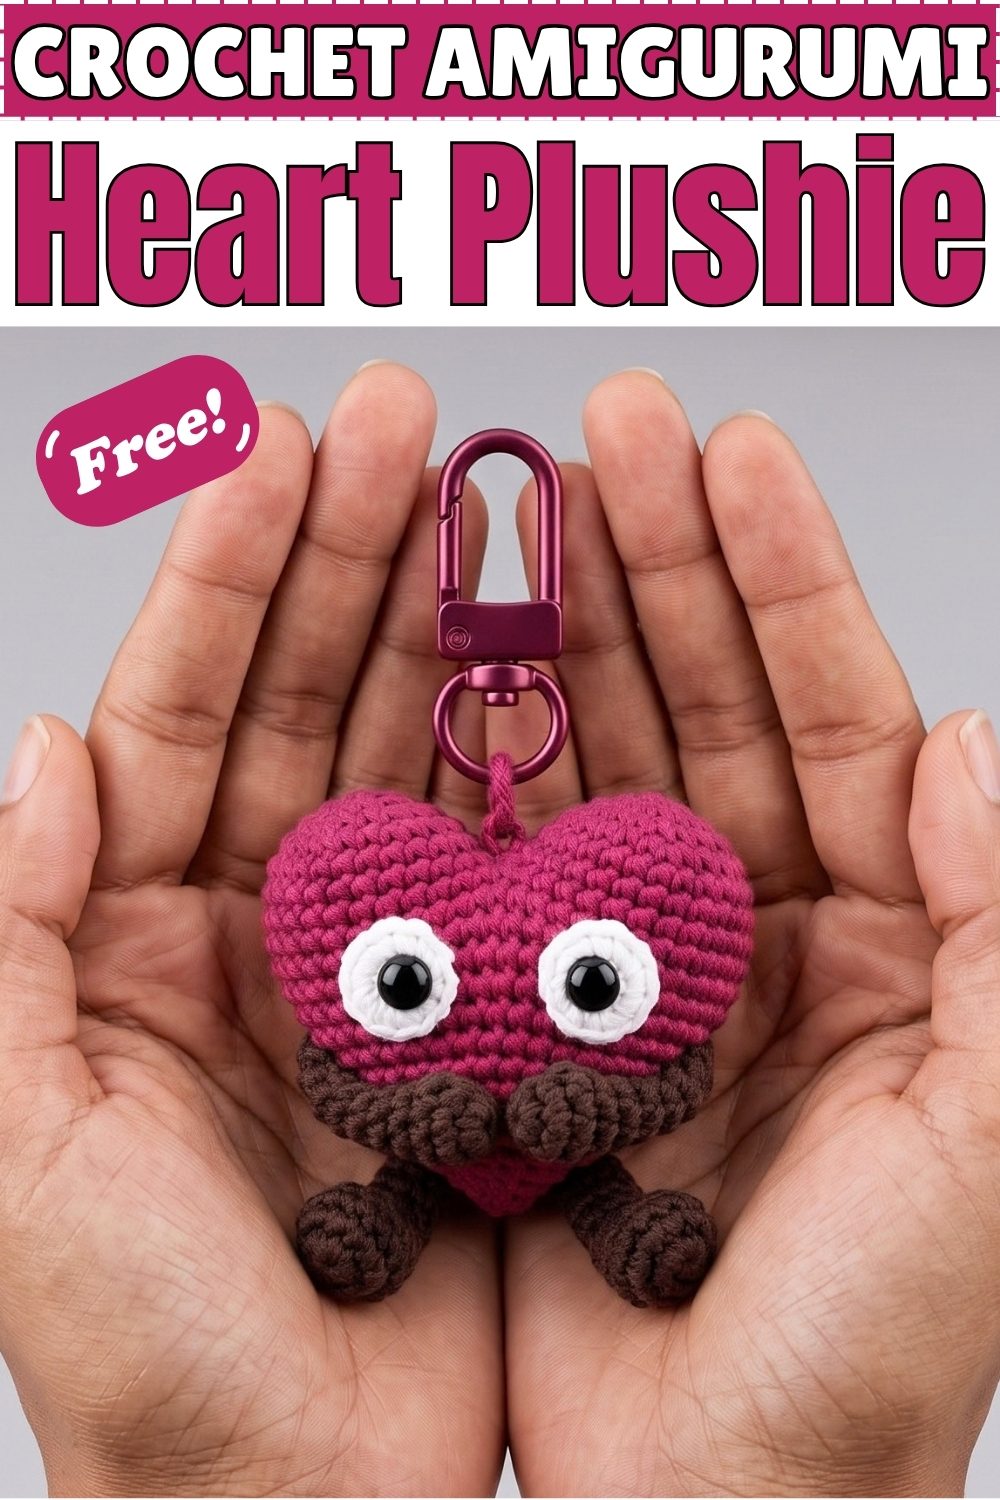
Two small rounded humps join at the top to form the lobes of this crochet heart plushie, then steady decreases pull the body down into a point. Mine hangs from a pink carabiner clip, so it rides on a bag strap rather than sitting on a shelf. Brown legs dangle from the lower front and turn the heart into a little standing character. White and black eye patches sit high on one side of the face. Cotton yarn worked at tight tension keeps the stitch definition sharp. Most crocheters finish one in a single sitting.
Materials and Tools
- Worsted weight cotton or a plush yarn such as velvet or chenille in berry pink for the heart body
- Small amount of dark brown in the same weight for the legs and feet
- Scraps of white and black for the eye patches
- Crochet hook sized for a tight fabric, typically 3.5 mm to 4.5 mm with plush yarn
- Polyester fiberfill
- Stitch markers
- Tapestry needle and scissors
- Carabiner clip or keychain ring
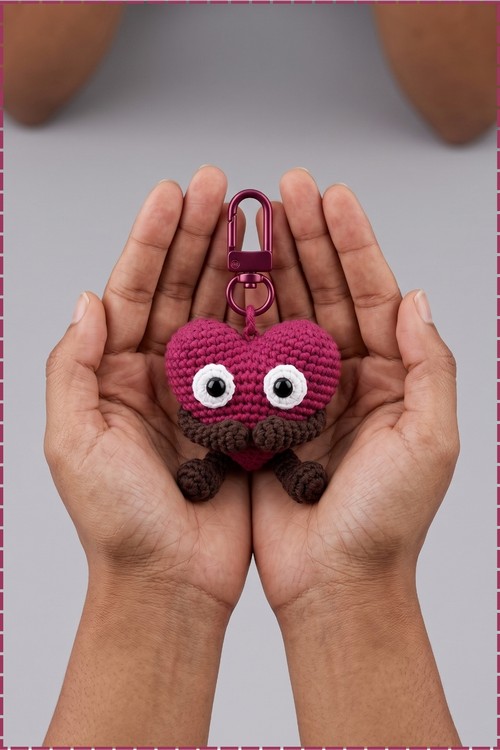
My heart uses matte cotton, not velvet. Cotton holds the round shape better at this small size and the stitches stay visible, which is why the texture reads clearly in the photo. Velvet gives a softer, fuzzier finish and hides small mistakes, so pick based on the look you want.
Difficulty and Time
Easy. Magic ring, single crochet, increases, decreases, and some sewing. Allow around an hour and a half for the body, plus roughly half an hour for the legs and face. Those numbers come from my own pace and will shift with yarn weight.
Technique Notes and Working Tips
- Work in a continuous spiral and keep a marker in the first stitch of every round. There are no joins or turning chains in this pattern.
- Tight tension matters more than usual here. Fiberfill shows through loose single crochet on a small plushie, so drop a hook size if you see gaps.
- Use an invisible decrease. Pick up front loops only of the next two stitches, yarn over, pull through all loops. Standard decreases leave bumps that are obvious on a piece this small.
- Stuff in small pinches rather than one lump. The humps need to stay round while the lower body tapers, and a single wad of fiberfill flattens that difference.
- Count your decrease rounds out loud. The pattern asks for steady, evenly spaced decreases rather than giving a fixed sequence, so your own consistency is what keeps the heart symmetrical.
- Sew the legs and eyes on before the final closing round if you prefer easier needle access through the open bottom. I sewed mine after closing, which works but needs a longer needle.
The Pattern
Part 1: The Two Heart Humps, Make 2
- Round 1: Make a magic ring and work 6 single crochet (sc) into the ring. (6) Pull the ring fully closed so no hole shows at the top of the lobe.
- Round 2: Work 2 sc in each stitch around. (12)
- Round 3: Work (1 sc, 2 sc in the next stitch) repeated around. (18)
- Round 4: Work 1 sc in each stitch around. (18)
- Round 5: Work 1 sc in each stitch around. (18) The plain rounds turn the flat disc into a shallow dome, which is the shape that becomes one half of the heart top.
- First piece: fasten off and weave in the tail. Weave it now, because the inside becomes unreachable once the heart is joined and stuffed.
- Second piece: do not cut the yarn. The working yarn on this hump carries straight into the joining round.
Part 2: Joining the Humps
- Round 6: Join the second hump to the first by working single crochets across both pieces to connect them, then continue around both to form the outer edge of the upper heart. (36 stitches total around, depending on your exact joining method) Keep both humps facing the same direction before you join, or one lobe will twist forward.
- Round 7: Work evenly around the combined shape, decreasing as needed to shape the transition between the two humps. The dip between the lobes should now be visible from the front.
Part 3: Body and Decreasing
- Round 8 onwards: Work steady, evenly spaced decreases each round to narrow the heart gradually toward the bottom point. Spread the decreases differently each round so no single column of decreases forms a visible seam line down the side.
- Stuff the humps and body firmly with polyester fiberfill as you go, adding more every few rounds. Waiting until the end leaves the lobes underfilled and the top collapses.
- Final rounds: continue decreasing until only a few stitches remain and the bottom has drawn into a point.
Part 4: The Legs, Make 2
The original pattern does not include legs, so work these freehand in dark brown to match my version.
- Start each foot with a magic ring and a few increase rounds to make a small flat oval, then work plain rounds to build the foot depth.
- Decrease across the back of the foot to turn the shape upward into the ankle.
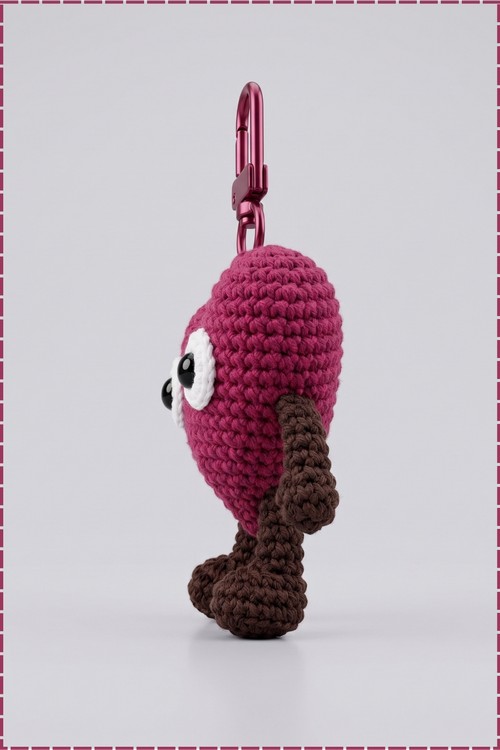
- Work plain rounds up the leg until it reaches your preferred length. Mine sit roughly the same height as the lower half of the heart.
- Stuff each leg lightly as you work. Overstuffed legs stand stiff and lose the dangling look.
- Fasten off, leaving a long tail for sewing.
Part 5: The Face
- Cut or crochet a small white oval for the eye patch. Mine is a flat white shape worked in the round and flattened.
- Make a smaller black oval or circle for the pupil and sew it onto the white patch, set toward the inner edge rather than centered.
- My plushie shows one eye patch on each side of the face, placed high on the body just above the widest part of the lobe. Only one is visible in a side view.
- Whipstitch the patches down around the full outer edge with matching thread or split yarn so the edges lie flat against the body.
Part 6: Finishing and Assembly
- Fasten off the body, leaving a long tail. Thread it through the remaining front loops, pull tight to close the hole, and secure the end inside the heart.
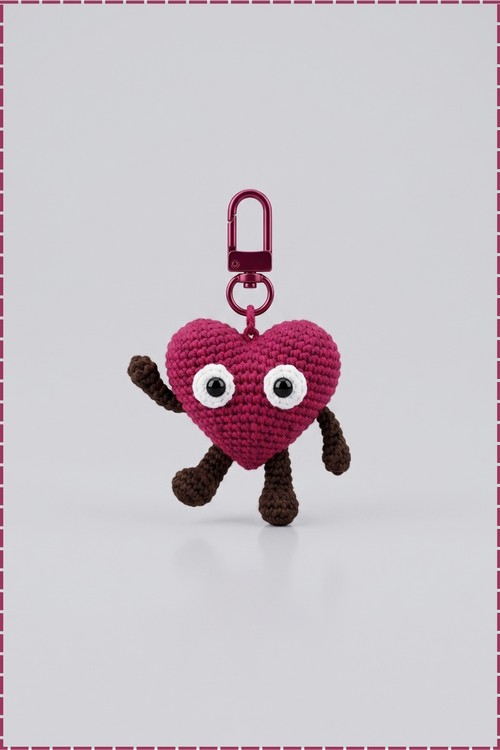
- Sew the legs to the lower front of the body, positioned close together and angled slightly forward so the plushie hangs with the feet pointing out. On mine they attach just below the midpoint of the heart, not at the bottom point.
- Attach the carabiner clip or keychain ring to the top center of the heart, in the dip between the two humps. I ran a short length of yarn through the ring and stitched both ends deep into the body, then knotted inside.
- Test the hanging balance before weaving in the last tail. If the heart tilts, shift the attachment point slightly toward the heavier side.
Yarn Substitution
Velvet and chenille are the usual choices for charms like this and they feel lovely on a bag, though they split easily and hide stitch definition. Cotton, which I used, keeps everything crisp and wears better against a bag strap. Acrylic sits in between and costs the least.
Avoid anything with long fibers. A fuzzy halo swallows the eye patches entirely and the legs lose their shape.
Customization Ideas
- Skip the legs for a plain heart charm.
- Add short arms using the same freehand method as the legs.
- Swap the carabiner for a lobster clasp, a split ring, or a chained loop worked straight from the top dip.
- Change the face. Closed sleepy eyes embroidered in black thread suit the same body.
- Make a matching pair in two colours and clip them to the same bag.
FAQ
Why does my heart look lopsided?
Almost always the joining round. If the two humps were not aligned the same way before joining, one lobe pulls forward. Unpick back to round 6 and rejoin with both domes facing identically.
How many decrease rounds should part 3 take?
The pattern does not fix a number, and that is intentional. Decrease evenly until the opening is small enough to close neatly, checking the silhouette against a heart shape every couple of rounds.
Will the clip pull out over time?
Not if the attachment yarn passes through several stitches of the body rather than a single stitch, and the knot sits inside the stuffing. Attaching to one loop at the surface is what causes charms to tear free.