
Crochet Kitty Keychain Pattern Free - Lavender Cat Head Keyring
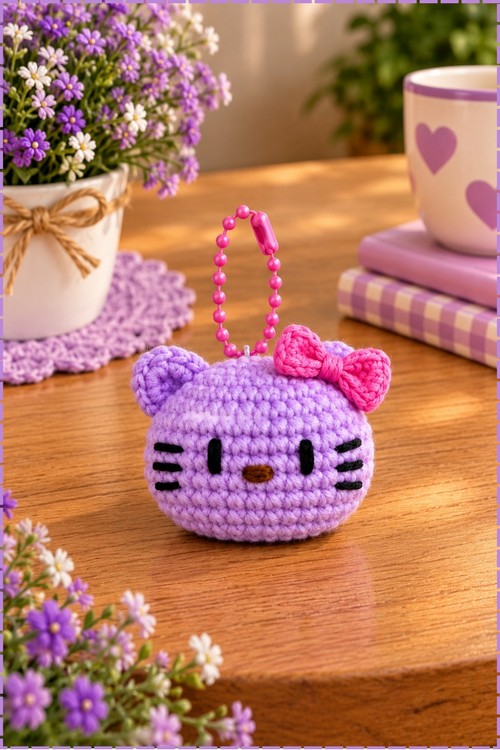
Roughly an hour separates the magic ring from the finished pink bow on this crochet kitty keychain. Ears work straight into the lavender head, black thread stitches the eyes and whiskers, and a beaded pink chain lets the little cat head swing from a backpack or key ring.
February gift bags and Valentine swaps are where the crochet kitty keychain turns up most, since the pink bow does the seasonal work on its own. Swap the lilac for red or white and it carries straight through the holidays. Teachers hand the crochet kitty keychain out as end of term favours too.
Crochet Kitty Keychain
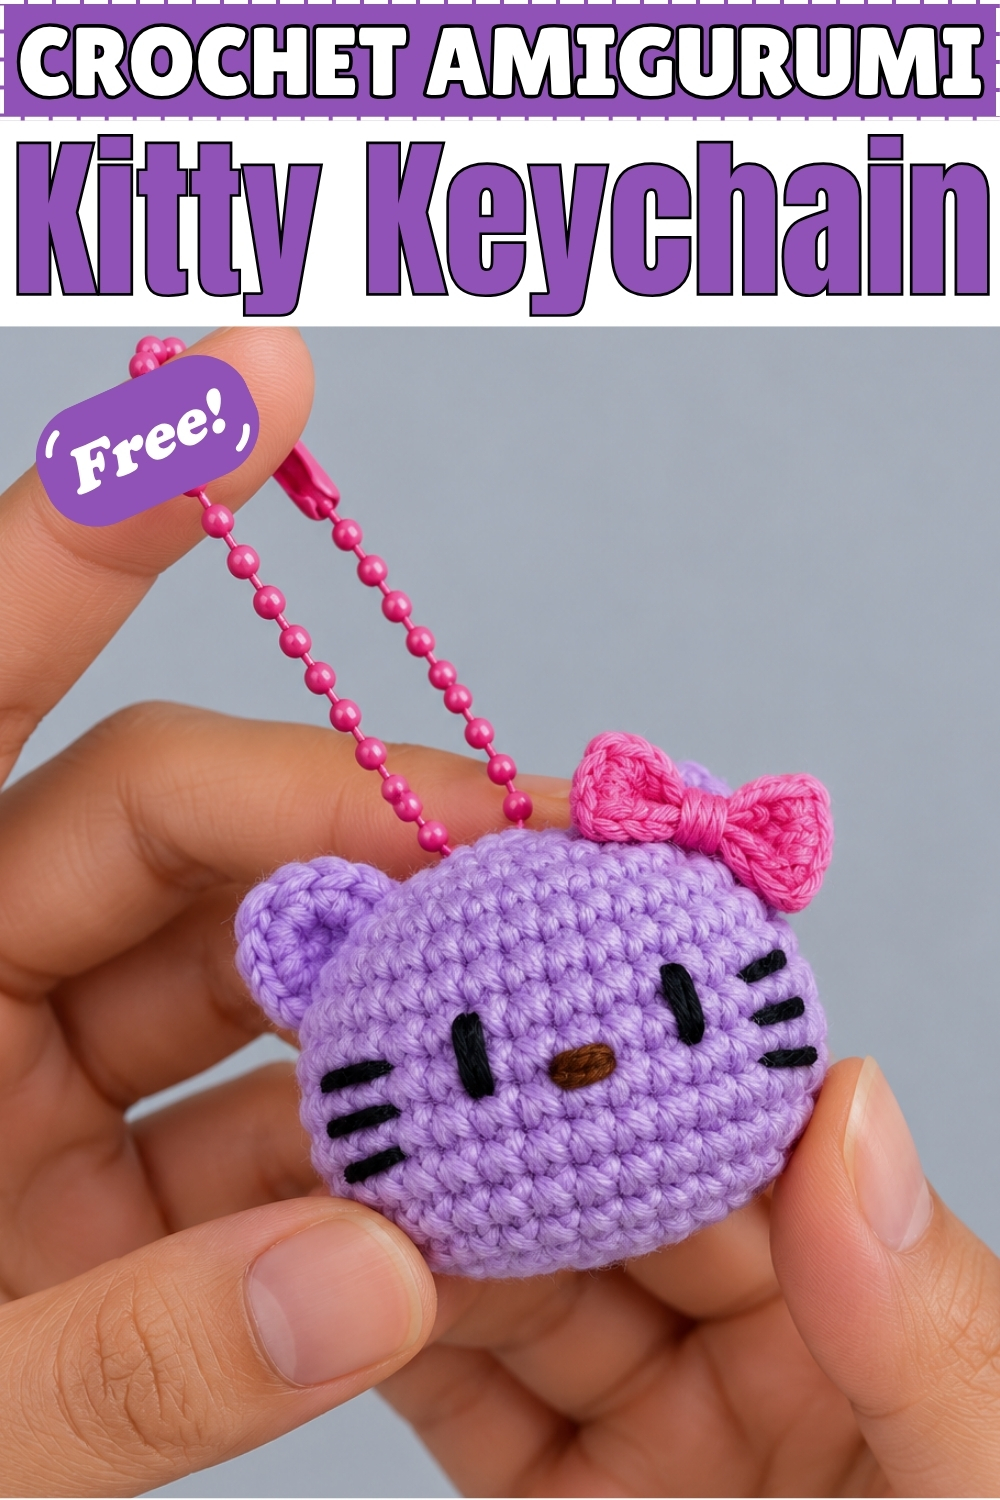
Increase rounds flare the head of this crochet kitty keychain outward through round 6, then six plain rounds build the flat face before the decreases start. Embroidery handles the entire face, so no safety eyes go anywhere near it. Mine works up in soft lavender cotton with black thread for the eyes and whiskers. Pink appears twice, once as a small bow beside the ear and once as the beaded chain at the top. Ears get worked straight into the finished head rather than sewn on separately. Finishing one takes roughly an hour from magic ring to bow.
How This One Came About
I made it as a test piece. The plan was to try the technique of crocheting ears directly into a finished head, which I had read about and never actually done, and the kitty was just the excuse.
Then my niece saw it on the table and that was the end of the test piece. She wanted it in purple, she wanted the bow pink rather than red, and she wanted a chain instead of a ring because, in her words, a chain swings. Three days later two of her friends had asked for their own.
Why I love this one: the ears take about ninety seconds each and they are what turns a plain crocheted ball into a cat.
Materials and Tools
- Light weight milk cotton in soft lavender for the head
- Light weight cotton in bright pink for the bow
- Black embroidery thread for the eyes and whiskers
- Golden yellow or light brown embroidery thread for the nose
- 3.0 mm crochet hook
- Tapestry needle and sewing needle
- Stuffing
- Pink beaded ball chain keychain
- Scissors
- Craft glue, optional
- Red ribbon about a quarter inch wide, optional, if you prefer a ribbon bow to a crocheted one
My bow is crocheted in pink rather than tied from red ribbon, so the lighter and the glue are not needed on my version. Both routes are written below.
Difficulty and Time
Easy. Single crochet, increases, invisible decreases, and three taller stitches in the ears. Around an hour in my experience, with the face embroidery taking longer than you would expect for how small it is.
Pattern Notes
Worked in joined rounds. Each round closes with a slip stitch (sl st) followed by a chain 1 (ch 1), and the next round begins in the same stitch you slip stitched into.
Abbreviations used: magic ring (MR), single crochet (sc), increase (inc, meaning 2 sc in the same stitch), invisible decrease (inv dec, worked through front loops), half double crochet (hdc), double crochet (dc), slip stitch (sl st), chain (ch).
The Pattern
The Head
- Round 1: Make a magic ring with 6 sc, sl st into the first stitch to join, then ch 1. (6)
- Round 2: Work inc in every stitch around, sl st and ch 1 to join. (12)
- Round 3: Work (1 sc, inc) repeated 6 times around, sl st and ch 1 to join. (18)
- Round 4: Work (1 sc, inc), then (2 sc, inc) repeated 5 times, finishing with 1 sc in the last stitch, sl st and ch 1 to join. (24) The offset start to this round staggers the increases so no visible line of them runs up the head.
- Round 5: Work (3 sc, inc) repeated 6 times around, sl st and ch 1 to join. (30)
- Round 6: Work (2 sc, inc), then (4 sc, inc) repeated 5 times, finishing with 2 sc in the last 2 stitches, sl st and ch 1 to join. (36) The disc should still be mostly flat here, since this is the full width of the face.
- Round 7: Work 1 sc in every stitch around, sl st and ch 1 to join. (36)
- Round 8: Work 1 sc in every stitch around, sl st and ch 1 to join. (36)
- Round 9: Work 1 sc in every stitch around, sl st and ch 1 to join. (36)
- Round 10: Work 1 sc in every stitch around, sl st and ch 1 to join. (36)
- Round 11: Work 1 sc in every stitch around, sl st and ch 1 to join. (36)
- Round 12: Work 1 sc in every stitch around, sl st and ch 1 to join. (36) Six plain rounds give the head its depth, and keeping tension even across all of them matters because this is the surface the face sits on.
The Face
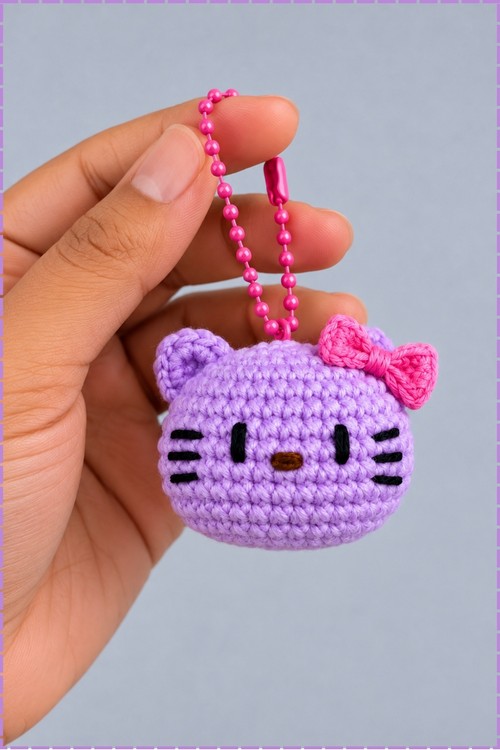
- Eyes: place them between rounds 7 and 8, spaced about 5 stitches apart, centered opposite the seam line. Loop black embroidery thread around 3 times for each eye. On my keychain the eyes read as two short vertical bars rather than dots, which comes from stacking the loops in a straight line.
- Whiskers: embroider simple single loop whiskers extending outward from the sides of the eyes. Mine has three on each side, fanning slightly, with the middle one sitting longest.
- Nose: embroider in golden yellow thread directly in the center between the eyes, looping around 3 times to build thickness. Mine reads as a small warm brown oval and sits noticeably lower than the eyes.
- Keychain: if you are using a beaded chain loop, attach it to the top of the head before the piece closes completely, since you cannot reach inside afterward.
Closing the Head
- Round 13: Work (2 sc, inv dec), then (4 sc, inv dec) repeated 5 times, finishing with 2 sc in the last 2 stitches, sl st and ch 1 to join. (30)
- Round 14: Work (3 sc, inv dec) repeated 6 times around, sl st and ch 1 to join. (24)
- Round 15: Work (1 sc, inv dec), then (2 sc, inv dec) repeated 5 times, finishing with 1 sc in the last stitch, sl st and ch 1 to join. (18)
- Stuffing: stuff the head firmly and squeeze it to test the give. Underfilling here lets the face embroidery sink inward and the eyes go crooked.
- Round 16: Work (1 sc, inv dec) repeated 6 times around, sl st and ch 1 to join. (12)
- Round 17: Work inv dec 6 times around. (6)
- Fastening off: do not chain 1. Pull the loop out and cut a medium tail, thread it through a tapestry needle, weave through the front loops of the final round, pull tight to close the hole, and weave in all ends.
The Ears
- Right ear: position it two stitches away from the end of the whisker, between rounds 6 and 7. Join yarn with a sl st.
- Right ear: into the same stitch, work 1 sc.
- Right ear: move to the next stitch up and work 1 hdc, 1 dc, and 1 hdc all into that same stitch.
- Right ear: move to the next stitch up and work 1 sc.
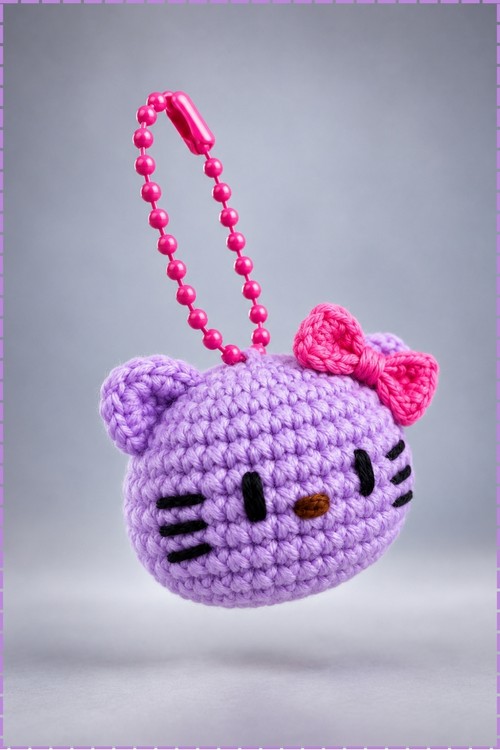
- Right ear: fasten off with a medium tail and weave in the ends. The three tall stitches crowded into one place push the fabric out into a small triangular point, which is the whole ear.
- Left ear: position it between rounds 4 and 5 on the opposite side. Join yarn with a sl st.
- Left ear: into the same stitch, work 1 sc.
- Left ear: move to the next stitch down and work 1 hdc, 1 dc, and 1 hdc all into that same stitch.
- Left ear: move to the next stitch down and work 1 sc.
- Left ear: fasten off with a medium tail and weave in the ends. Check both ears look level from the front before weaving the tails in, since the two ears are placed from different reference rounds and it is easy to end up with one higher than the other.
The Bow and Assembly
- Crochet a small pink bow by working a short flat rectangle, then pinching it tightly across the middle and wrapping yarn around the pinch several times to form the knot. Make the rectangle as wide as you want the bow to be and wrap until the center looks neat.
- Sew the bow onto the head beside the right ear with matching pink thread, tilting it slightly so one loop sits higher than the other. On mine it covers the base of the right ear and leans outward.
- For a ribbon bow instead, tie the red ribbon into a simple small bow and trim the ends to your preferred length.
- Lightly melt the cut ribbon ends with a lighter to stop them fraying, if you are using ribbon.
- Apply a small amount of craft glue to the back of the ribbon bow and press it firmly onto the right ear, then let it dry completely.
- Attach the beaded chain through the top of the head if you did not do it before closing, passing it through a stitch rather than a gap so it does not pull the fabric open.
Tips and Troubleshooting
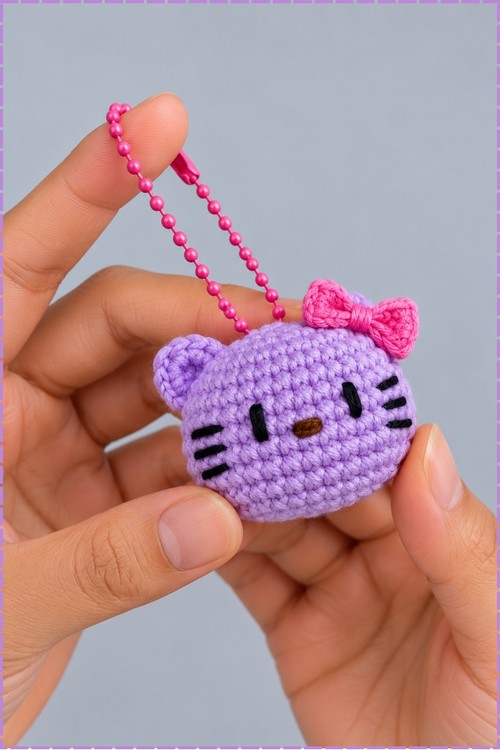
- Mark your seam line early. Every face placement instruction references it, and once the fabric is dense it becomes hard to find.
- Embroider the face before closing, not after. Working through a stuffed head means you cannot bury the thread ends inside.
- Pull the eye loops to the same tension. Two eyes made with the same number of loops can still look mismatched if one is tighter.
- Keep the whiskers short. Long whiskers on a keychain this size snag on bag linings and work loose.
- Check the ear positions against each other rather than against the round numbers alone. The pattern uses different reference rounds for each ear, so trusting the counts blindly can leave them uneven.
Yarn Substitution
Milk cotton is ideal, which is why the pattern calls for it. It has a slight sheen, it holds a tight stitch, and it gives the smooth surface that embroidery needs.
Regular cotton works fine and is easier to find. Acrylic is softer but fuzzes with handling, and a keychain gets handled constantly. Avoid anything fuzzy or textured, since the entire face is embroidered onto the surface and any halo swallows the detail.
Customization Ideas
- Change the head colour. Mine is lavender, but white, cream, grey, or black all read clearly as a cat.
- Swap the bow colour, or use a crocheted flower instead.
- Place the bow on the left ear instead.
- Embroider closed sleepy eyes as two small curved lines.
- Make a matching set in different colours and hang them from the same bag.
- Skip the keychain chain and attach a split ring, a lobster clasp, or a chained loop.
FAQ
Why does my face look lopsided?
Usually the eyes were not centered opposite the seam. Find the seam first, count round the head to the exact opposite point, and work outward from there in both directions rather than placing one eye and then guessing the second.
Can I use safety eyes instead of embroidery?
You can, though the look changes completely. The flat embroidered eyes are what give this style its particular face, and safety eyes will read as a generic amigurumi cat.
My ears look like lumps rather than points. What happened?
The three tall stitches need to go into one single stitch. If they spread across two or three stitches the fabric bulges instead of forming a peak.
How do I attach the beaded chain securely?
Thread it through an actual stitch at the top of the head, not through the space between stitches, and ideally attach it before closing so you can knot it on the inside.