
Crochet Heart Flower Pot Free Pattern - Mini Amigurumi Heart
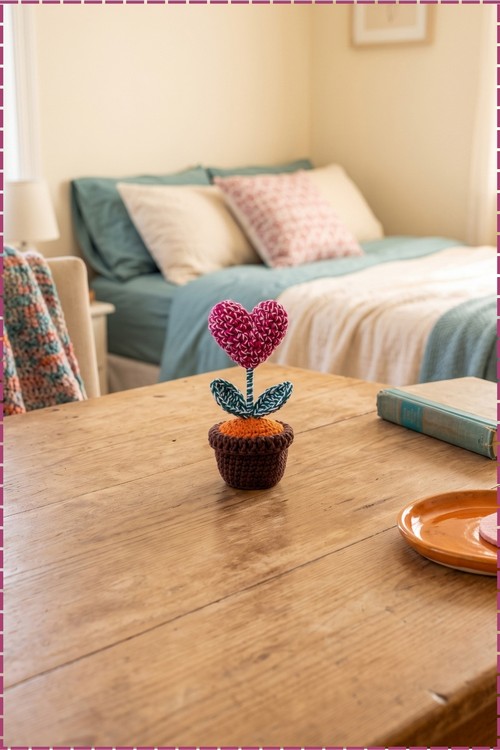
Long after cut roses droop, the variegated crochet heart in this tiny pot keeps standing tall on its wired stem. Two leaves thread onto that stem, bright orange soil fills a dark brown pot, and the whole plant comes together in a single afternoon.
Valentine's tables and spring windowsills are where the crochet heart plant flower pot earns its keep, since nothing in it wilts by the end of the week. Makers start these in January and keep them out through February. The crochet heart plant flower pot also works as a Mother's Day gift that lasts well past the day.
Crochet Heart Plant Flower Pot
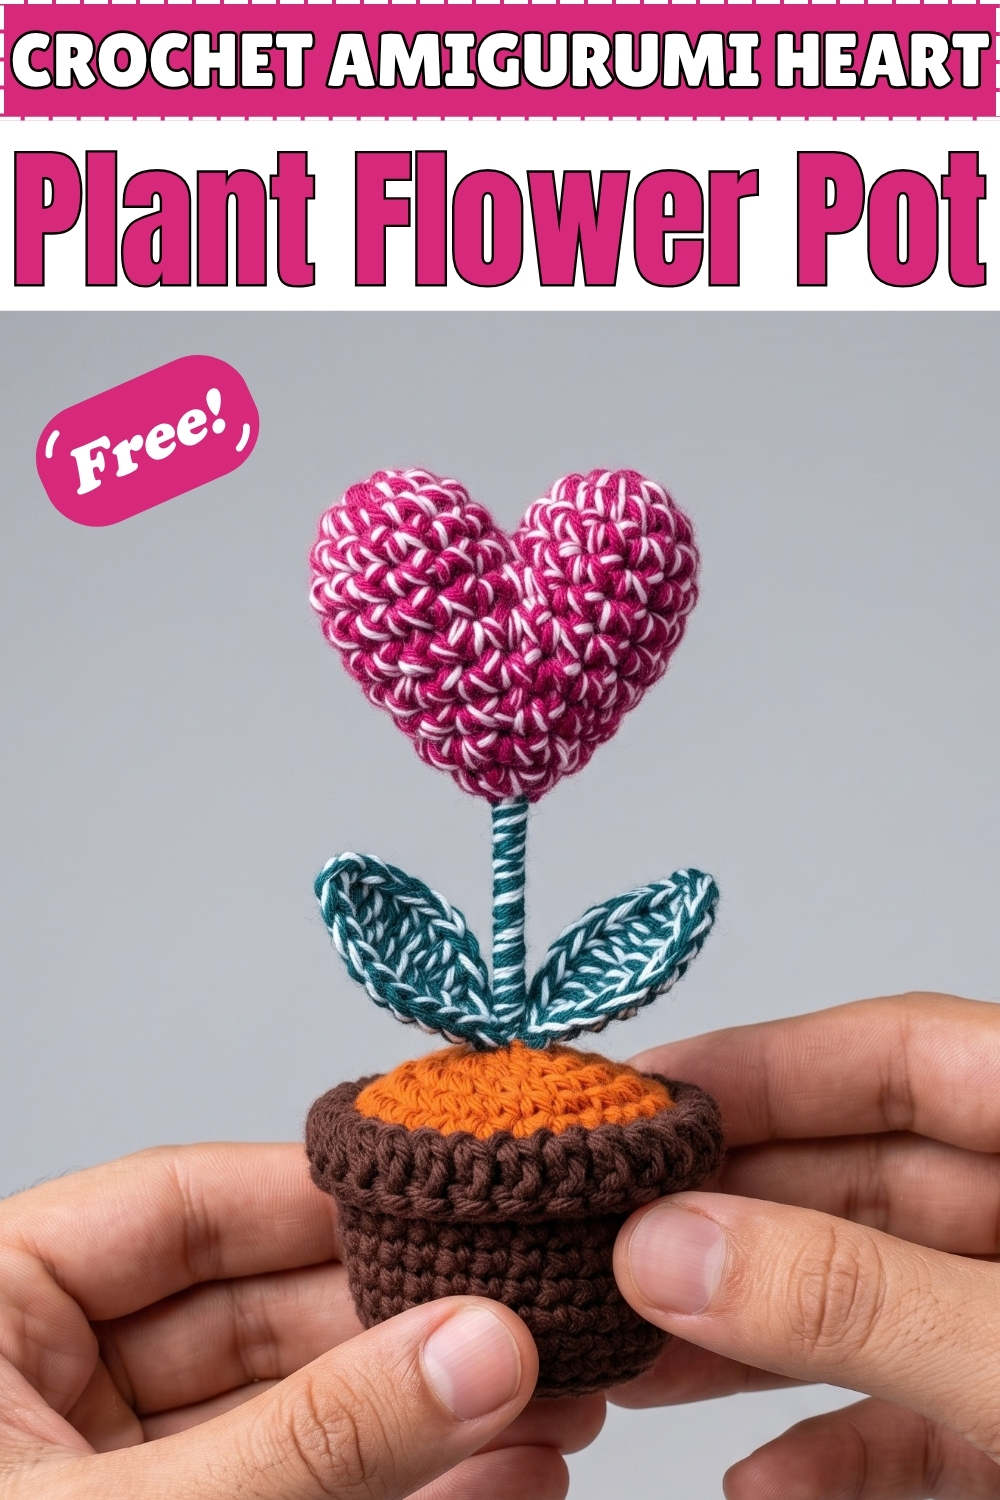
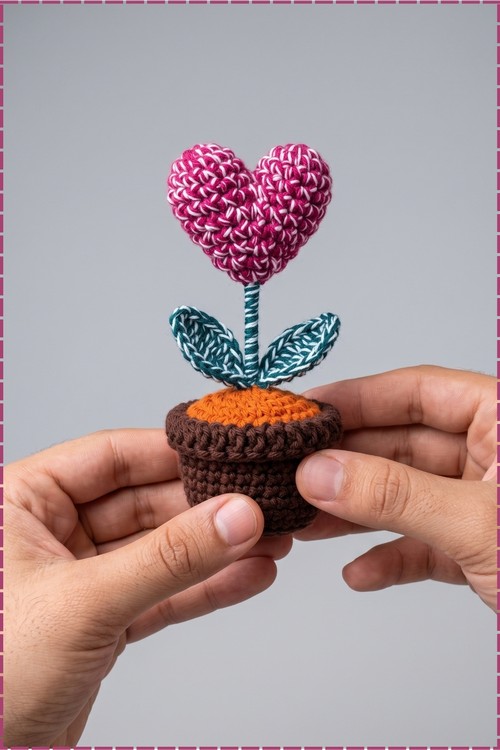
Three separate pieces come together here, a small pot, a round of soil, and a heart on a wired stem that bends wherever you want it. Wire runs through the heart and down into the base, so the crochet heart flower pot stands upright instead of flopping over. Mine swaps the usual clay colour for dark brown and uses bright orange where the soil sits. Variegated yarn gives the heart its streaked pink and white surface. Two leaves thread onto the stem partway down. Most crocheters finish the whole plant in an afternoon and gift it the same day.
The Story Behind This One
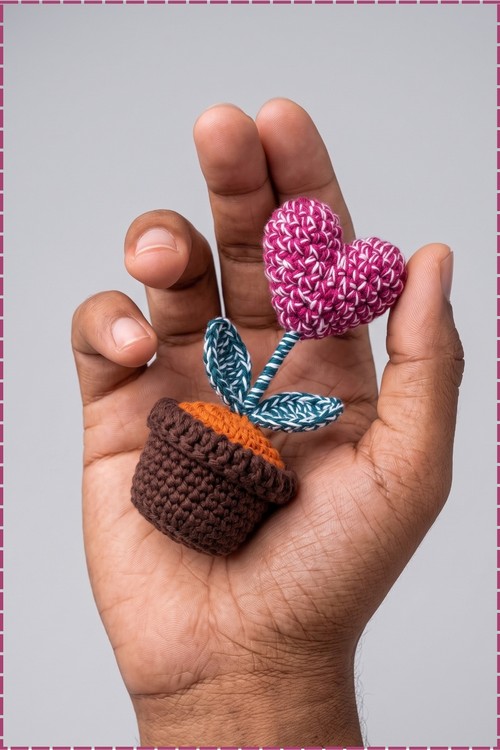
I made the first of these the week before Valentine's, intending to post it, and it never left my desk. Something about a plant that fits in a closed hand changes how people react to it. Everyone who picks it up turns it over, bends the stem, and asks if the leaves are wired too.
The second one went to my sister. She keeps it next to a real pot of basil she forgets to water, which tells you which of the two is doing better.
Why I love this one: the wire stem means the heart tilts whichever way you leave it, so no two finished plants ever sit the same.
Materials and Tools
- Variegated pink and white yarn for the heart flower
- Variegated teal green and white yarn for the leaves and stem wrapping
- Dark brown yarn for the pot
- Bright orange yarn for the soil
- 3.0 mm crochet hook, or a couple of sizes smaller than your yarn label suggests, so the stitches stay tight and the stuffing stays hidden
- Stitch marker or a paper clip
- Yarn needle and scissors
- Pillow fluff or fiberfill
- One glass bead to weigh the pot base
- About 6 inches of wire, aluminium works best for the stem
My colour choices run against the usual version. The pattern calls for clay for the pot and dark brown for the soil, and I flipped that so the pot reads as dark brown and the soil as orange. Variegated yarn does most of the visual work on the heart and leaves, since the colour changes on their own as you stitch.
Difficulty and Time
Easy to intermediate. Nothing in the stitching is hard, but there are four small pieces plus a wire assembly, and the assembly is where patience matters. Allow around two to three hours in my experience, spread over a sitting or two.
The Pattern
The Flower Pot in Dark Brown
Worked in continuous rounds.
- Round 1: Make a magic circle and work 6 single crochet (sc) into it, then pull tight to close. (6)
- Round 2: Work 2 sc in each stitch around. (12)
- Round 3: Work (1 sc, 2 sc in the next stitch) repeated around. (18)
- Round 4: Working into the back loops only, work 1 sc in each stitch around. (18) The back loop round creates the crisp edge that gives the pot a flat bottom and lets it stand on its own.
- Round 5: Work (1 sc in the next 5 stitches, increase) repeated around. (21)
- Round 6: Work 1 sc in each stitch around. (21)
- Round 7: Work (1 sc in the next 6 stitches, increase) three times around. (24)
- Round 8: Work 1 sc in each stitch around. (24)
- Round 9: Work 1 sc in each stitch around. (24) The pot now has straight sides and a slight flare, which is what the lip folds over in the next round.
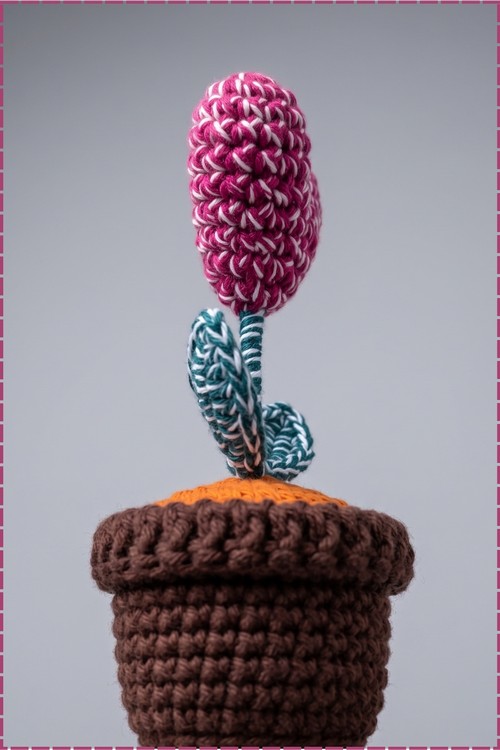
- Round 10: Slip stitch into the front loop of the next stitch, chain 3 which counts as the first double crochet (dc), then working into the front loops only make 1 dc into each stitch around, and slip stitch to the third chain to join. Cut the yarn and fasten off, leaving a long tail for sewing. Fold the lip over downward. Folding the lip is what gives the pot its thick rim, and on my version that rim is the widest part of the whole pot.
The Soil in Bright Orange
- Round 1: Make a magic circle and work 6 sc into it. (6)
- Round 2: Work 2 sc in each stitch around. (12)
- Round 3: Work (1 sc, 2 sc in the next stitch) repeated around. (18)
- Round 4: Work (1 sc in the first stitch, increase, 1 sc in the next 2 stitches, increase) repeated around to end. (24) Slip stitch, cut the yarn, and fasten off leaving a long tail for sewing onto the pot. The finished disc should sit flat and match the pot opening, since any cupping here makes the soil dome up awkwardly once it is sewn down.
The Heart Flower in Variegated Pink
Two identical cups are made and then joined.
- Cup 1, round 1: Make a magic circle and work 6 sc into it. (6)
- Cup 1, round 2: Increase in every stitch around. (12)
- Cup 1, round 3: Work 1 sc in each stitch around. (12)
- Cup 1, round 4: Work 1 sc in each stitch around. (12) Cut the yarn and fasten off.
- Cup 2: Repeat rounds 1 through 4 of cup 1, but do not fasten off the yarn on this second piece, since the working yarn joins the cups in the next round.
- Round 5: Work 1 sc into the first 6 stitches of cup 1, then 1 sc into all 12 stitches of cup 2, then 1 sc into the remaining 6 stitches of cup 1. (24) The two lobes should sit side by side with a clear dip between them, which is the top of the heart.
- Round 6: Work (1 sc in the next 2 stitches, 1 invisible decrease) repeated around. (18)
- Round 7: Work 1 sc in each stitch around. (18)
- Round 8: Work (1 sc in the next stitch, 1 invisible decrease) repeated around. (12)
- Round 9: Work 1 sc in each stitch around. (12) The lower half is tapering now and the heart outline reads clearly from the front.
- Stuffing: stuff the heart firmly and evenly before the final round, pushing small pinches into each lobe first so they stay rounded.
- Round 10: Decrease in every stitch around. (6) Cut the yarn, weave it through the front loops of the remaining stitches, and pull tight to close the hole.
The Leaves in Variegated Teal Green
- Leaf 1: Chain 8.
- Leaf 1: Skip the first chain, then work 1 sc in the second chain from the hook, 1 half double crochet (hdc) in the next chain, 1 dc in each of the next 3 chains, 1 hdc in the next chain, and 3 sc in the last chain.
- Leaf 1: Working back down the opposite side of the chain, work 1 hdc, 1 dc in each of the next 3 chains, 1 hdc, 1 sc in the last chain, then slip stitch to the first sc and fasten off. The three single crochets at the tip are what round the end, while the other end stays pointed where it attaches to the stem.
- Leaf 2: Chain 8 and repeat the same sequence as leaf 1 up to the last chain, but place 2 sc in that last chain instead of 3 before slip stitching. Fasten off and weave in the tails. The two sc tip makes this leaf slightly narrower, so on my plant it sits as the leaf angled further back.
Stem, Assembly and Finishing
- Fold the 6 inch piece of wire in half.
- Secure a long length of green yarn inside the bottom center of the heart.
- Insert the wire into the heart, running it through the very top dip of the heart straight down through the center and out the bottom, which gives the stem the most support and stops the heart from nodding forward.
- Wrap the wire tightly with the green yarn all the way down, keeping the wraps close together so no wire shows through. On my version the variegated green wraps produce the striped candy cane effect visible on the stem.
- Add the leaves as you wrap by poking the wire through their centers about 1 inch down from the heart, then continue wrapping to lock them in place. Mine sit low on the stem, just above the soil, spreading out to each side rather than pointing upward.
- Tie off the green yarn securely at the base of the stem.
- Poke the stem wires through the center of the orange soil piece and secure them with knots underneath.
- Shape the wire into an S shape pressed flat against the underside of the soil, which spreads the weight and keeps the stem from pulling through.
- Drop the glass bead inside the brown pot to weigh it down, then add pillow fluff on top.
- Sew the soil and flower assembly onto the pot by stitching through the remaining front loops of the soil and the back loops of the pot edge all the way around. Work slowly here. An even round of stitches is the difference between the soil sitting level and tilting to one side.
- Make a stabilizing dimple at the bottom of the pot by taking a small stitch through the base, then tie off and hide the tails inside.
Tips and Troubleshooting
- Keep the hook small. Every piece here is tiny and loose stitches let the fluff and the bead show through the brown pot.
- Stuff the pot only after the bead goes in, otherwise the bead ends up sitting halfway up the pot instead of weighting the base.
- Wrap the stem under tension. Loose wrapping slides down over time and exposes bare wire at the top.
- If the heart leans badly, the wire probably missed the top dip. Pull it out and re run it through the center before the stem is wrapped, since fixing it afterward means unwinding everything.
- Variegated yarn pools unpredictably on small pieces, so make both heart cups from the same part of the skein if you want them to match closely.
Yarn Substitution
Any smooth cotton in a light worsted or sport weight works. Cotton holds the tight stitches this project needs and keeps the pot rim crisp.
Solid colours are the easy route and give you full control over the look. Variegated yarn, which I used, does something cotton solids cannot, since the colour shifts build the shading on the heart and leaves without any colour changing on your part. Avoid fuzzy or fluffy yarns entirely. The leaf shaping relies on seeing where the half doubles and doubles sit.
Customization Ideas
- Make a set of three in different heart colours and line them along a shelf.
- Swap the orange soil for dark brown, moss green, or cream for a sandy look.
- Add a third leaf by repeating leaf 2 and threading it onto the stem opposite the others.
- Crochet a tiny chained loop into the pot rim so the whole plant hangs.
- Skip the wire and stuff a crocheted tube for the stem instead, accepting that the heart will sit upright rather than tilting.
- Make the heart in red or white for an anniversary or wedding version.
FAQ
Can I make this without wire?
Yes, though the heart will not hold a tilt and the stem needs to be short or it will droop. A pipe cleaner is the easiest substitute and wraps the same way.
Why does my pot tip over?
Usually the bead was skipped or the base dimple was never made. Both exist to lower the center of gravity, and a tiny pot with a wired heart on top is top heavy without them.
How do I stop the soil from doming up?
Check round 4 of the soil. If the increases bunched in one area the disc cups instead of lying flat. It should sit completely flat on a table before you sew it down.
Is the variegated yarn necessary?
No. Solid pink and solid green give a cleaner result. My version looks the way it does because the yarn carries two colours, and that is the only difference between mine and a plain one.