
Crochet Ice Cream Cone Keychain Pattern Free
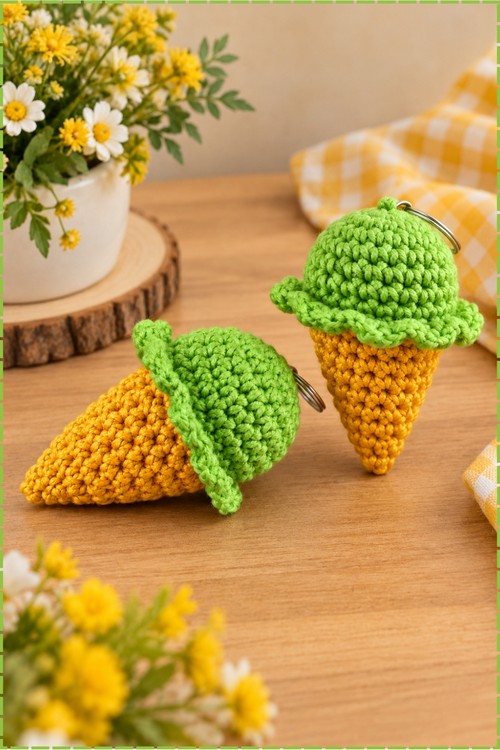
Forty five minutes buys you a palm length crochet ice cream cone keychain once the ruffle round clicks, worked in lime green and golden yellow cotton yarn. Go one hook size below the label for tight stitches, then hang it from a silver split ring.
Scoop stacked on the cone and eyes set low, the crochet keychain ice cream cone suits anyone starting out with small projects. Kids learning to stuff and sew manage it. Market sellers batch them easily too. Crochet keychain ice cream cones work well for anyone wanting a finished make without weeks of commitment.
Crochet Keychain Ice Cream Cone
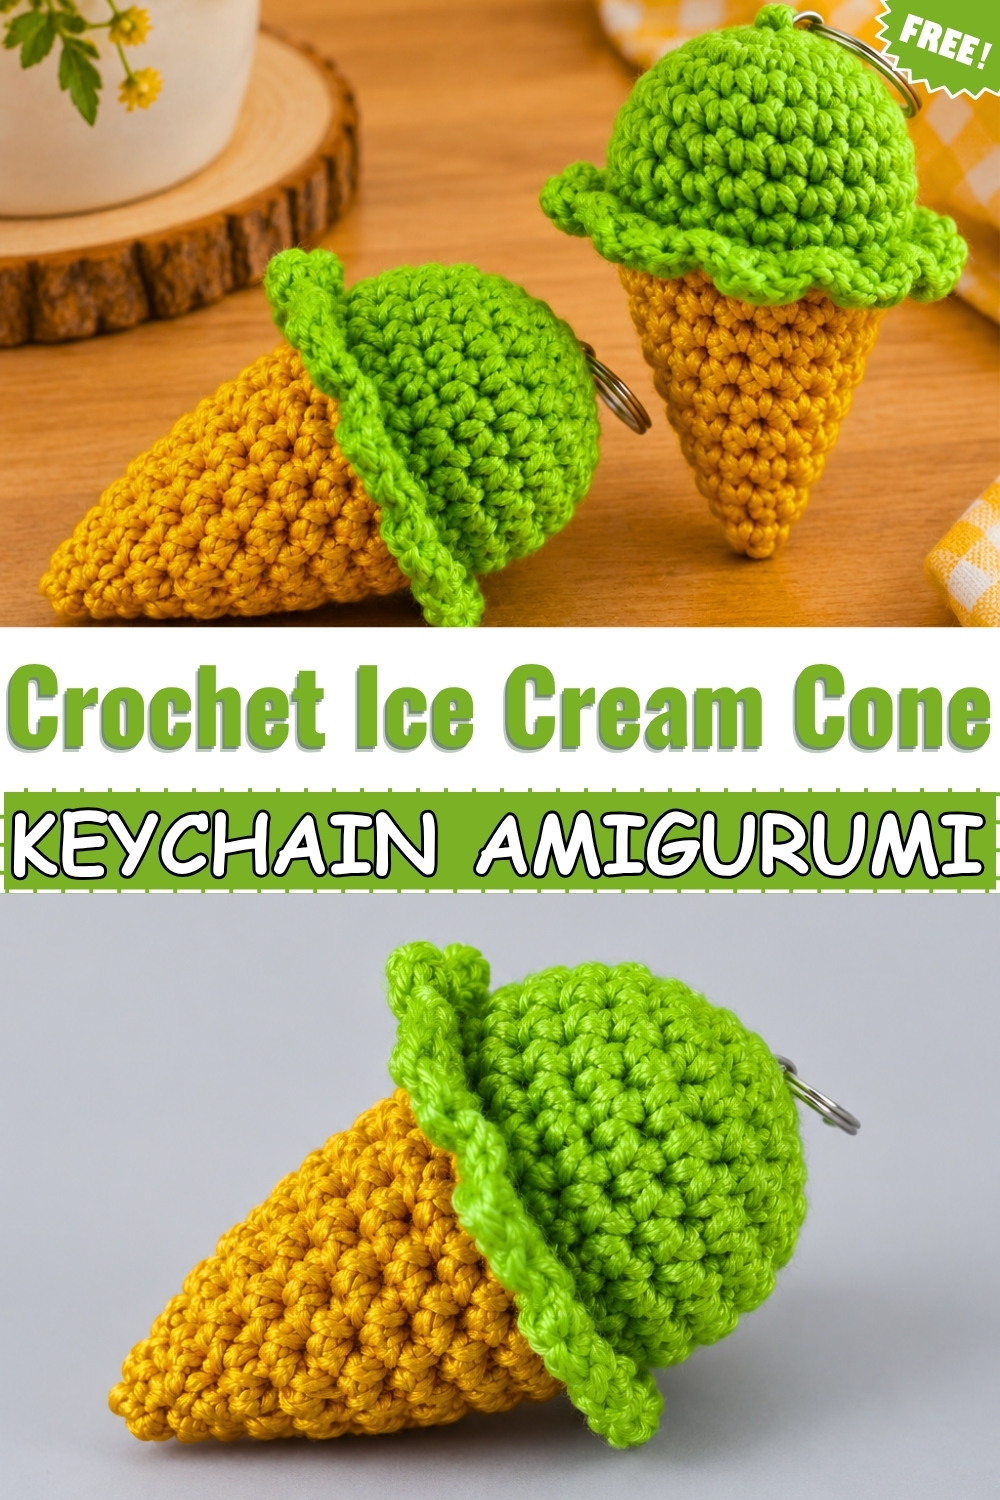
Worked from the top down in a single piece, this crochet keychain ice cream cone never needs the scoop sewn onto the cone. Front loops carry the ruffle that sits exactly where the two parts meet. Back loops stay free so the cone grows straight out of the same round. Green yarn makes the scoop on mine instead of a cream shade. Golden yellow runs the whole length of the cone below it. Decreases pull everything down to a neat point. Stuffing goes in just before the last rounds close, and a split ring finishes the job.
Materials and Tools
- Cotton yarn in bright lime green for the scoop and ruffle, and golden yellow or mustard for the cone. Mine uses strong saturated colours rather than realistic ones.
- Crochet hook one size smaller than your yarn label states.
- Fiberfill stuffing.
- Tapestry needle and scissors.
- Stitch marker.
- Split ring keychain hardware. Mine is a plain silver ring attached at the top of the scoop.
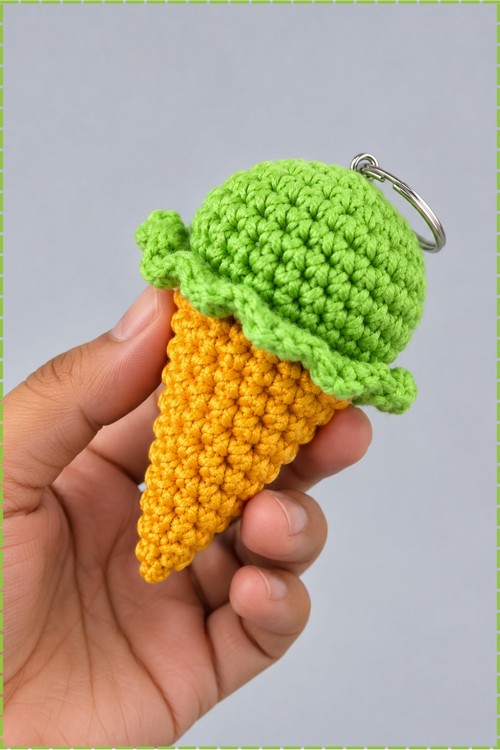
Expect something roughly palm length when finished, though cotton weight changes this. Allow about forty five minutes once you know the ruffle round.
Technique Notes and Tips
Work this in a continuous spiral and keep a marker in the first stitch of every round. The whole piece is single crochet apart from the ruffle, so there is nothing difficult here beyond keeping count.
Front loops only and back loops only matter in round 7 of the scoop. The front loops take the ruffle and the back loops stay live for the cone. Do not cut the yarn or fasten off those back loops until you have reread that step, because closing them means unpicking the ruffle to get the cone started.
Keep your tension tight throughout. Both of these colours are saturated and show white stuffing immediately through loose stitches. If gaps appear, go down another hook size rather than stuffing less, since an under stuffed cone goes soft and loses its point.
Stuff before the final decrease rounds, not after. Once you are below twelve stitches the opening is too small to work through properly, and pushing stuffing in at the end distorts the taper.
The ruffle will look wrong until you have worked all the way round. Two double crochets followed by a slip stitch creates a scallop that only reads as a ruffle once the whole circle is complete, so finish the round before you judge it.
Attach the hardware before the cone closes. Anchoring the ring from the inside while you still have access is far more secure than sewing it on at the end.
The Pattern
Scoop in Green
- Make a magic ring.
- Round 1: 8 single crochets into the magic ring. (8)
- Round 2: 8 increases, working 2 single crochets in each stitch. (16)
- Round 3: 1 single crochet, 1 increase, repeated around. (24)
- Round 4: single crochet in every stitch around. (24)
- Round 5: single crochet in every stitch around. (24) The scoop should now be a shallow dome, wide and slightly flattened rather than a full ball.
- Round 6: 6 single crochets, 1 decrease, repeated around. (21) This slight pull in is what gives the scoop its rounded underside before the ruffle.
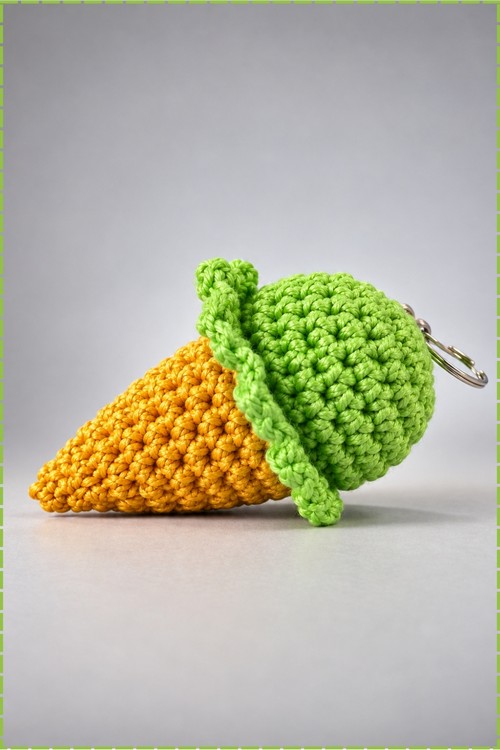
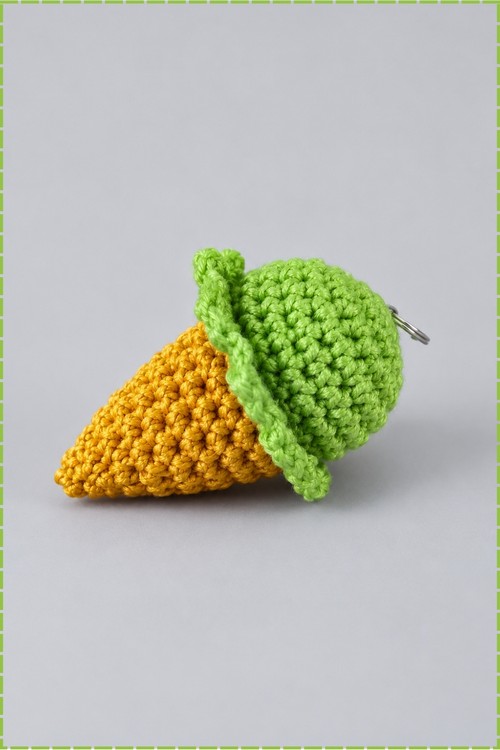
- Round 7: working only in the front loops, chain 1, work 2 double crochets into the front loop, then slip stitch into the front loop of the next stitch. Repeat this around the whole edge to form the wavy ruffle. Leave the remaining back loops open and unworked, since the cone is built from them next. On my keychain this ruffle sits as a clear green frill all the way around where the scoop overhangs the cone, standing out noticeably on one side.
Cone in Golden Yellow
- Attach the cone yarn to the back loops you left open inside the scoop.
- Round 1: work 1 single crochet, then a slip stitch, around the back loops. Keep this first round firm, as it carries the weight of the whole cone.
- Round 2: 5 single crochets, 1 decrease, repeated around.
- Round 3: single crochet in all 18 stitches around. (18)
- Round 4: 4 single crochets, 1 decrease, repeated around.
- Attach your keychain hardware now and stuff the cone lightly with fiberfill before continuing. On mine the split ring is anchored at the top of the scoop rather than at the cone tip, so the keychain hangs with the point downward.
- Round 6: 3 single crochets, 1 decrease, repeated around.
- Round 7: 12 single crochets. (12)
- Round 8: 2 single crochets, 1 decrease, repeated around.
- Round 9: 9 single crochets. (9)
- Round 10: 1 single crochet, 1 decrease, repeated around. Keep the stuffing pushed down toward the tip as you work these last rounds so the point stays sharp rather than collapsing.
- Fasten off, weave in all ends, and check the keychain findings are secure before use.
Yarn Substitution
Mercerised cotton gives the crispest ruffle and the sharpest cone point, which is why I would use it again here. Standard cotton works fine and is softer on the hands. Acrylic is usable but the ruffle flops more and the cone tip rounds off instead of staying defined. Avoid anything textured, since the scallop detail disappears entirely in a fuzzy yarn. Keep both colours in the same weight so the join at round 7 sits flat.
Customization Ideas
- Swap the green for pink, chocolate brown or pale yellow and keep the golden cone.
- Work the ruffle in white against a coloured scoop for a cream drip effect.
- Add a few french knots in contrast colours across the scoop for sprinkles.
- Make three in different scoop colours and clip them to one ring.
- Use a longer chain instead of a plain ring to hang it from a bag rather than keys.
- Embroider a small face on the scoop if you want it to read as a character.
FAQ
Can I make the scoop and cone separately and sew them together? You can, but the ruffle is what hides the join here. Working the cone out of the back loops means the two parts are already connected and the frill covers the seam, so separating them creates extra work and a weaker piece.
Where exactly should the keyring go? Mine is attached at the top of the scoop so the cone points down. Anchor it through several stitches from the inside before you finish stuffing, and it will hold under daily use.
Why does my ruffle sit flat instead of standing out? Usually the double crochets were worked too loosely, or the slip stitches between them were too tight. The contrast between the tall stitches and the short ones is what creates the wave, so keep both even.